HSW Attach Anything Tutorial - No CAD Required
prusaprinters
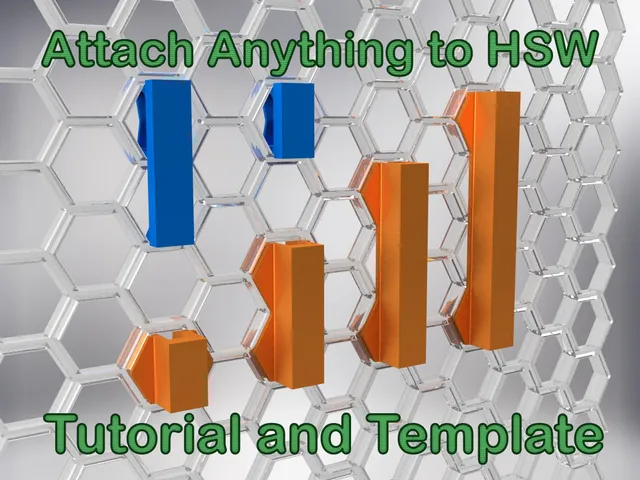
IntroductionFollow the simple tutorial to attach anything to your Honeycomb Storage Wall. Or if you know how to use CAD software, download the STEP file and design your own.There areFitting bases optimised for printing on their side, suitable for hooks and other flat fittings:KYZ-V1 - 1 cell highKYZ-V2 - 2 cells highFitting bases optimised for printing on their botttom, suitable for cups, shelves, and other more 3 dimensional fittings:KYZ-H1 - 1 cell highKYZ-H2 - 2 cells highKYZ-H3 - 3 cells highKYZ-H4 - 4 cells highThese fittings are designed to take advantage of flexibility of plastics and not rely on tight tolerances, and most users will not need to do “tolerance tests” or careful printer tuning if you are using any modern slicer and printer.Example workflowThis example is done on Bambu Studio and the workflow will be very similar on Orca Slicer and Prusa Slicer.Someone suggested I should make a business card holder to put onto the HSW Display Stand as many vendors use them for their small business. I could not find one, so we will make one in this example.Searching for a regular business card stand, this one stood out. I checked that this is OK to remix as I will be uploading the finished version. (This is under Creative Commons — Attribution — Noncommercial — Share Alike and is itself is a remix of another card holder with minor changes.) 1. Import this into the slicer along with all of the various remix clips.2. As this will be HSW mounted and not placed on a table, crop out the rectangular base with the “cut” command.3. We want to print the card holder in the default orientation, as designed, which is upright, so only the “H” type clips are viable. Delete the “V” type ones and see which “H” type ones would be suitable by rotating and moving them into position.4. The “H1” and “H2” type clips look OK on the card holder. The “H2” clip is stronger and can support more weight than the “H1”, but given the light weight of business cards, it would be overkill. Align the “H1” and align it to the card holder. Delete the other clips.5. This alignment looks good, so I will select both, right click and then click merge. We are almost done.6. Now set up your print settings, slice, scroll through the layers to see everything is OK.7. Voilà! In just a few minutes, I have made a new model. Now print!8. Final optional step: share as a remix to this model for the community! I've shared this particular model here. You can share the print profile and/or the STL. To get the STL for the newly merged part, select the assembly (notice how both the clip and card holder are highlighted) and click “export as one STL”. If you make something others could use, please share! It only takes one photo and a few minutes.MaterialSuggest PLA, ASA, ABS, PETG-CF or similar stiffness materials.If you use PETG, the clip will be a little too easy to remove andIf you use a stiff material like ASA-CF or ABS-GF, the clip will be difficult to insert/remove.Print settings2+ perimetersI suggest slowing down the outer walls to ensure the part comes out strong with consistent gloss level all around (but this is optional).This is a fairly easy print, everything else is up to you!General precautions apply - ensure your build plate is clean (wash with hot water and dish soap and dry with a clean towel), add mouse-ears and/or apply some glue if you often have adhesion issues.SupportIf you would like to say thanks, please post a make and share here and on socials. You could buy me a few metres of plastic on Ko-Fi otherwise, please post a make and check out my other HSW models in this collection. If you are using these stands as a part of your business and are finding it helpful, please consider buying this price label model to support more projects like this.Advanced Slicer TechniquesWatch this excellent video by Zach Freedman to learn more about how to design parts right in the slicer!
With this file you will be able to print HSW Attach Anything Tutorial - No CAD Required with your 3D printer. Click on the button and save the file on your computer to work, edit or customize your design. You can also find more 3D designs for printers on HSW Attach Anything Tutorial - No CAD Required.
