HP Counter
thingiverse
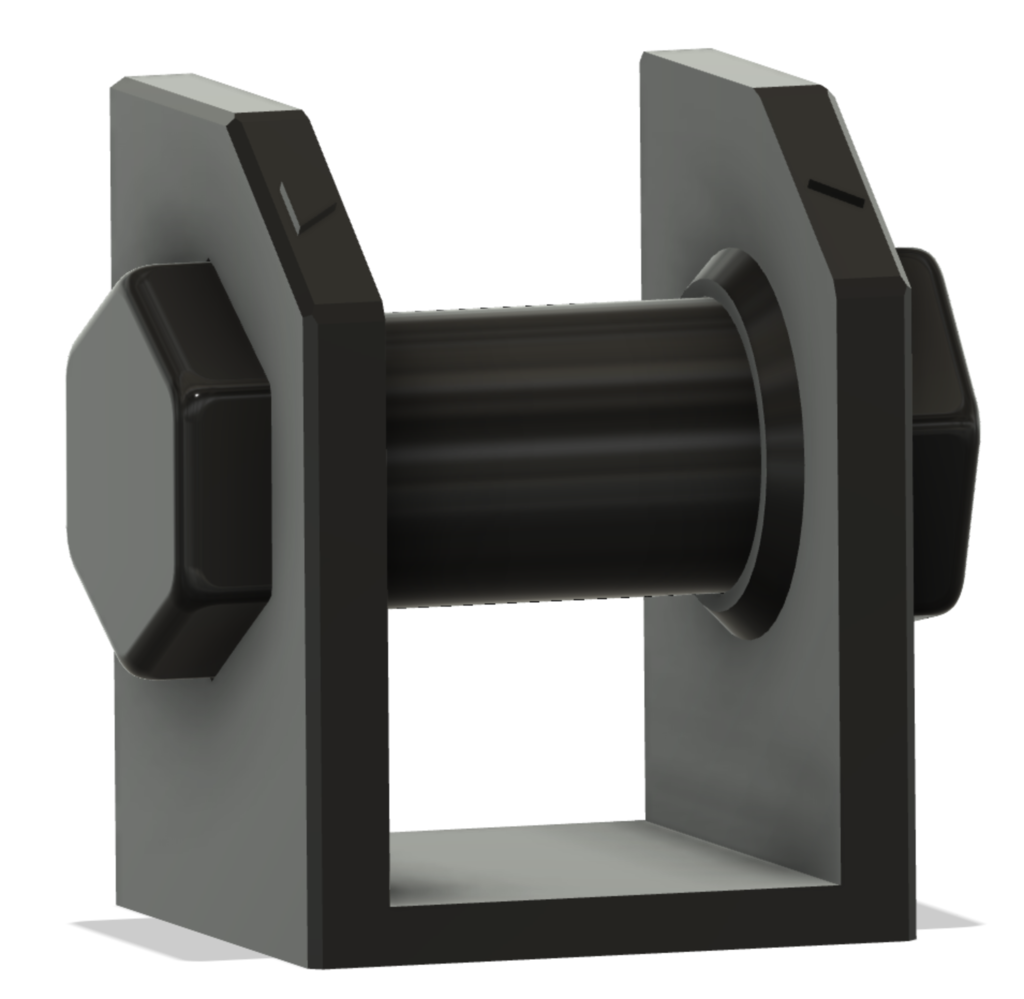
I really liked the digit wheels of the original design, but the frame just wasn't my cup of tea. It was too loose, and I definitely didn't like the rubber band mounting. So, I designed a brand new frame for this, which consists of three key components: The actual frame, a bolt, and a nut. The bolt is precisely fitted into the frame and passes through the wheels from the original design - that's intentional. You can wear it down a little by simply rolling the wheels. The bolt also indents into a groove, which means it itself can't rotate, helping to keep the wheels in place. You can adjust the amount of tension by tightening or loosening up the nut, so the wheels move more or less. Finally, when printing the frame, I experimented with some settings that allowed me to achieve 0.20mm on most parts, but adjusted the slicer for 0.15mm where it made sense. Check out my Prusa Slicer settings if you're interested - if not, a 0.20mm print will work just fine across the board. I printed the nuts in 0.15mm to get a smoother, round corner (all corners are rounded, by the way, to avoid sharp edges). I'm curious to hear if people think this is too tight - I like it as-is, and over time, it'll wear down, but that can be adjusted by tightening the nut. Any other feedback is also welcome.
With this file you will be able to print HP Counter with your 3D printer. Click on the button and save the file on your computer to work, edit or customize your design. You can also find more 3D designs for printers on HP Counter.
