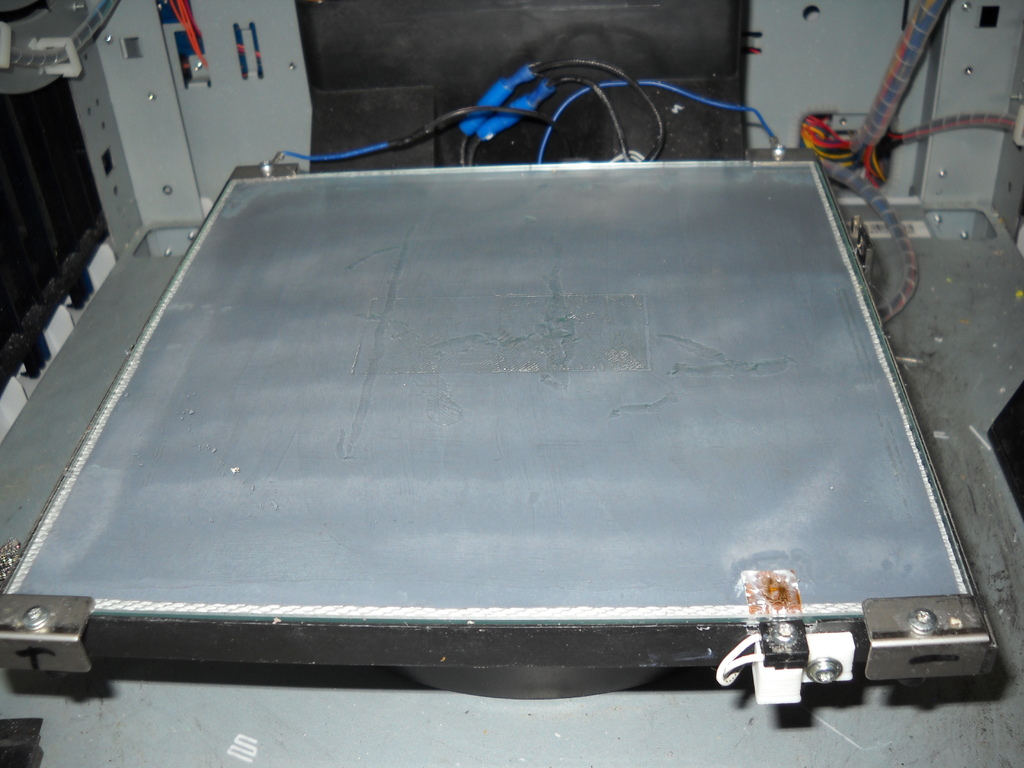
how to repair a chiped xyzprinting glass bed
thingiverse
Don't toss those chipped beds - just use the other side. I've scoured everywhere for ways to repair chipped beds, tried all sorts of adhesives to fill in the holes, but nothing lasts very long. I've considered using glass beading that melts in the oven and filling chips, then putting it in the oven to melt - I'm not sure what it's called, but if you work with jewelry, you'll know what I mean. I haven't tried this yet, but I think it could work. This way, after separating the glass from the element, you can start buying just the glass and try other ideas like beading. I've known about this for a while, but was afraid to try it, thinking I might damage the heat element, so I haven't thrown them out - I have about 6 or 7 beds with chipped plates. Trust me when I say the heat element is pretty tough and can take a lot of work. Remove the glass and element by cutting the wires about a foot; you'll be using bullet connectors to reconnect later. The first step is to get the element free from the glass using a razor scraper - put a drop of oil on both sides of the blade, then carefully get under the element; the oil will help dissolve and make the process easier. After you've gotten it started, you can use WD40 or another oil - WD40 actually dissolves the glue holding the plate to the element. Next, try to get all the old adhesive off the element - I've tried several things, but WD40 usually dissolves most of it; then I used what I had on hand and found that Coleman fuel worked best (gas might work too, or brake fluid, which is also a great paint remover). You'll find that brake fluid eats through all paint it touches. It's not essential to remove all the old adhesive if you're putting paper on it - just make sure any thick chunks are off. If you clean all the adhesive off, you can put it back together with no paper. My elements have heat problems; yours might not. Then take a piece of paper and spray with 3M spray glue, attaching the element; cut around it. The heat elements I've removed also had overheating issues in the center - the paper acts as an insulator and helps spread the heat more evenly. Next, paint the paper with a can of paint to stiffen the element and make it more manageable - this will also prevent the heat sink compound from soaking into the paper. When putting back together, place the heat element under the sensor and apply heat compound on top of the sensor for better conduction between glass and sensor. Now here's the problem I've found: after cleaning two beds, the glass is warped in the upper direction when turned over - the hold-down clips pulled the ends down and leveled the glass, so some creative leveling will be needed to get printing again. Just make sure you check clearance at the highest point (now the center). You can now use both sides of the glass. To fill the chipped side, ensure the glass is clean and apply Bondo glazing and spot putty. Dry sand with a fine emery cloth, then clean with a wet rag - this won't scratch the glass if using fine emery cloth. This is the only thing I've found that holds up - there's still a temperature difference between the glaze and glass, but with a good coating for printing, it will still hold and doesn't chip again. I use Elmer's purple school glue; tried them all, and this is hands down the best. Now that you have removable glass, you can also try the hair spray thing - I never tried it because spraying inside a printer gets the stuff on everything except the bed. This also lets you apply tapes more easily.
With this file you will be able to print how to repair a chiped xyzprinting glass bed with your 3D printer. Click on the button and save the file on your computer to work, edit or customize your design. You can also find more 3D designs for printers on how to repair a chiped xyzprinting glass bed .
