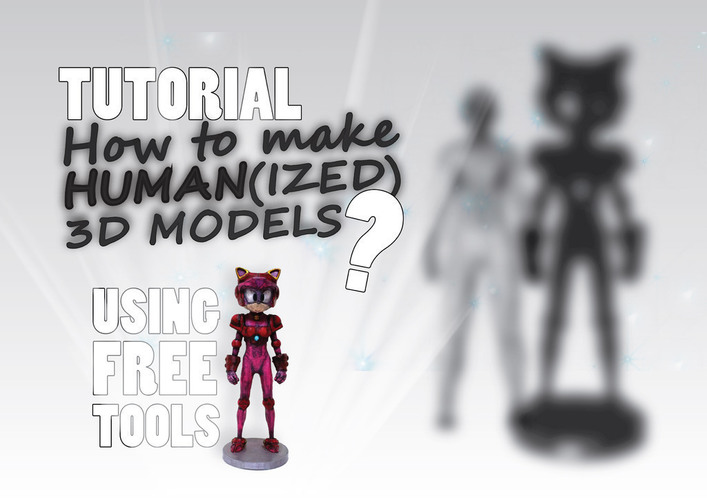
How to make Human(ized) 3D Models? (Tutorial + Example)
pinshape
This is a tutorial on how to create a humanized 3D model using MakeHuman and Meshmixer. Here's a step-by-step guide based on the provided text: **Step 1: Setting up MakeHuman** 1. Download and install MakeHuman. 2. Create a new project in MakeHuman. 3. Configure your human body by adding features such as arms, legs, heads, armor, and parts. 4. Save your model as a .DAE file. **Step 2: Finding useable features and pieces & first simple model mixing** 1. Find already available models that have the features you want to use for your model (e.g., arms, legs, heads, armor, parts). 2. Save these models in the folder created in Step 1. 3. Install Meshmixer and load your MakeHuman exported model into it. 4. Play around with the different tools in Meshmixer and get some experience using the brush, selection, and transform tool. **Step 3: Simple Model Mixing** 1. Add basic shapes available in Meshmixer to your model and transform and reshape them (e.g., add a sphere at the elbow position). 2. Use the symmetry function to edit your model in symmetry. 3. Save and close the project file. 4. Open the parts from Step 3 in a new Meshmixer project and start selecting the parts you want to use. 5. Save the remaining selection with a meaningful name (e.g., shield, head, glove). 6. Drag the cutted saved features into your MakeHuman Meshmixer project and use the Transform tool to scale them. **Step 4: Making your 3D humanized character printable** 1. Check your model in your favorite 3D printer program (slicer) and see if all layers are going to be printed as a solid piece. 2. If not, go back to the last step of Chapter 3 and fill up the added features that have holes or are not connected to the human. 3. Use Netfab or MakePrintable.com to repair your model and prepare it for 3D printing. **Tips and Reminders** * Use Ctrl for the opposite tool function (e.g., deselecting files). * Use the symmetry function to edit your model in symmetry. * The Transform tool lets you move, scale, rotate the whole model or selected parts. * Not all steps are mentioned precisely, and you may need to fix some small issues on your own. **Final Steps** 1. Print your 3D model! 2. Share it on Thingiverse! 3. Enjoy your humanized cartoon character standing on your desk! Note: When publishing your model online, give credit and make reference to the creator and links to the models you used.
With this file you will be able to print How to make Human(ized) 3D Models? (Tutorial + Example) with your 3D printer. Click on the button and save the file on your computer to work, edit or customize your design. You can also find more 3D designs for printers on How to make Human(ized) 3D Models? (Tutorial + Example).
