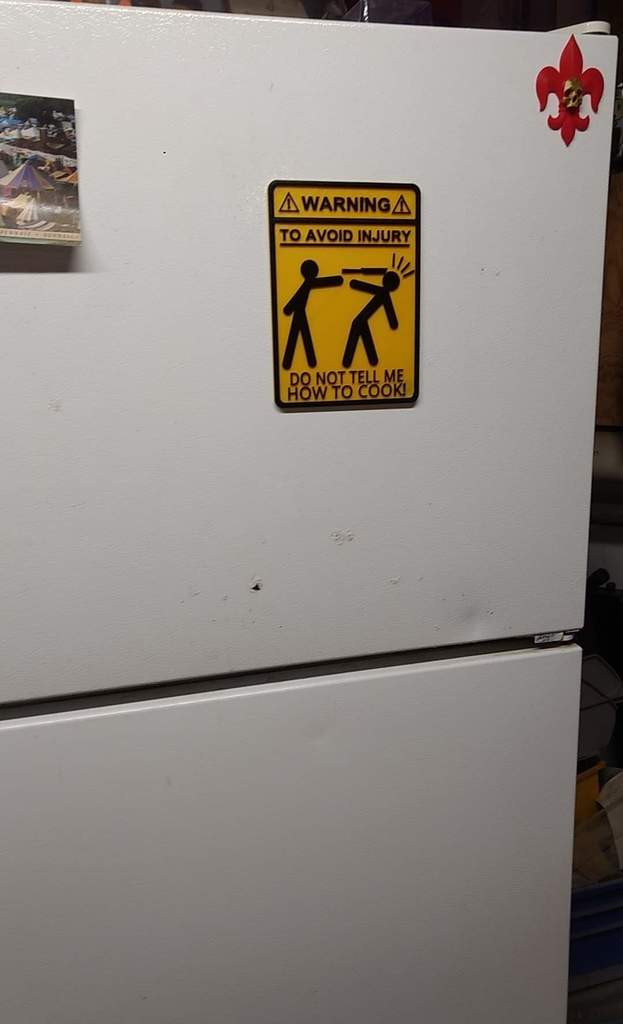
HOW_TO_COOK ReMix
thingiverse
Reworked Seafax's STL to integrate magnet options - I typically opt for 10mm x 2mm rounds (4 spots for them), but also included two spots for 20mm rounds. Print it with supports and only remove the spots you plan on using (it's on the back, who will notice?). The magnets should snap into place with minimal finger force, but I've used a short bar clamp or a pair of padded channel locks to help them in when fingers didn't get it. There's a 175mm tall model that is magnet only (removed the top tab) and a 125mm tall one that I left the tab on. I was asked by a friend to set up a G-code with a filament change for lettering, which is how this rabbit hole started. I'm including my Gcode for the one printed - it's a 4 x 10x2mm magnets option, no tab, and the filament change pause built in. Temperatures are set at 217/45, so adjust if necessary. Hopefully, this will help someone who is just starting with filament changes like my friend.
With this file you will be able to print HOW_TO_COOK ReMix with your 3D printer. Click on the button and save the file on your computer to work, edit or customize your design. You can also find more 3D designs for printers on HOW_TO_COOK ReMix.
