How to calibrate 3D printed thread for direct use
thingiverse
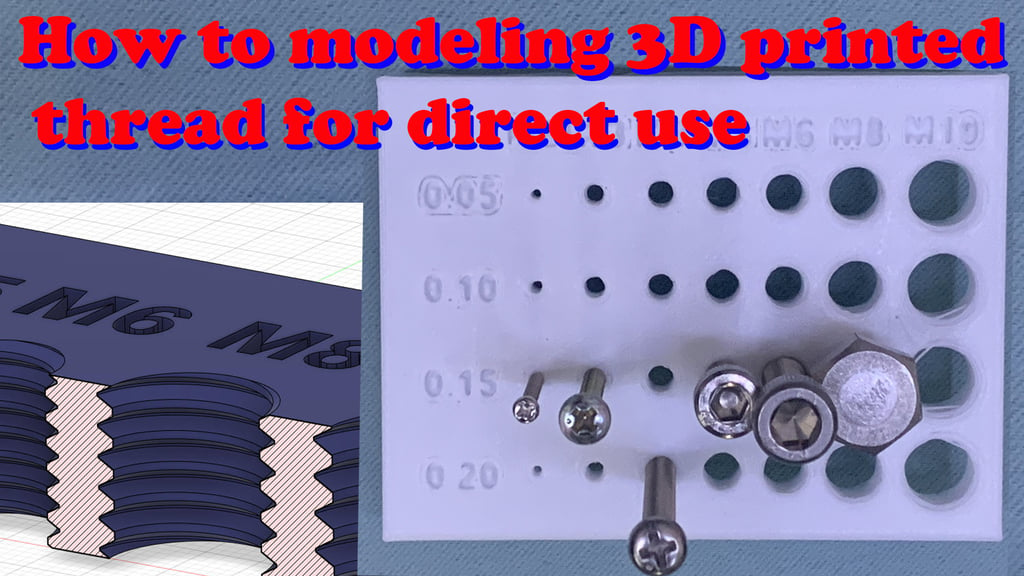
Nowadays, I'm tackling a wide range of projects that require bolts to be tightened securely. To achieve this, it's crucial to determine the optimal thread modeling technique for direct bolt tightening. In response, I've designed a calibration test plate that helps identify suitable parameters for your 3D printer. This isn't my first attempt at creating a solution, but I believe this example can inspire innovative ideas and make things run more smoothly. My hope is that viewers will derive valuable insights from even the smallest details and share their experiences with our community to collectively create a better world. Don't forget to subscribe to this channel for ongoing support – it's my greatest happiness! I'll continue to upload new content, aiming to provide helpful resources for you. Thank you in advance for your assistance. I utilize Fusion 360 for modeling the thread, adhering to the ISO format. To calibrate the thread, simply push both surfaces according to the numbers indicated on the left side, making no additional modifications. Project Details: Material: PLA Printing Temperature: 200 C Bed Temperature: 60 C Layer Height: 0.2 mm Infill Density: 50% No support required For more information and to watch this video in its entirety, visit my YouTube channel at https://youtu.be/RN6CwSipIsY
With this file you will be able to print How to calibrate 3D printed thread for direct use with your 3D printer. Click on the button and save the file on your computer to work, edit or customize your design. You can also find more 3D designs for printers on How to calibrate 3D printed thread for direct use.
