How To Build a DIY Robot Chassis
thingiverse
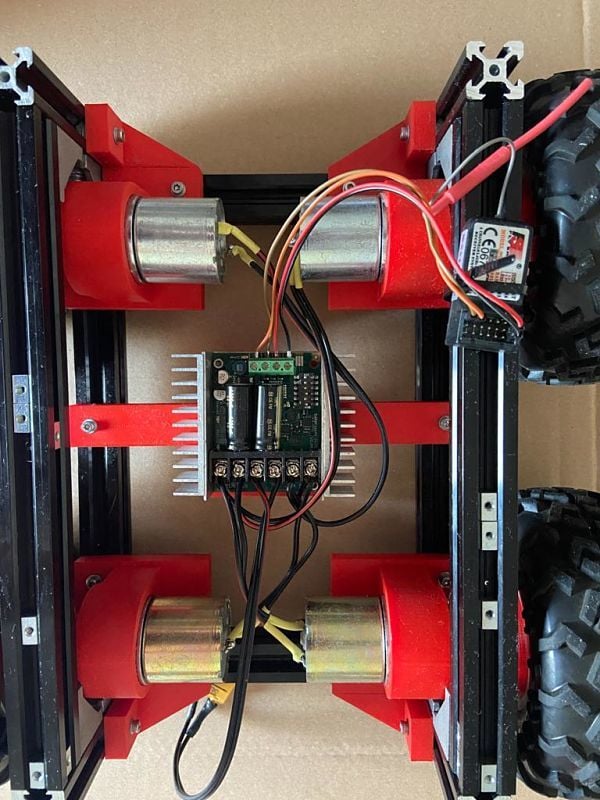
Building a DIY Robot Chassis from Scratch To bring your robot project to life, you'll need to create a sturdy base that can support its various components. A 3D printed DIY robot chassis is an ideal solution for this purpose. Here's what you'll need to print: 4 Outside Wheel Supports: These components will provide the necessary structure for your robot's wheels and ensure they are securely attached. 4 Wheel Support and Gear Assemblies: This part combines a wheel support with a gear, allowing for smooth and efficient movement of your robot. 2 Battery Holders: Keep your batteries safely stored and organized within these holders to prevent damage or tampering. 1 Sabertooth Support: This component is specifically designed to accommodate the Sabertooth motor controller, providing a secure fit and minimizing the risk of electrical shock. 2 Motor Supports: These components will provide a stable foundation for your robot's motors, ensuring they operate efficiently and effectively. 2 Motor Supports 2: Similar to the first set, these additional motor supports will further enhance the structural integrity of your robot chassis. To learn more about assembling this DIY robot chassis, visit https://www.intorobotics.com/diy-robot-chassis/ for a step-by-step guide.
With this file you will be able to print How To Build a DIY Robot Chassis with your 3D printer. Click on the button and save the file on your computer to work, edit or customize your design. You can also find more 3D designs for printers on How To Build a DIY Robot Chassis.
