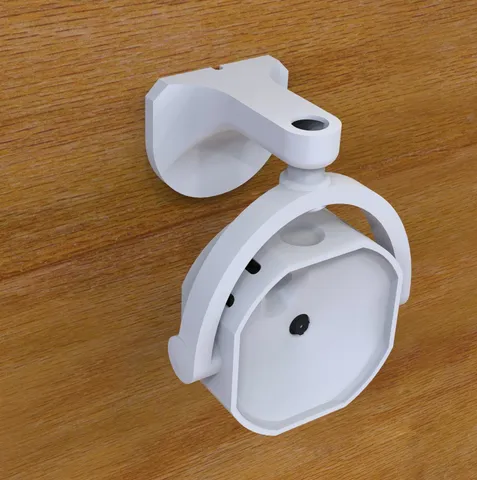
Housing for esp32 cam
prusaprinters
Updated 27.03.2024Pitch of the camera is now indexed in 8° steps. New files are marked with “27032024” Updated 18.06.2022Added wall bracket variant to use with micro usb breakout PCB. PrinitngCase front and wall bracket have to be printed with bed supportsAll other parts are optimized to print w/o supportsUse finer layer height for better look of the case front (0.15 recommended)AssemblyFigure out the orientation of the housing with respect to the swivel (at the moment esphome will not allow for image rotation, so rotate the housing appropriatly)Drill a hole (3-4mm) for the wires in one of 4 spots on the sides of the case front partPush wall bracket connector into wall bracket, this requires a bit of forceRun the wires, see the photo for referencesolder (or otherwise connect) the wires to esp32camplace the esp32cam into case front, run the wires out of freshly drilled holerun the writes through the case swivelrun the wires through wall bracket connector and then into the wall bracketAssemble the housingpress the case swivel onto wall bracket connectorpress case rear into case frontput the case front/rear assembly into the case swivelInstallationUse a 1-3 screws or two sided tape to attach wall mount to a wall (use a wall plug for drywalls etc.)Hang the camera assembly onto the wall mount, it just slides on top.Plug the power supply in and enjoy.
With this file you will be able to print Housing for esp32 cam with your 3D printer. Click on the button and save the file on your computer to work, edit or customize your design. You can also find more 3D designs for printers on Housing for esp32 cam.
