Household iCamera-1000 or similar 1/4-20 POE webcam wall/ceiling
thingiverse
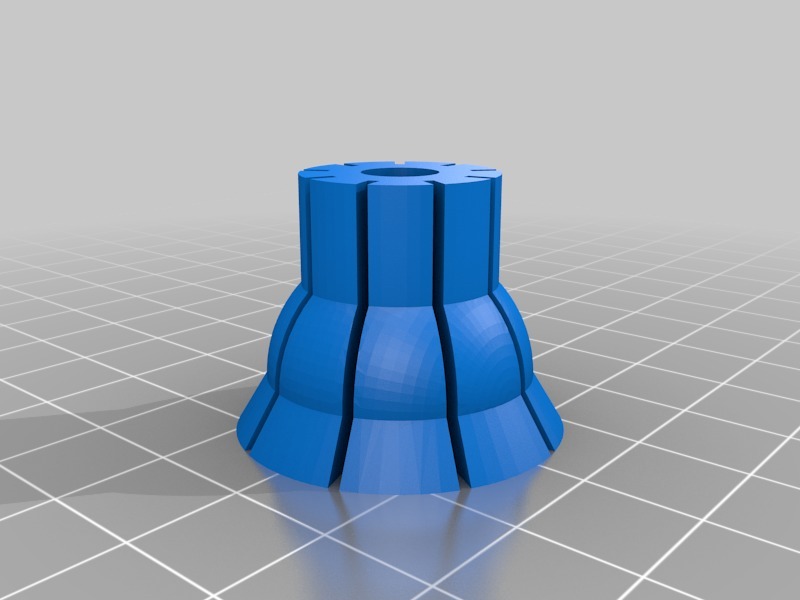
Human: You will need two 1/4-20 bolts and one 1/4-20 nut, with an optional fender washer. The Ball is designed to be removable, with supports that hold the ball in place, secured by a 1" 1/4-20 bolt. It's essential to check your slicer preview to determine at which layer the bolt opening will close up and pause at or near that layer, allowing you to use printer software to jog the nozzle out of the way for easy bolt insertion. Multiple copies can be printed simultaneously; simply pause at the correct layer to insert the encased bolts. I have included a modified version of the bolt_ball with the pause feature built in, but your setup may differ from mine. I'm using a USB connection to my PC and Reptier Host 2.0.0, which can accommodate the "@pause" command, but not if it's on an SD card - the printer will ignore the line to pause and continue printing. Assembly is relatively straightforward: insert one bolt into the ball clamp, then place the ball with the bolt in it into the clamp. Next, add that assembly to the base clamp, secure with a nut, and snug it down. Finally, trim the ball supports from the bolt using diagonal cutters, pliers, or a dremel cutter/hobby knife. Mount your camera, and you're done. The clamp is designed for effortless assembly without hand tools; in fact, you'll need only the same tension as if using a 1/4-20 wingnut and your bare hands.
With this file you will be able to print Household iCamera-1000 or similar 1/4-20 POE webcam wall/ceiling with your 3D printer. Click on the button and save the file on your computer to work, edit or customize your design. You can also find more 3D designs for printers on Household iCamera-1000 or similar 1/4-20 POE webcam wall/ceiling.
