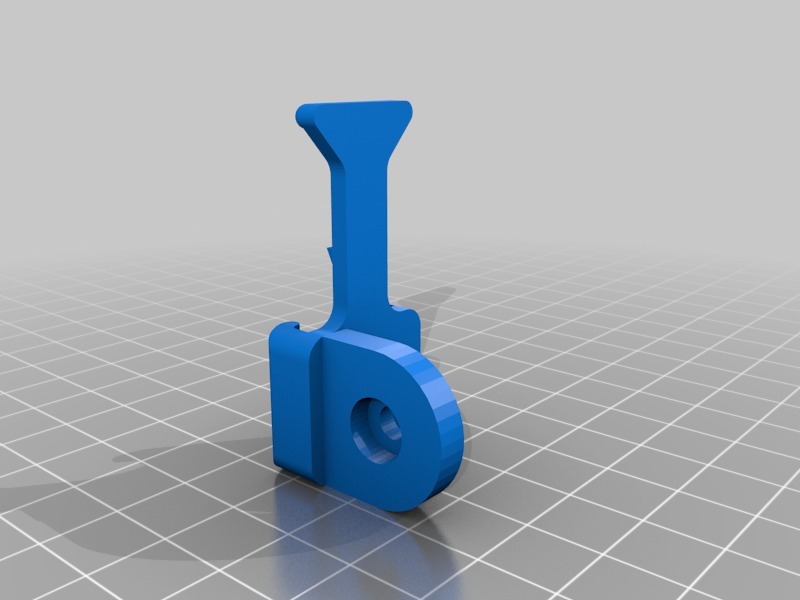
Hotshot Mount
prusaprinters
<p>These cost $10-15 shipped, so I thought I'd post this here.</p> <p>There are two versions, one that has a right angle mount for mounting to a seat post or seat stay, using those generic clamps that can be found cheaply & probably freely at your local bike shop or co-op.</p> <p>The right angle version has ridges to better mate with the clamp. This will hopefully prevent rotation, though I haven't tested how good of a mate it is with generic clamps.</p> <p>Second version is more for rear racks, using some piece of flexible steel that bolts to the end.</p> <h3>How I Designed This</h3> <p>https://www.amazon.com/Cygolite-Seatpost-Mount-For-Hotshot/dp/B009VUAB6I Based on measurements from one of these.</p> <p>36 ridges (I counted) on the original, with a 0.75 mm depth & 1 mm width, applied to the right angle version.</p> <p>I remixed another one before from another user (MTX rack mount), but the print came out needing a lot of filing, & the protrusion that prevents the light from ejecting was too small; I could rip it out easily by hand & it fell out on my way home. I upped it by 1 mm or so, which could be excessive. File away excess until the fit is good.</p> <p>The horizontal & vertical slot distances were too small previously, so I increased these as well.</p> <p>Surprisingly, the MTX rack mount dimensions from the STL were significantly lower than those from the real-life mount, which explains why it was so hard to fit.</p> <h3>Assembly & Materials</h3> <p>Simple to mount.</p> <p>Rack version: You'll need a hex-headed 4 mm bolt (pretty sure) & locknut. The inset captures the bolt head & prevents it from turning, so you only need an 8 mm wrench.</p> <p>Right angle version requires a 3 mm bolt (I think).</p> <p>Filing probably required for a good fit.</p> <p>Be careful with your print orientation. The end is very easy to break when you bend it to release the light.</p> <h3>Updates</h3> <p>1 Feb 17: Yeah, don't print this standing up to avoid supports along the inside edges of the top "rails". The flexing necessary to release the light will break the mount in two.</p> <p>24 Feb 17: Print it with the largest surface area parallel to the print bed. Use a knife to cut off any extra layers off of the protrusion. If not, it may be very difficult to bend the leg far enough to release the light & not break the mount. That was the only modification I needed. The slots were perfect with the first print.</p> Category: Replacement Parts
With this file you will be able to print Hotshot Mount with your 3D printer. Click on the button and save the file on your computer to work, edit or customize your design. You can also find more 3D designs for printers on Hotshot Mount.
