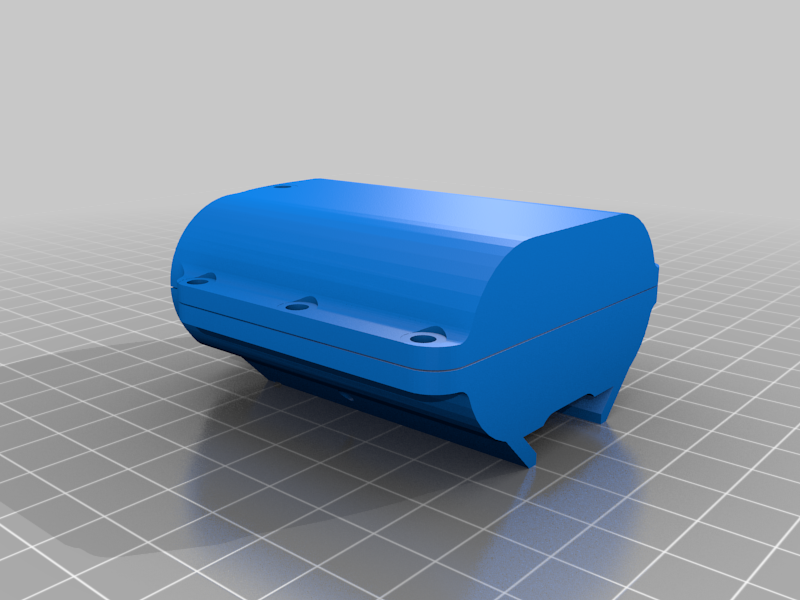
Hotronic 3.5Plus Rebuild
thingiverse
I have 3 sets of "bad" Hotronics. These, with an insole, keep your feet warm while skiing etc. If you have Raynauds, you probably know about them. The batteries go bad, rendering the VERY expensive battery pack useless. I've wanted to "rebuild" these for years, and have finally done it. I wasn't able to get an exact replacement battery (new one is larger diameter), forcing me into a 2-part design. What to do: Using (probably) a dremel with a cutoff wheel, split the housing. Don't cut into the batteries and try not to cut into the cap/top. De-solder the connections to the PCB and pry off the tabs on the batteries. Solder the tabs (or wire, really) on the new batteries, then onto the PCB. Remove clip retainer and clip. Print replacement housing. Drill small (.104") hole to hold the end cap on, using the print as a position guide. Assemble, using plastite screws. Assemble clip and clip retainer to new housing. Be sure the switch on the PCB is in the "off" position and the 0-4 dial is off as well when reassembling. This prints as one part, ad can be split/broken into 2 pieces. The gap during printing provides a slight "clamp" on the batteries/cap when assembled. Any C-size nimh battery should work, but I used these (they have higher capacity than the originals, too). https://www.amazon.com/dp/B08B39M5FD?psc=1&ref=ppx_yo2ov_dt_b_product_details I used these screws, https://www.amazon.com/dp/B00GDYDKJ0?psc=1&ref=ppx_yo2ov_dt_b_product_details There is a newer version (M4?) that appears, from the outside, to use 4 "AA" batteries. I'll be doing the same for that set eventually.
With this file you will be able to print Hotronic 3.5Plus Rebuild with your 3D printer. Click on the button and save the file on your computer to work, edit or customize your design. You can also find more 3D designs for printers on Hotronic 3.5Plus Rebuild.
