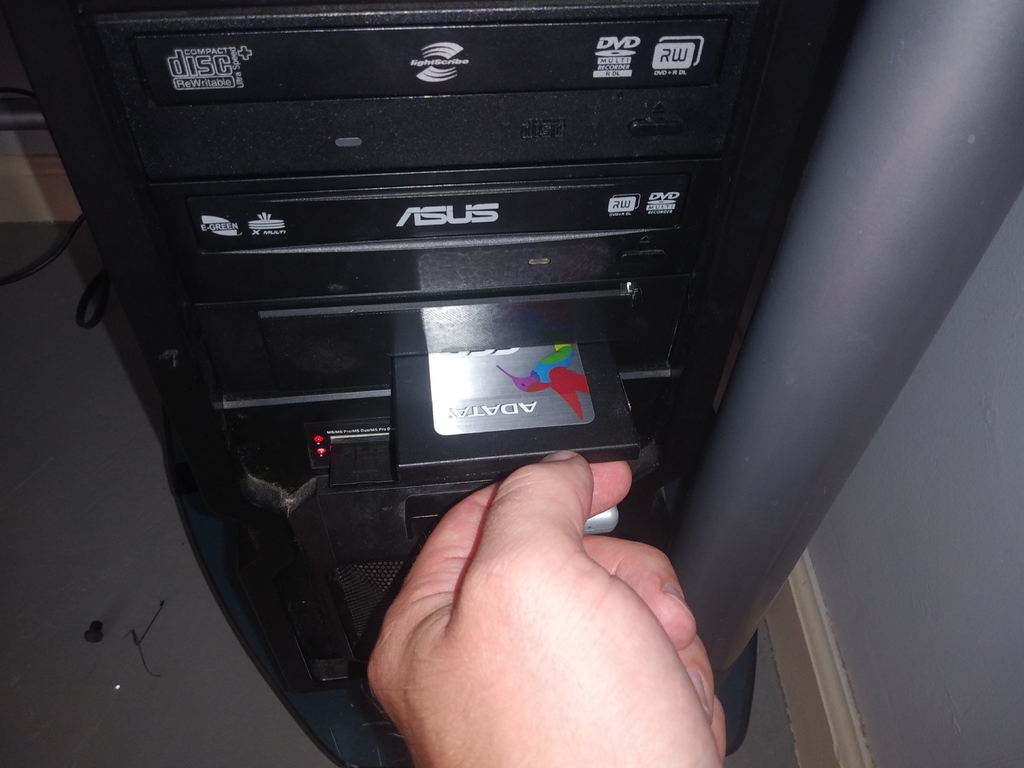
Hot Swap Bay!
thingiverse
I needed to make a hot swap bay that fit within my budget of $6, so I created one from scratch. To build it, simply attach a connector, a SATA-to-SATA connector with bolt holes, and secure everything in place using M3 screws and nuts. The required connector can be found here: https://www.amazon.com/gp/product/B01ESJ77U4/ref=ppx_yo_dt_b_search_asin_title?ie=UTF8&psc=1. An added bonus is that you can also mount your drives on the wall for maximum efficiency. To ensure perfect alignment, print all peg board pins with a modifier allowing 100% solid layers.
With this file you will be able to print Hot Swap Bay! with your 3D printer. Click on the button and save the file on your computer to work, edit or customize your design. You can also find more 3D designs for printers on Hot Swap Bay!.
