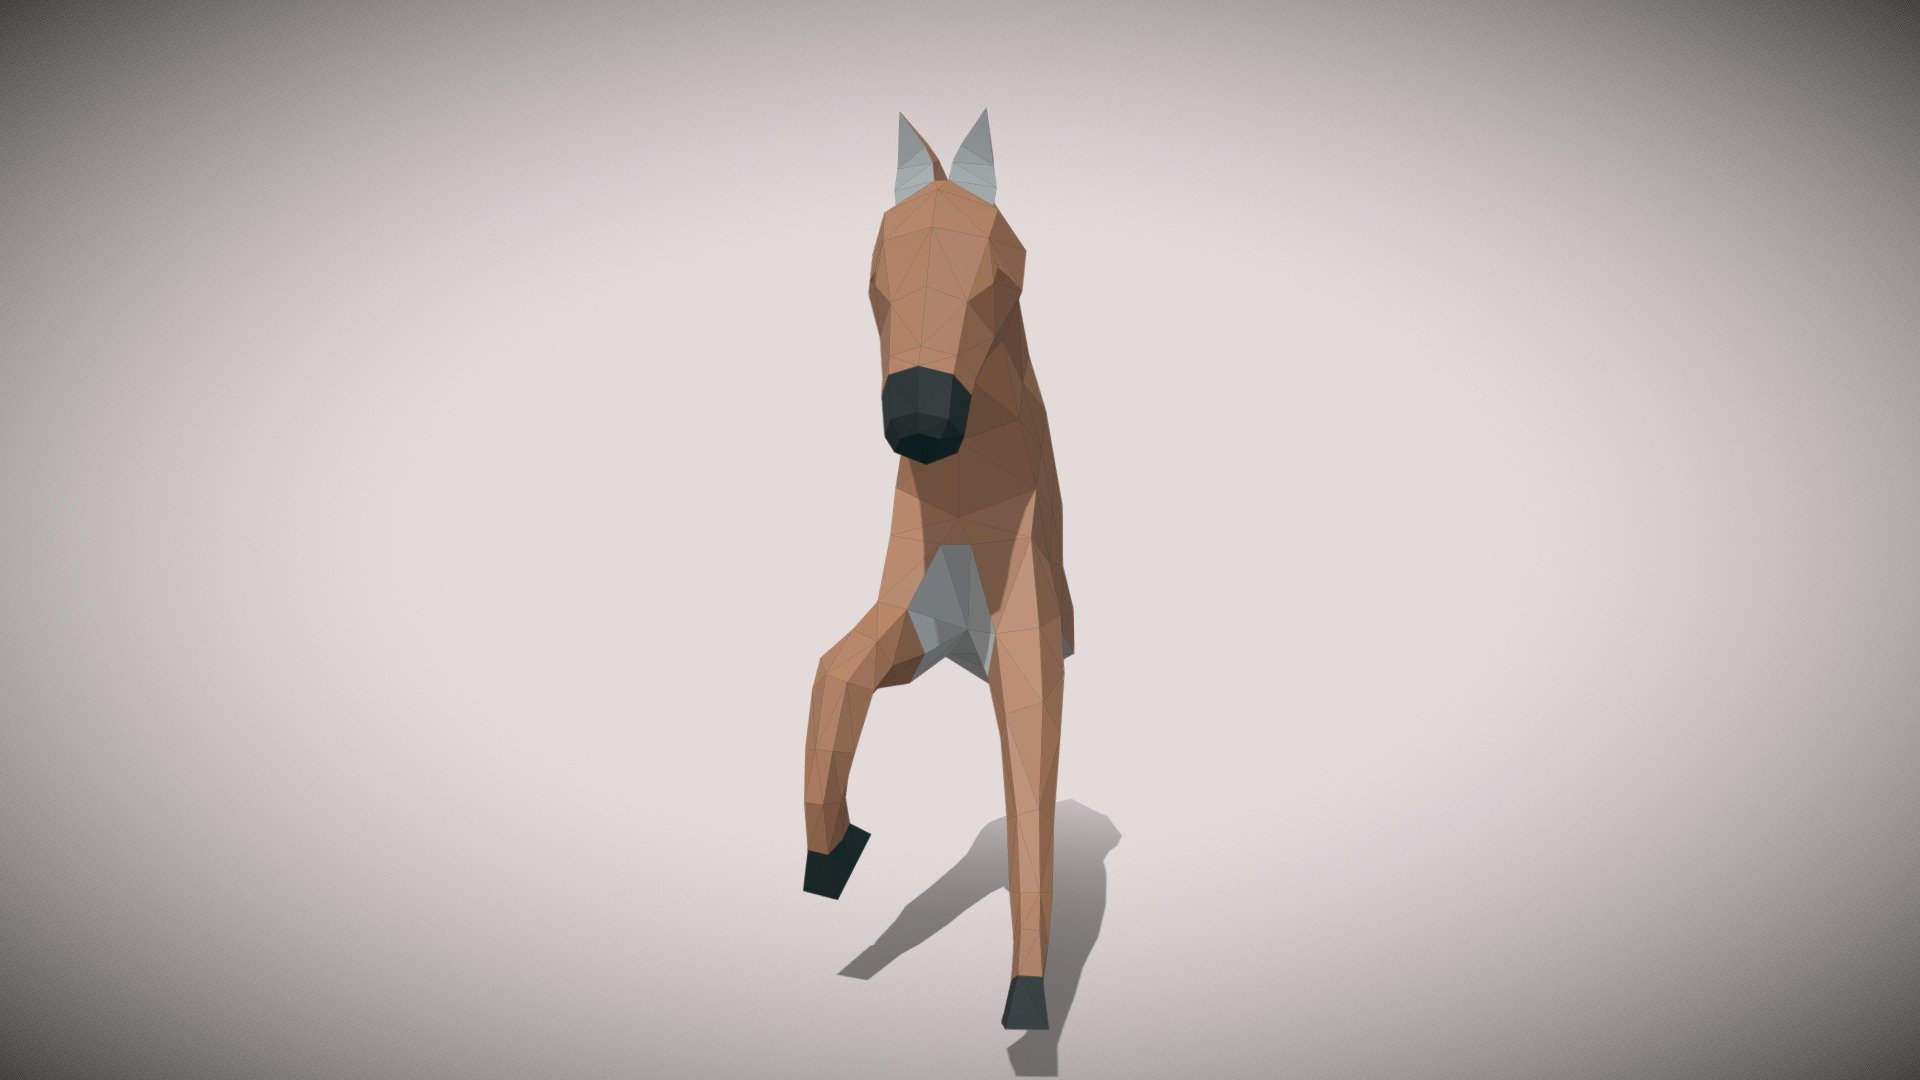
horse
sketchfab
Paper crafters, listen up! Are you ready to create a majestic DIY horse that's sure to impress? With just a few simple steps and some basic crafting skills, you'll be galloping towards a beautiful equine masterpiece in no time. First, gather your materials: cardboard, scissors, glue, and some paint or markers for added flair. Cut out the body, legs, and head of your horse from the cardboard sheets, making sure to get those proportions just right. Don't worry if it's not perfect – we're going for a rustic charm here! Next, assemble the pieces using that trusty glue gun. Make sure everything is secure and sturdy before moving on to the finishing touches. If you want to add some extra detail, now's the time to break out those paints or markers. Get creative with the colors and patterns – after all, your DIY horse should reflect your unique style! Once you've finished decorating, attach a small piece of cardboard or felt to create a tail and mane for your equine friend. You can also add some personality with eyes, nostrils, and a mouth using paint or markers. Finally, stand back and admire your handiwork! Your DIY horse is ready to prance into its new home – whether that's on a shelf, in a window, or even as a mobile. So go ahead, get crafty, and create a masterpiece that will make everyone smile.
With this file you will be able to print horse with your 3D printer. Click on the button and save the file on your computer to work, edit or customize your design. You can also find more 3D designs for printers on horse.
