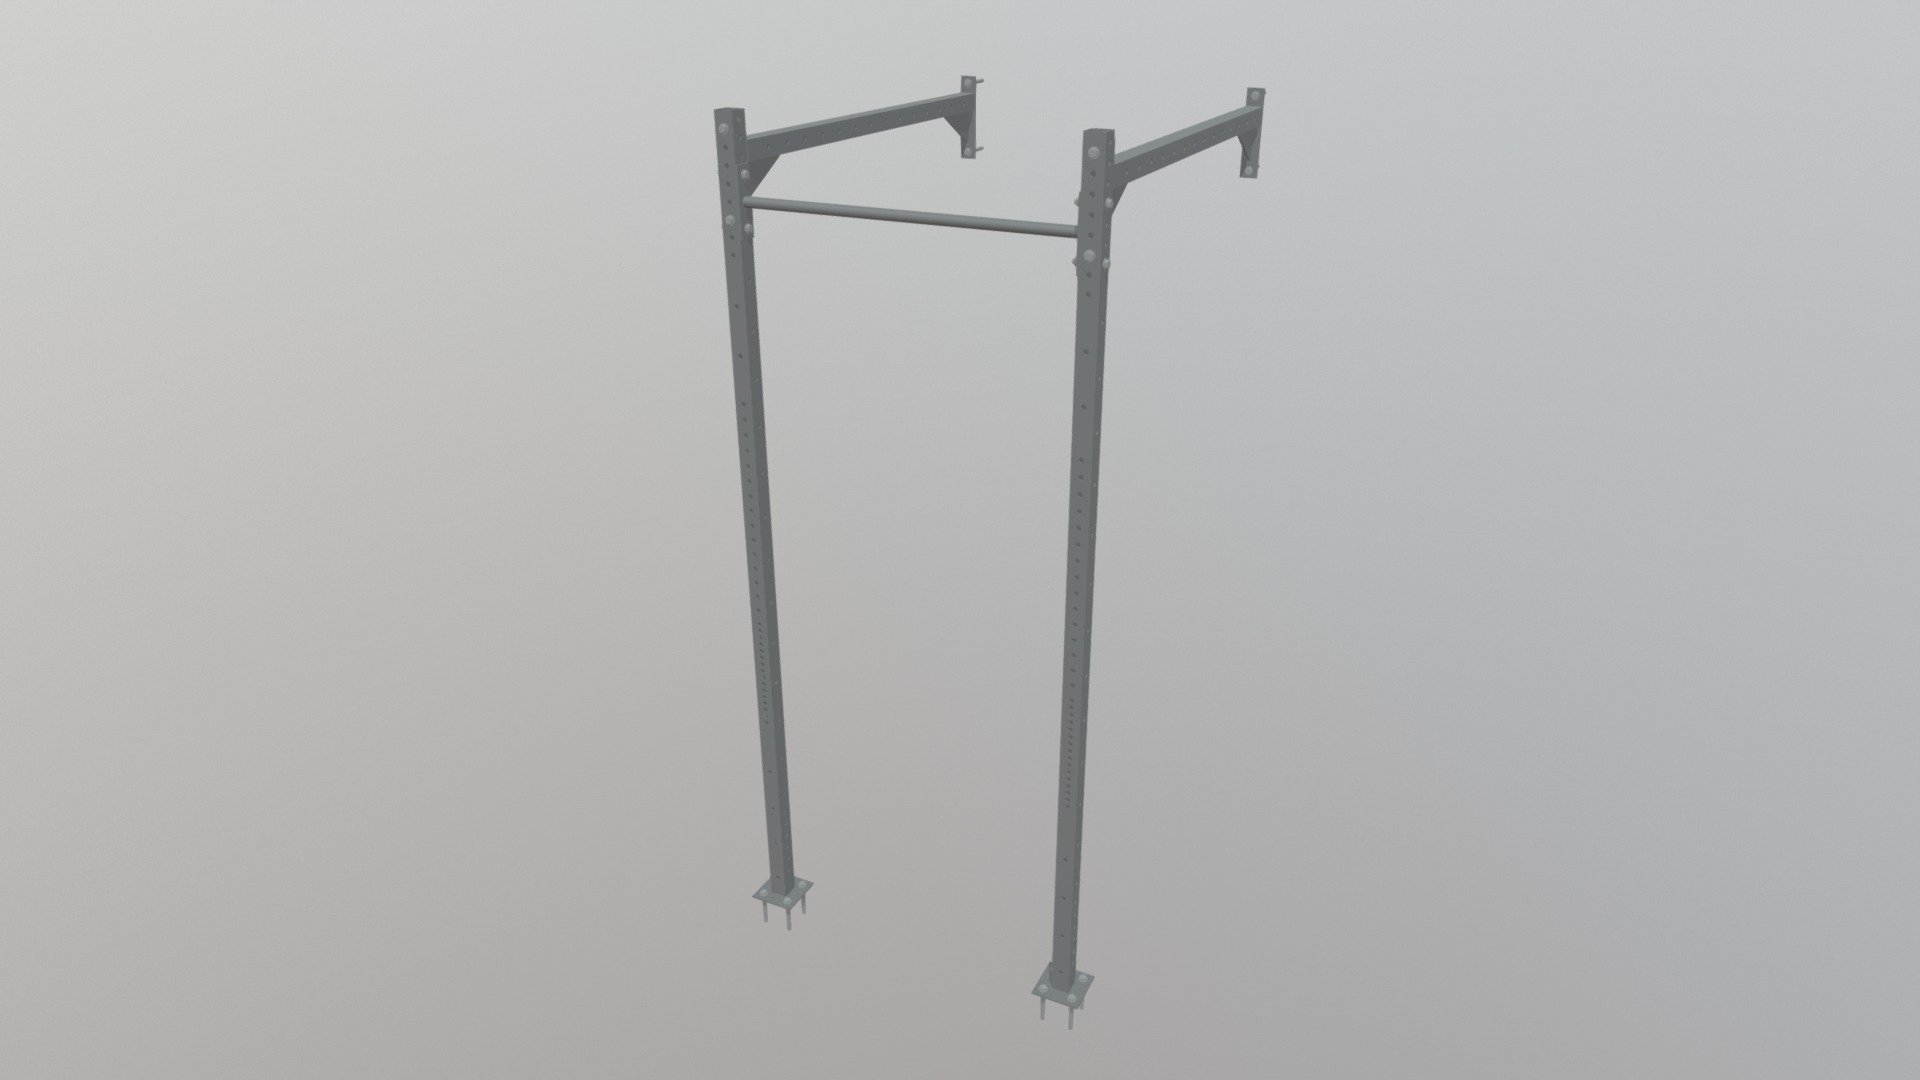
Horizontal Bar ● Стойка-турник
sketchfab
Designing a horizontal bar in Autodesk Inventor involves creating a basic 2D shape and then extruding it to achieve the desired length and depth. To start, navigate to the "Sketch" workspace and click on the "Rectangle" tool from the toolbar or use the keyboard shortcut "R". Draw a rectangle with dimensions that fit your design requirements. Next, select the entire sketch by pressing "Ctrl+A" and then go to the "Modify" tab in the ribbon. Click on the "Extrude" button and choose the direction you want the bar to extrude from. Specify the length of the extrusion using the input field or use a pre-defined value from the drop-down menu. To add depth to the bar, click on the "Torus" tool from the toolbar or press "Ctrl+Shift+E". Choose the direction of the torus and specify its radius using the input field. You can also use a pre-defined value from the drop-down menu. Finally, go back to the "Sketch" workspace and select the entire sketch again by pressing "Ctrl+A". Click on the "Finish" button in the ribbon to finalize the design.
With this file you will be able to print Horizontal Bar ● Стойка-турник with your 3D printer. Click on the button and save the file on your computer to work, edit or customize your design. You can also find more 3D designs for printers on Horizontal Bar ● Стойка-турник.