Hook It Game
prusaprinters
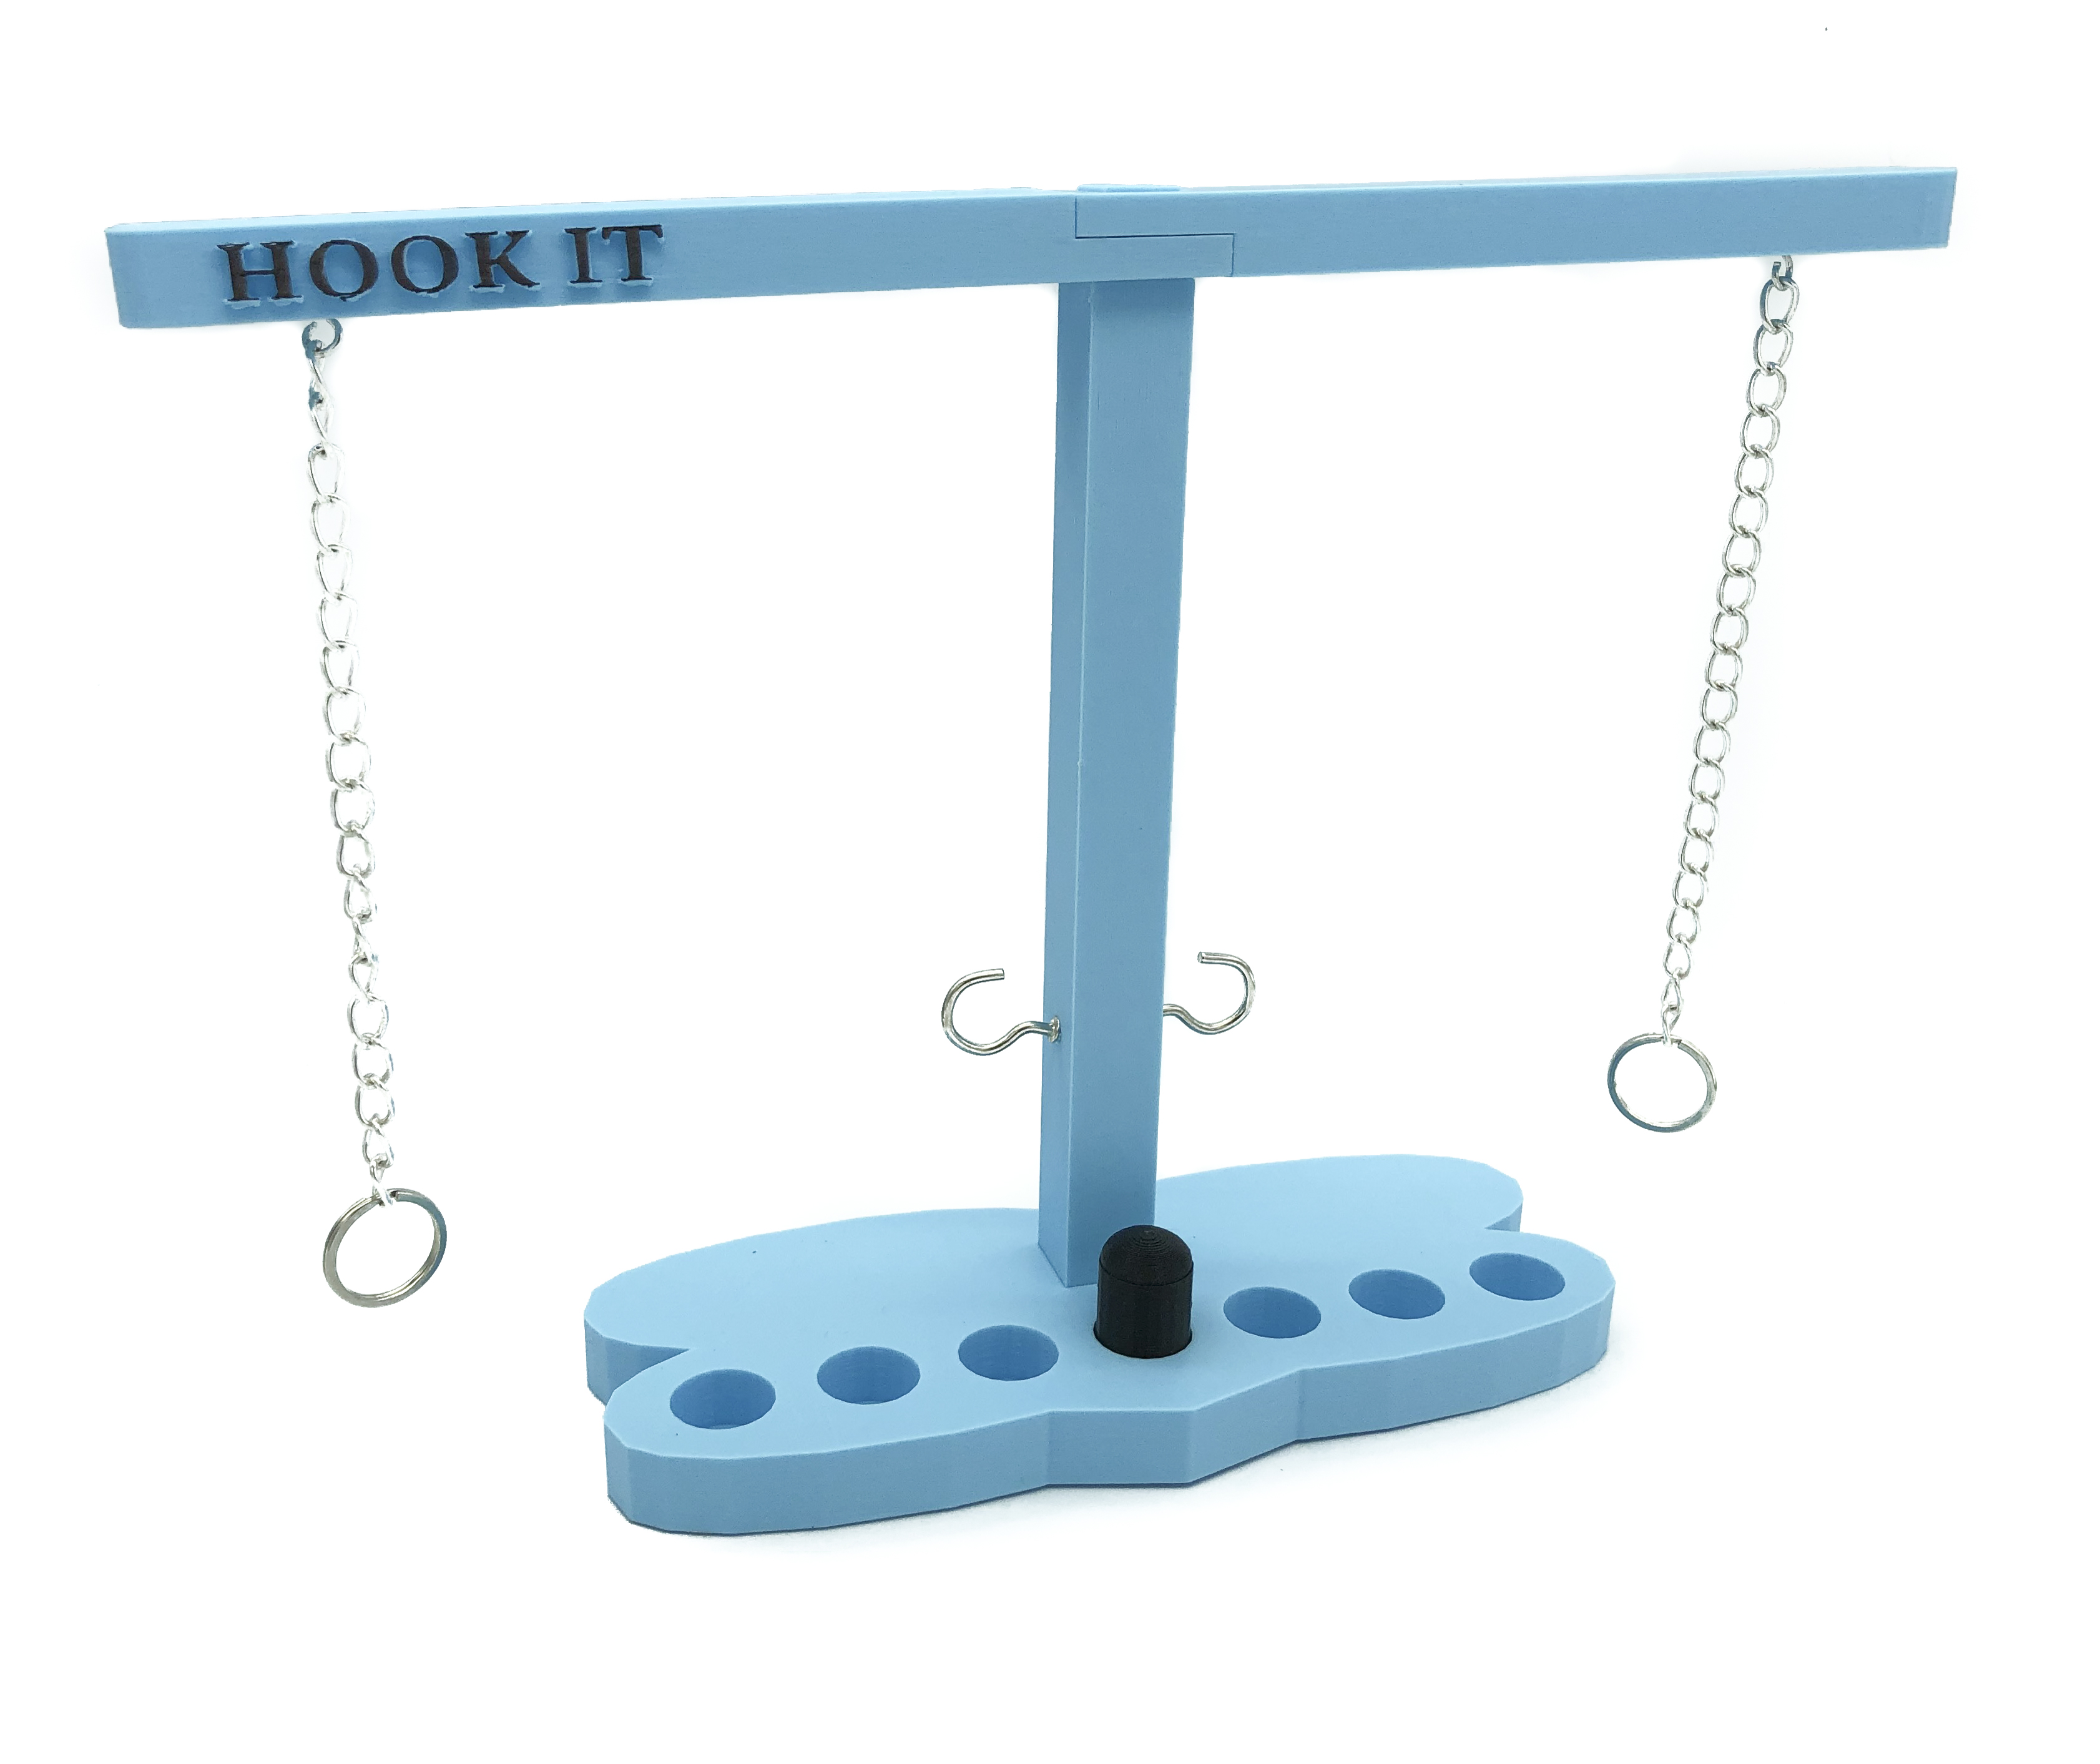
<p>This is my first model, made in Tinkercad. It is based on a game that I played as a child.</p><p>The extra items needed are listed below.</p><p><strong>Rules</strong></p><p>Take it in turns to swing the ring until it catches on the hook, a circular swing works best. Each time you Hook IT, then move the scoring piece one place nearer to your opponent's end of the board. The first person to reach the end of the board will win.</p><p><strong>Rule Variation Free for All</strong></p><p>Do not take turns, just keep swinging as fast as you can. The first person to reach the end of the board will win.</p><p><strong>Print Instructions</strong></p><p>This was printed on a Prusa MK3S+ in PLA with 10% fill.</p><p>Please use Support on Buildplate for the upright. All other parts do not need support.</p><p><strong>Extra Items Needed</strong></p><ul><li>2x small hooks for the Crossbars</li><li>2x larger, 1" hooks for the Uprights. </li><li>2x 1" rings, metal keyrings work perfectly</li><li>2x chains to hang the rings on. Fishing line or string can be used instead.</li></ul><p>Any of the items can be substituted or changed to make things harder or easier. For example: if you use larger rings or hooks, the game is easier.</p><p><strong>Assembly</strong></p><ul><li>Screw the 2 small hooks into the holes on the Crossbars.</li><li>Screw the 1" hooks into the Upright at a slight downward angle.</li><li>Place the upright into the base, with Hooks facing towards the sides, glue for extra stability.</li><li>Place both Crossbars onto the top, glue with superglue, making sure that they are level.</li><li>Attach chains to the Crossbars </li><li>Attach Rings to the bottom of the chains, making sure that the hook will end up in the centre of the ring.</li></ul>
With this file you will be able to print Hook It Game with your 3D printer. Click on the button and save the file on your computer to work, edit or customize your design. You can also find more 3D designs for printers on Hook It Game.
