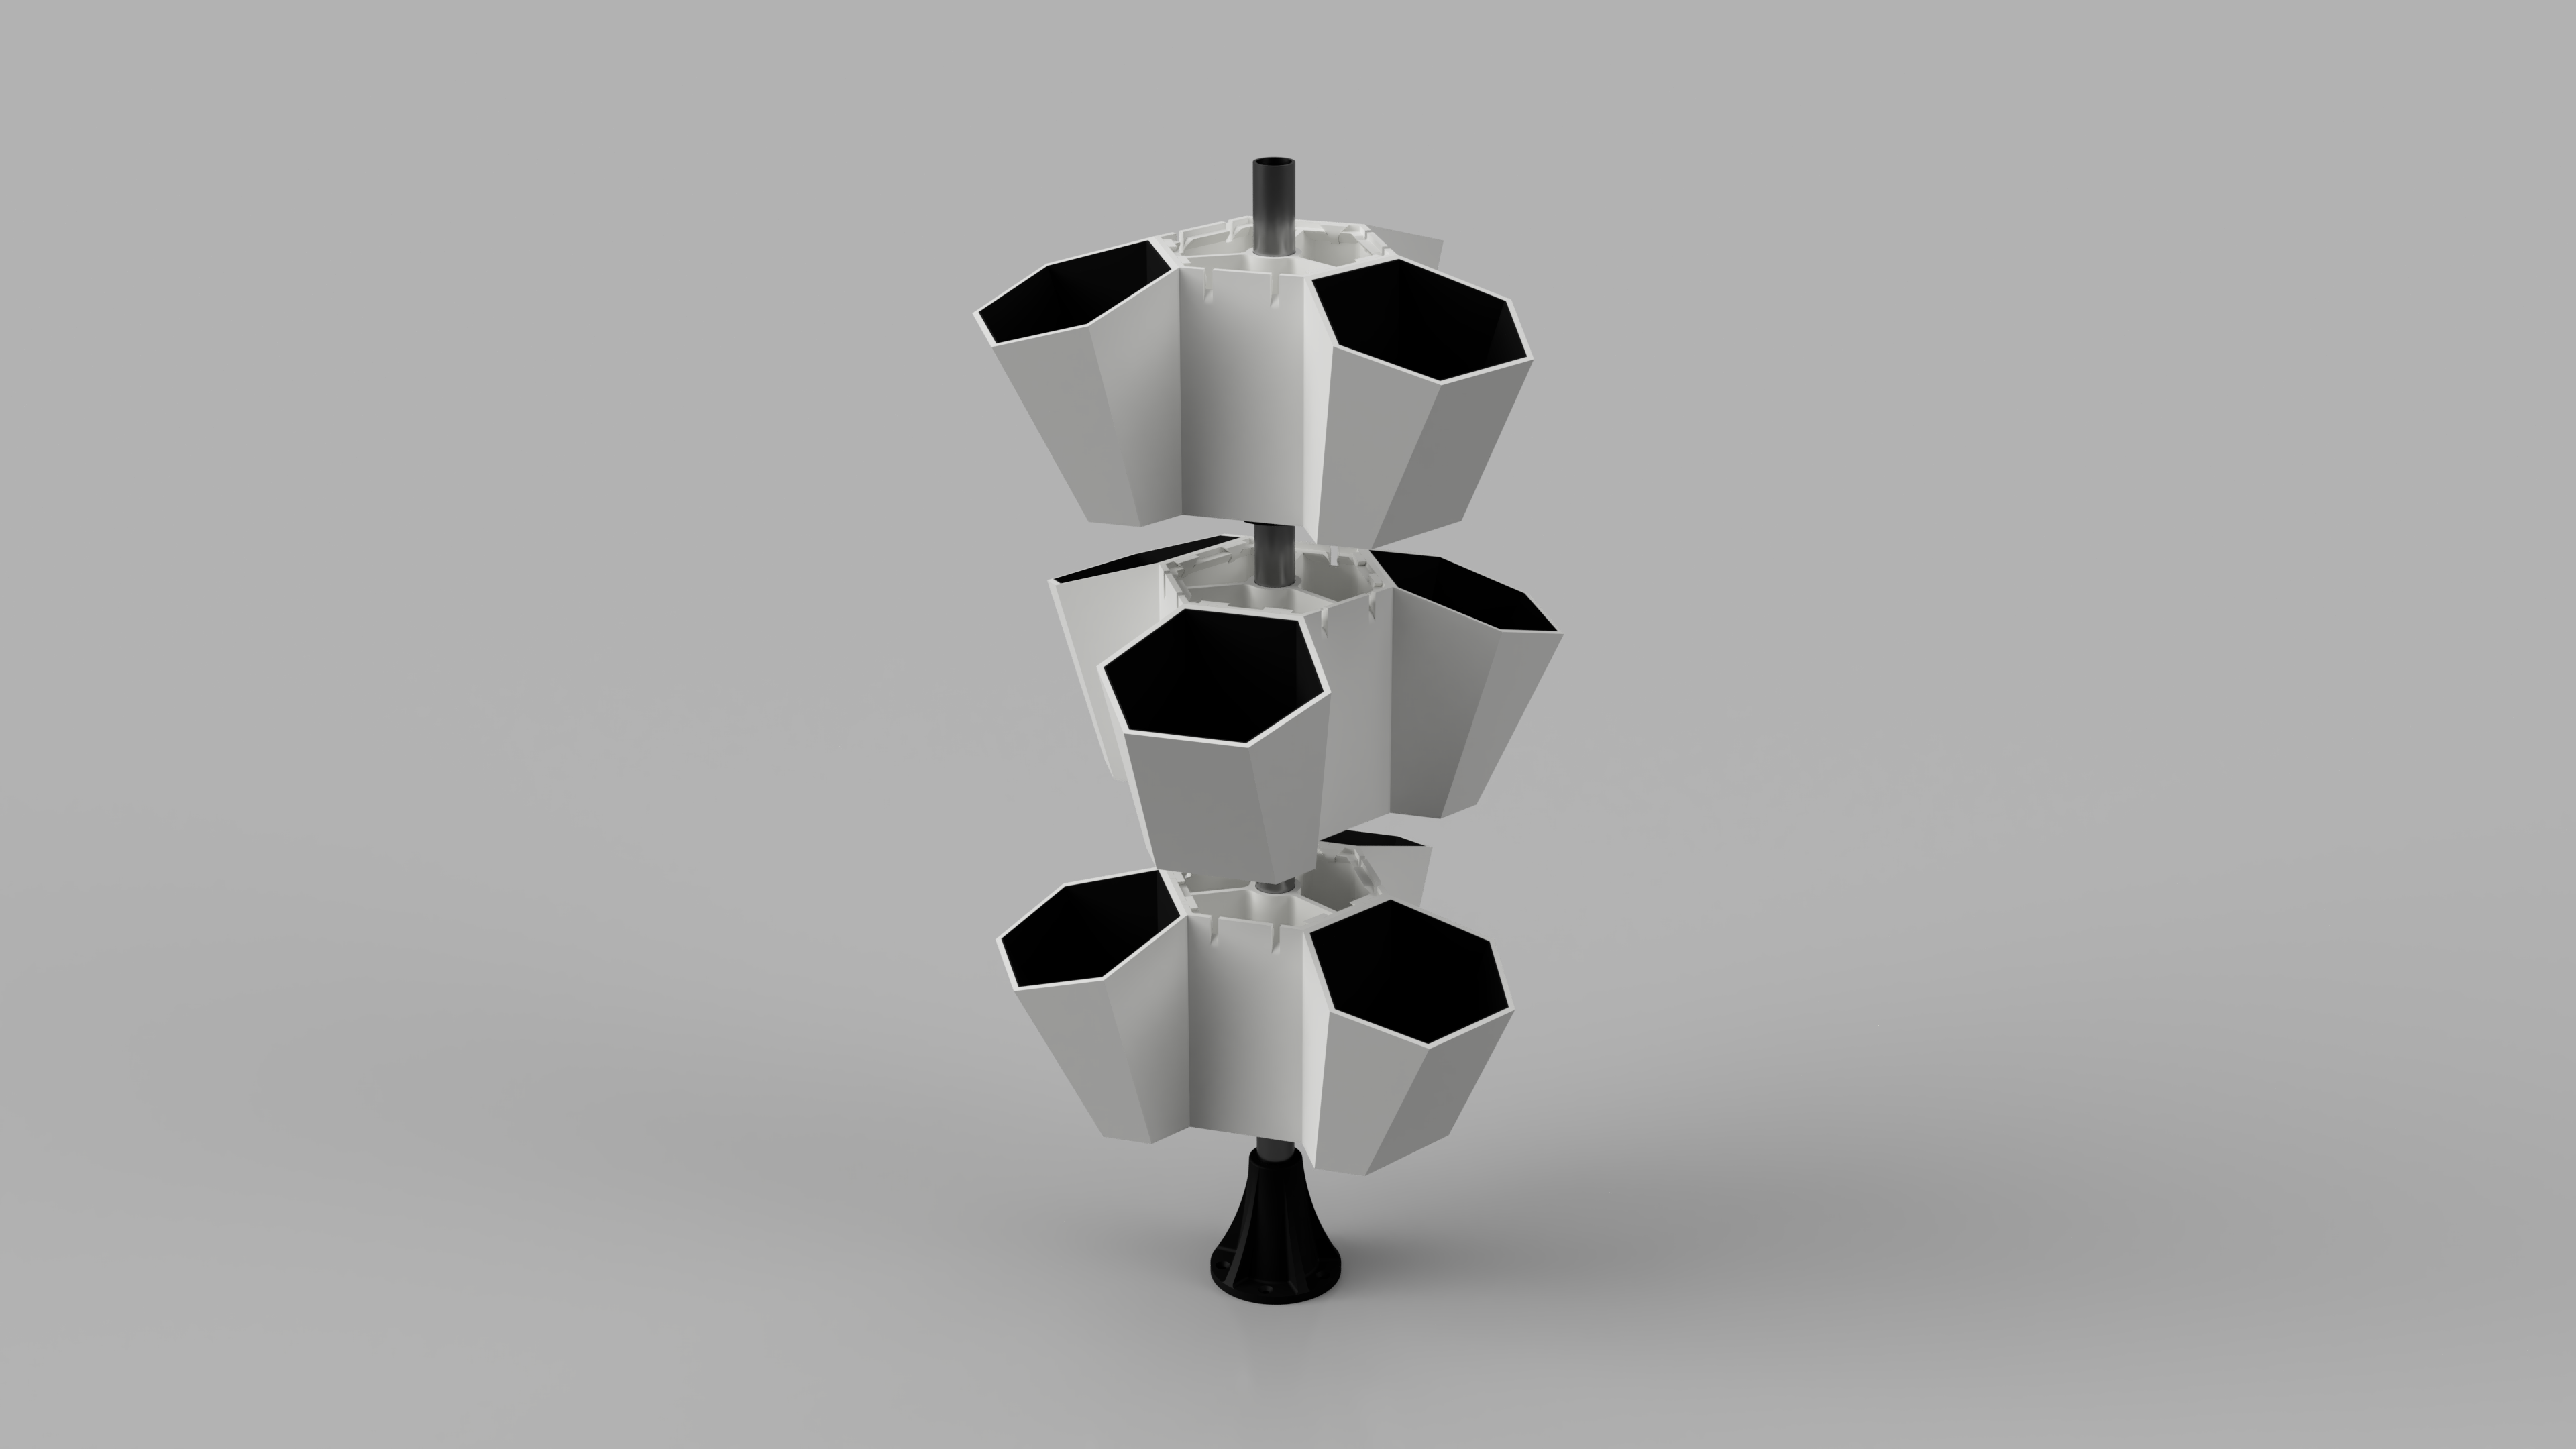
Honeycomb Pots (2 configurations)
prusaprinters
<p>A cool-looking, but also practical print - That's what I wanted to design to take part at the Pursa-Gardening-Contest. So I came up with this idea. A honeycomb pot-design, which can be configured in two ways:</p><ol><li>You can place one group (middle segment, 6x pots) on a regular table, shelf, etc. You also have the option to add the water-distribution plate on top. This plate distributes water to all six pots, when the water is poured on it.</li><li>You can stack such groups (up to six pots in one group) on a rod above each other. This makes it a perfect option for a contraption to start growing plants like beens. The groups can be rotated on the rod and the spacing can be adjusted. In this configuration, the distribution-plate is not usable.</li></ol><p>Furthermore, this design has interchangeable pot-inlays with holes. This is very important, because otherwise mold would start growing in the pot, which isn't beneficial for the plants health.</p><p> </p><h4>Materials</h4><p>Filament: PLA and/or PETG</p><p>Soil, plants/seeds ;-)</p><p>Configuration 1: nothing special needed</p><p>Configuration 2:</p><ul><li>M5 nuts, and screws OR 20mm metall clamping ring</li><li>20mm curtain rod</li><li>A piece of wood as the base</li></ul><h4>Print instructions</h4><figure class="table"><table><tbody><tr><td> </td><td>material</td><td>perimeters</td><td>layer-height</td><td>support-structures?</td></tr><tr><td>middle segment; pots</td><td>PLA</td><td>3</td><td>0.3mm</td><td>no</td></tr><tr><td>inlays</td><td>PLA</td><td>not important (very thin)</td><td>0.3mm</td><td>no</td></tr><tr><td>water-distribution-plate</td><td>PLA</td><td>2 (not important)</td><td>0.3mm</td><td>yes (only part)</td></tr><tr><td>rod-clamp</td><td>PETG</td><td>4-5</td><td>0.3mm</td><td>no</td></tr><tr><td>rod-holder</td><td>PETG</td><td>4-5</td><td>0.3</td><td>no</td></tr></tbody></table></figure><p>The printer I used is a Prusa i3 MK3S, but all the parts should fit on the Mini's print-bed.</p><p> </p><h4>Assembly instructions</h4><p>I tried to make the assembly-process as easy as possible. Therefore it is realy straight forward and doesn't require a lot of tools, post-processing or special parts.</p><p>For configuration 1 (table) you just have to hook the pots into the slots in the middle segment. The inlays can be filled with soil and planted. They just slide into the pots.<br>If you like, you can place the distrubution-plate on top of the whole contraption.</p><p>For configuration 2 (rod) you perform the same steps, just without the distribution-plate. You'll also have to screw the rod-holder to a piece of wood or similar. A regular 20mm curtain rod should fit right in. After that, you can mount the first clamping-ring on the rod. If you decide to use the printed one, you will have to put in a M5 screw and corresponding nut. If you decide to buy and use a metall one, you will just have to assemble that. Then you can slide one group on the rod until it rests on the clamping ring. </p>
With this file you will be able to print Honeycomb Pots (2 configurations) with your 3D printer. Click on the button and save the file on your computer to work, edit or customize your design. You can also find more 3D designs for printers on Honeycomb Pots (2 configurations).
