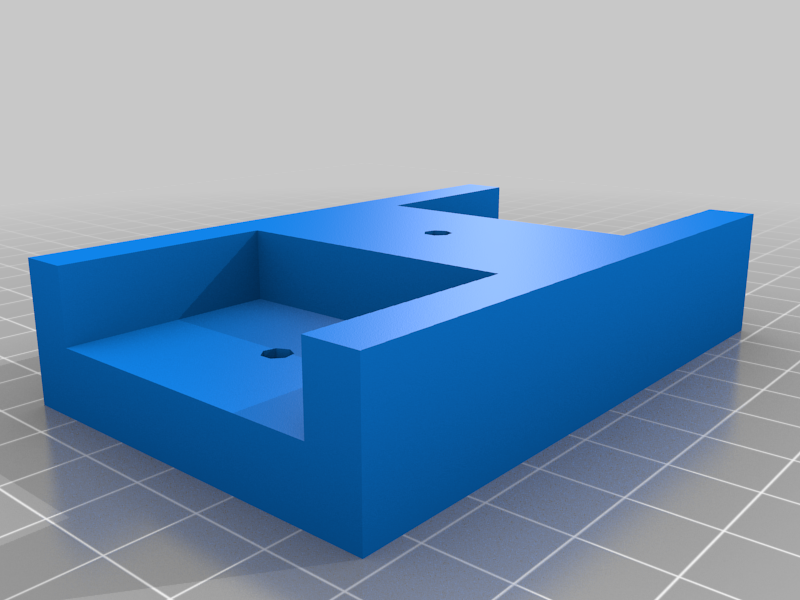
Honeycomb Alpha/Bravo Under-Desk Mounting System
thingiverse
This is an under-desk mounting system for the Honeycomb Alpha Flight Yoke and Bravo Throttle Quadrant. You can mount them both with two end pieces and a middle piece, or you can mount either one individually with two end pieces. For one device, you will need: 4x M4x1.5/38mm screws. Flat tip head recommended. 4x 1.25" drywall screws (assumes a 3/4" thick desk - adjust accordingly). For two devices, you will need: 8x M4x1.5"/38mm screws 7x 1.25" drywall screws. You can print the mounting plate as a single piece for each device, or you can print the left and right sections separately (useful if your print bed is not wide enough). Assembly steps: 1. Remove the four factory mounting screws (two outside, two inside) on top of the device. 2. Attach the mount to the device using 4 M4x1.5"/38mm screws. 3. Loosely drywall screw one latch enclosure into your desk using outside screw hole. I recommend having the outside of the latch enclosure be flush with the edge of your desk. A C-clamp is very helpful for positioning the latch enclosure while screwing it into your desk. 4. Insert device into loosely attached latch enclosure, push it as tight as you can get it. 5. Add 2nd screw that goes through latch into desk, tighten both screws. 6. Add a latch enclosure on other side of device and screw it into the desk, again keeping it tight against the mount. Use a second side latch enclosure piece for a single Honeycomb device, or use a middle latch enclosure piece if you want to connect it to mount a second device. 7. If adding a second device, use the middle latch enclosure piece to begin installing that second device, as in step 4.
With this file you will be able to print Honeycomb Alpha/Bravo Under-Desk Mounting System with your 3D printer. Click on the button and save the file on your computer to work, edit or customize your design. You can also find more 3D designs for printers on Honeycomb Alpha/Bravo Under-Desk Mounting System.
