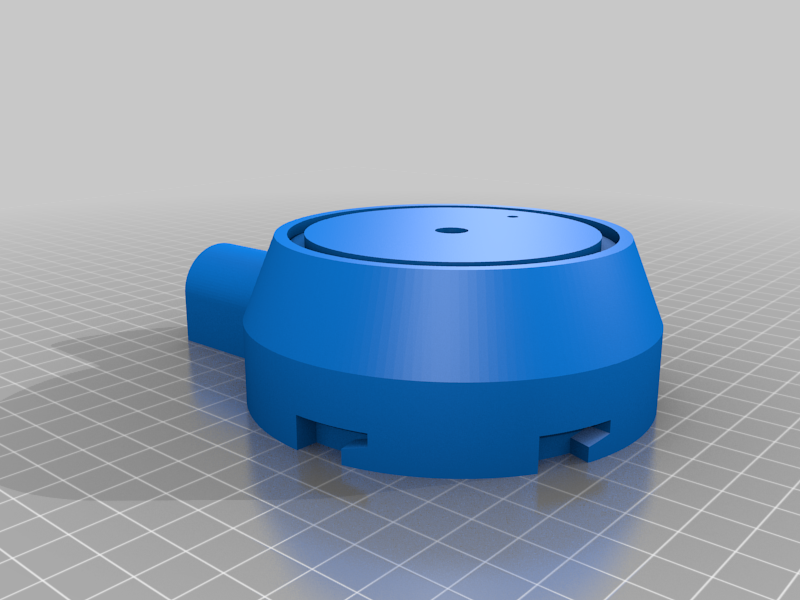
Homematic Sun Sensor Case
thingiverse
Here are the rewritten assembly instructions: **Building Your Own Homematic Sun Sensor** Are you tired of relying on flimsy store-bought sun sensors that can't withstand the elements? Do you want to take your smart home automation to the next level with a high-quality sensor that's custom-built for your specific needs? Look no further! With these easy-to-follow assembly instructions, you'll be well on your way to creating your very own Homematic Sun Sensor in no time. **Gather Your Materials** Before we dive into the nitty-gritty of assembly, make sure you have all the necessary materials within arm's reach. You'll need: * 1 x Homematic sensor module (available online or at your local electronics store) * 1 x JST-XH connector * 1 x Waterproof enclosure (to protect your sensor from the elements) * 1 x Power supply cable (to keep your sensor powered up and running smoothly) **Step 1: Assemble the Sensor Module** First things first, let's get our sensor module assembled. This is the brain of our operation, so make sure you handle it with care. Take the JST-XH connector and carefully attach it to the sensor module according to the manufacturer's instructions. **Step 2: Install the Waterproof Enclosure** Now that our sensor module is up and running, let's encase it in a waterproof enclosure to protect it from the elements. This will ensure your sensor stays functional even in harsh weather conditions. Simply snap the enclosure over the sensor module, making sure everything is securely fastened. **Step 3: Connect the Power Supply** The final step is to connect our power supply cable to keep our sensor powered up and running smoothly. Make sure the connections are secure and snug, then plug it into a nearby outlet. **Step 4: Test Your Sensor** Congratulations! You've just built your very own Homematic Sun Sensor. Now it's time to put it through its paces. Place the sensor in direct sunlight and observe how it responds. Adjust the sensitivity settings as needed to fine-tune your sensor for optimal performance. **Troubleshooting Tips** Don't worry if things don't go exactly according to plan - we've got you covered! If your sensor isn't responding correctly, try checking the following: * Make sure all connections are secure and snug. * Check that the power supply is functioning properly. * Adjust the sensitivity settings for optimal performance. **Conclusion** With these easy-to-follow assembly instructions, you've successfully built your very own Homematic Sun Sensor. Take pride in knowing you've created a high-quality sensor that's custom-built to meet your specific needs. Happy building!
With this file you will be able to print Homematic Sun Sensor Case with your 3D printer. Click on the button and save the file on your computer to work, edit or customize your design. You can also find more 3D designs for printers on Homematic Sun Sensor Case.
