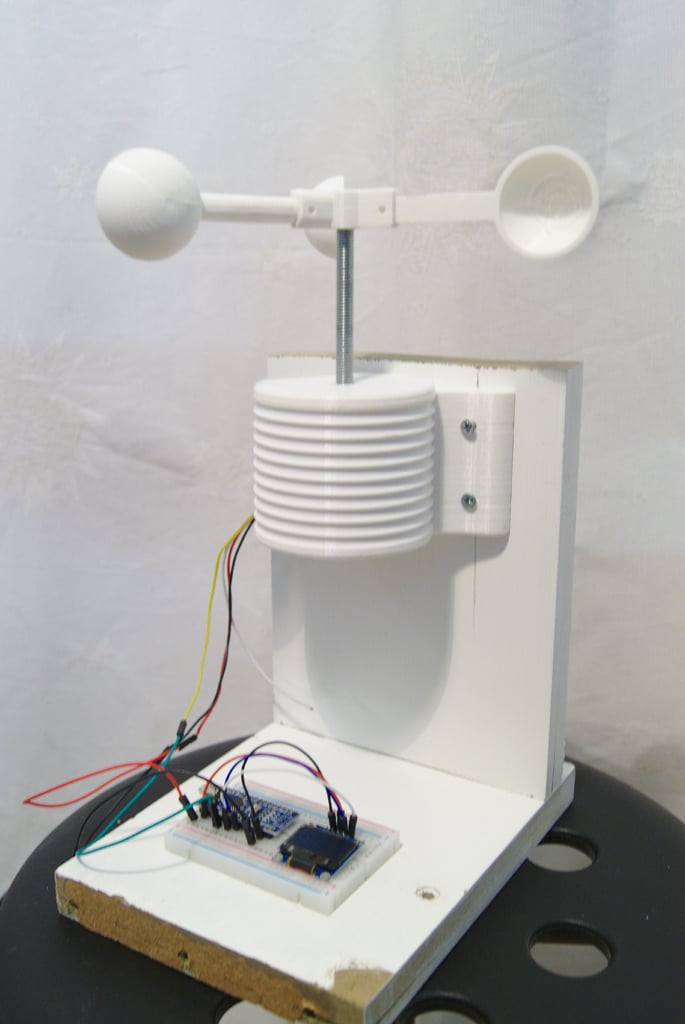
Homemade anemometer
thingiverse
This device is used to build a homemade anemometer with an Arduino and an optical sensor. The complete project can be found at this link: http://thegoodwire.fr/article.php?articleId=17. Here's how the anemometer works: it uses three buckets to turn wind speed into rotational speed. Cups are attached to an axis, a 8mm threaded rod, so we need to know how fast that axis is spinning. Inside the box, there's a wheel with five spokes held on the axis by two nuts. In front of those spokes is an optical sensor, which measures distances and sends signals between 0V (far away) and 5V (very close). I connected it to an Arduino, which counts variations in the signal when the spoke goes into or out of the field. The result is the rotational speed. To get wind speed, we can use this formula: V = N * C, where V is wind speed, N is axis rotation speed, and C is a coefficient that depends on device geometry and friction between the axis and structure. Since it's hard to calculate that coefficient, we need to calibrate our device using measures from a reference device. To attach the axis to the 3D printed box, I used two bearings. The bottom ones were glued into holes, while the top ones just slid into slots in the cover and secured with nuts. Check out this demonstration video: https://www.youtube.com/watch?v=h5KGww3zpYo. You can download the Arduino file here: http://thegoodwire.fr/fichiers/Anemometre_-_Station_meteo_connectee_part_3/Anemometre.ino.
With this file you will be able to print Homemade anemometer with your 3D printer. Click on the button and save the file on your computer to work, edit or customize your design. You can also find more 3D designs for printers on Homemade anemometer.
