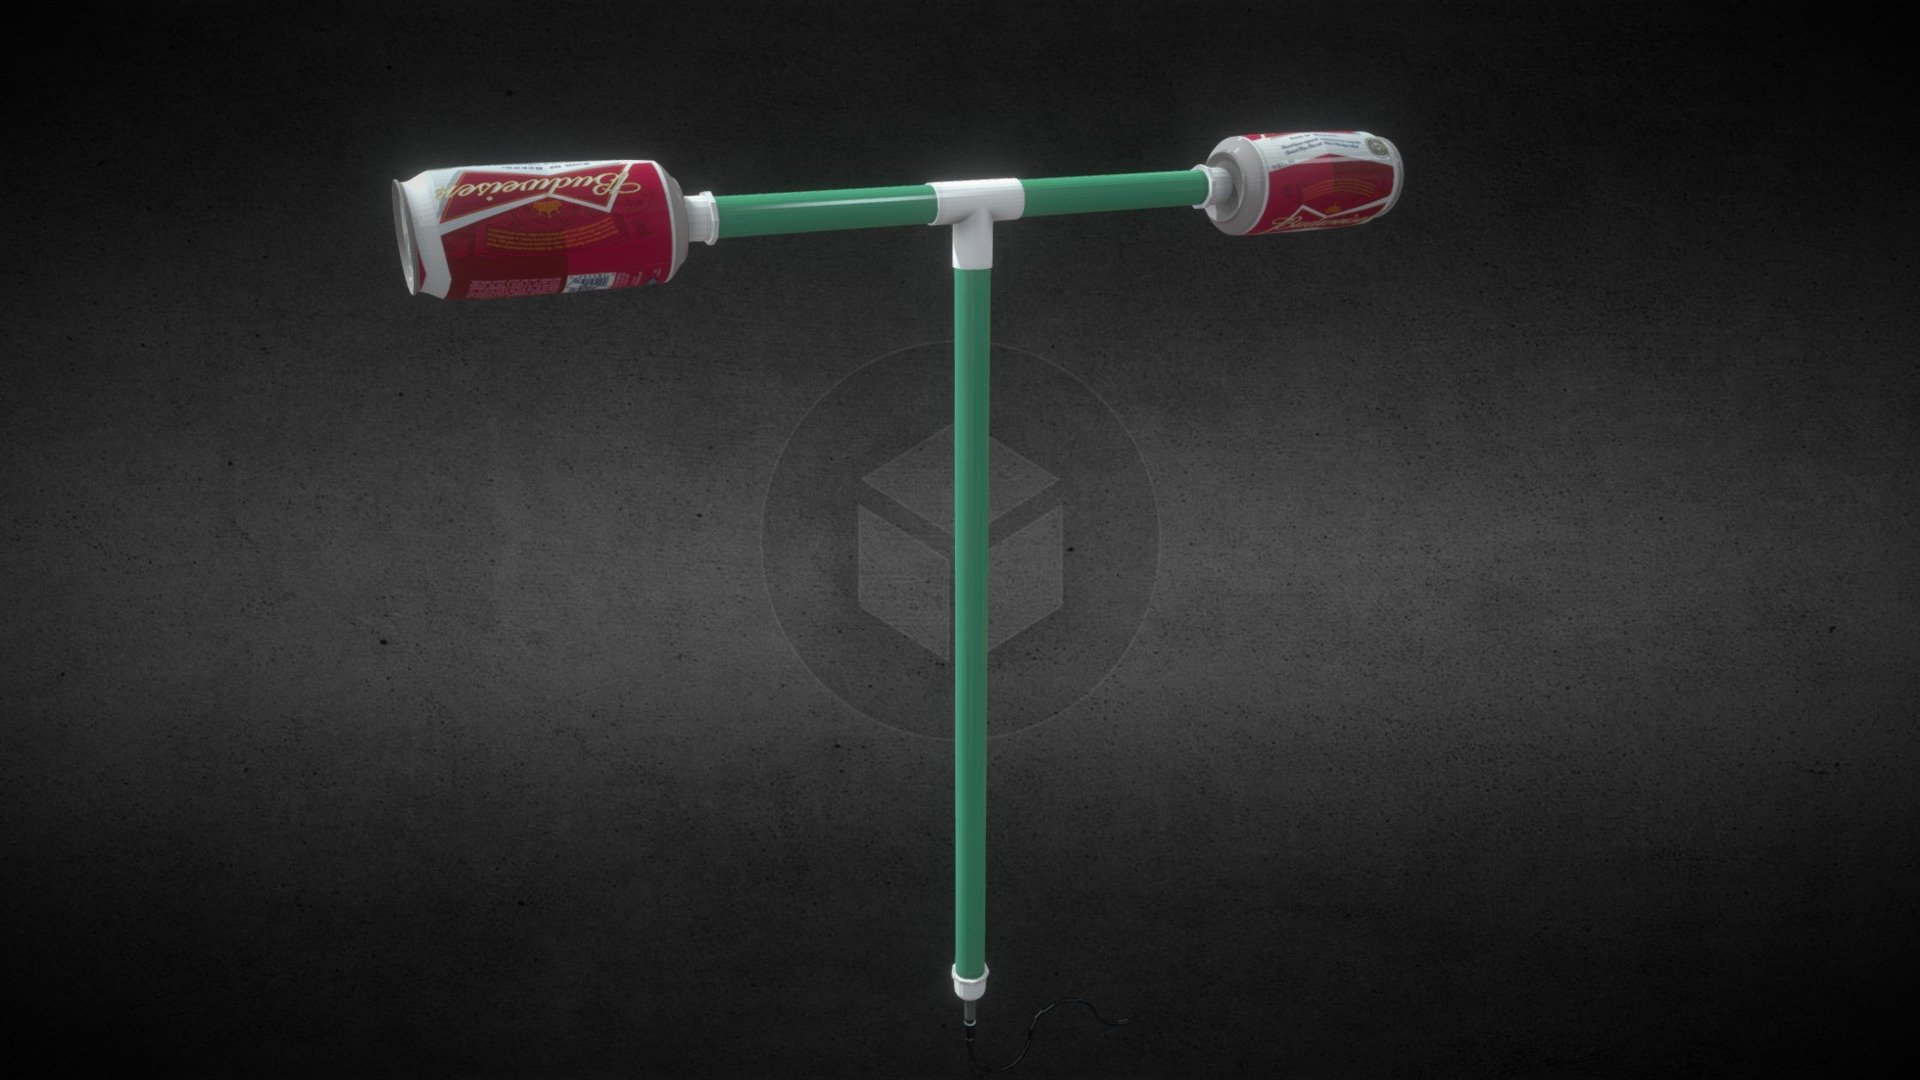
Home-Made Antenna
sketchfab
A DIY antenna project is a great way to upgrade your radio's performance without breaking the bank. Building a homemade antenna from scratch can be a fun and rewarding experience, especially for those who enjoy tinkering with electronics. The first step is to gather all the necessary materials, which typically include copper wire, a wooden dowel, and some electrical tape. To start, cut two identical pieces of wire that are roughly 10 inches long. These will serve as the antenna's elements. Next, wrap each piece of wire around the dowel in a spiral pattern, leaving about an inch of space between each turn. Once you've completed this step, use the electrical tape to secure the wires in place. The next part of the project involves connecting the antenna's elements to a coaxial cable. To do this, strip the insulation from one end of the coax and then twist the exposed wire around the center conductor of the other end. This will create a secure connection between the two. Finally, attach the antenna to your radio using a mounting bracket or clip. Make sure it's securely fastened before turning on the power and testing the signal strength. With a little patience and practice, you should be able to improve your radio's reception significantly. Remember, building a homemade antenna can be a trial-and-error process, so don't be discouraged if it takes a few attempts to get it right. Experiment with different materials and configurations until you find one that works best for your specific needs.
With this file you will be able to print Home-Made Antenna with your 3D printer. Click on the button and save the file on your computer to work, edit or customize your design. You can also find more 3D designs for printers on Home-Made Antenna.
