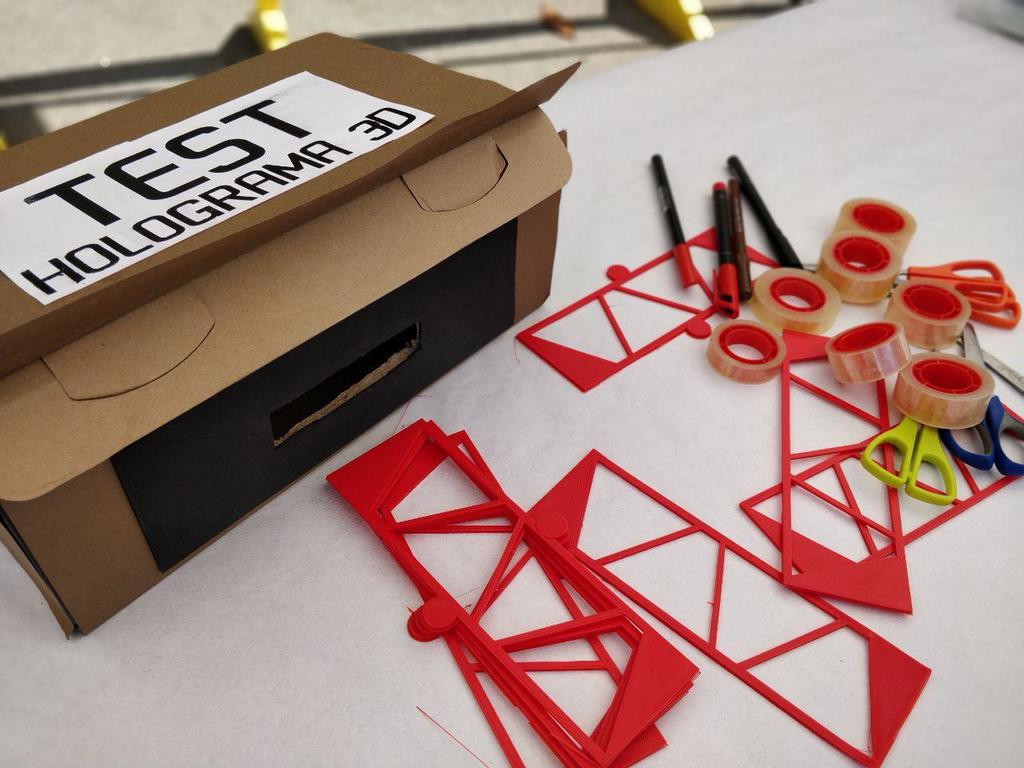
Holograma 3D plantilla
thingiverse
Model for Creating a Prism to View 3D Holograms To build a prism that enables you to see three-dimensional holograms, follow these steps: Step 1: Gather Materials Acquire the following materials: - A transparent plastic or glass sheet (prism material) - A rectangular cardboard box with a flat top and bottom - Scissors - Glue - Tape Step 2: Cut Out Prism Shape Cut out a triangular shape from the prism material, ensuring it is large enough to cover the entire front of the cardboard box. Step 3: Assemble the Prism Attach the prism to the front of the cardboard box using glue and tape. Make sure it is securely fastened. Step 4: Create a Light Source Cut out a small rectangle from white paper or cardstock. This will serve as your light source. Step 5: View the Hologram Place the light source behind the prism, then look through the prism at the hologram image you created earlier. You should see a three-dimensional hologram appear before your eyes. That's it! With these simple steps, you can create a prism that allows you to view 3D holograms.
With this file you will be able to print Holograma 3D plantilla with your 3D printer. Click on the button and save the file on your computer to work, edit or customize your design. You can also find more 3D designs for printers on Holograma 3D plantilla.
