holo clock
pinshape
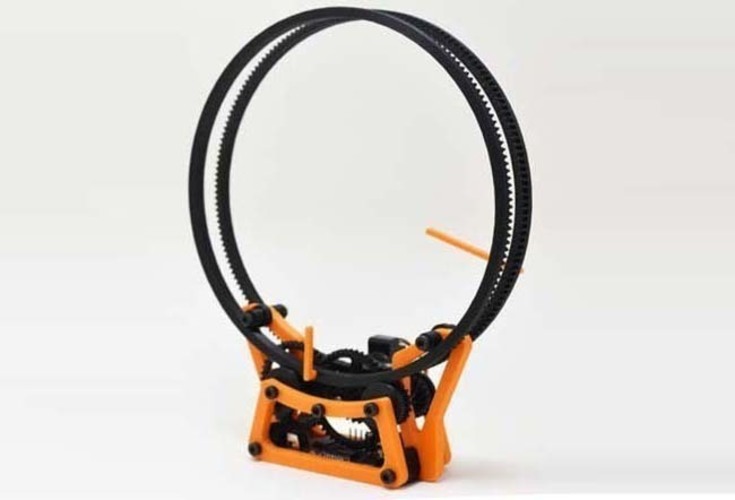
Summary Update 2 (2016/11/25) - New Features Added Printable spacers and a motor mount plate have been added for easy installation of the 20mm NPM Motor. Update 1 (2015/02/06): Assembly Sequence Sheet Added This simple clock is based on a single geared stepper motor, which can be found in surplus for just $10. The motor, a 1:30 geared motor running at 12V with a 3mm shaft, is driven by an ATtiny2313 and L293DD circuit using Arduino IDE code. The single motor powers a gear train that moves the minute ring and hour ring. The ATtiny pulses the motor every minute to move the minute wheel and hour wheel. Buy now at: https://www.tindie.com/products/ekaggrat/holo-clock-2/ Watch a video tutorial: https://www.youtube.com/watch?v=1EtiEFQ4Aqg Assembly Instructions: Print all parts with a minimum layer height of 0.2mm. Required fasteners include: * M3 x 45mm (4) * M3 x 25mm (2) * M3 x 22mm (1) * M3 x 10 grub screw for motor gear * M3 nut (7) for NPM Motor (optional) * M2 x 10 * M2 nuts (2) for BJ25/BJ20 Motor * M3 x 15 self-tapping screws (2) PCB spacers are required, which can be printed or cut from brass/copper tubing. The specifications are as follows: * 4.5mm outer diameter x 3.5mm inner diameter x 12mm length (2 pieces) * 4.5mm outer diameter x 3.5mm inner diameter x 8.5mm length (4 pieces) * 4.5mm outer diameter x 3.5mm inner diameter x 6.5mm length (2 pieces) For the stepper motor, you can use any 20mm or 25mm diameter geared motor with a ratio of more than 1:10, bipolar or unipolar.
With this file you will be able to print holo clock with your 3D printer. Click on the button and save the file on your computer to work, edit or customize your design. You can also find more 3D designs for printers on holo clock.
