Hollow Knight Coaster
prusaprinters
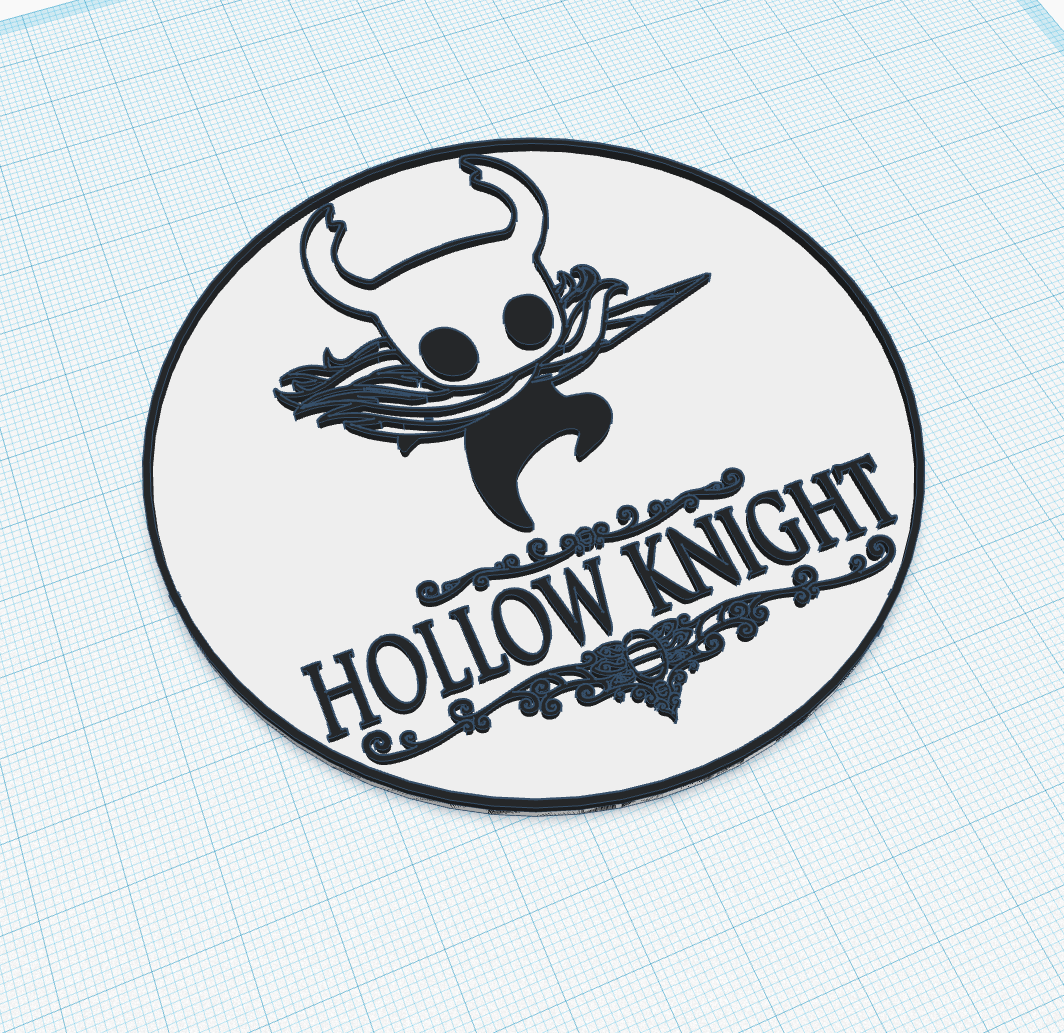
<p>This is my first design; I used this as an exercise to become acquainted with TinkerCAD.</p><p>Suggestions:<br>(1) the details around the lettering and on the cape are directly related to the LINE WIDTH. I printed mine using line width of 0.2 (default in Cura is 0.4). Print slowly (30mms) unless you have your printer perfectly calibrated. You can scale it UP but not down without losing detail.<br>(2) enable ironing mode, especially if you're going to pour epoxy resin on top (highly recommended). Once the epoxy resin is fully cured, the printed lines will be practically invisible.</p><p>Highly encouraged: use epoxy resin to cover the surface;</p><p>There are dozens of tutorials on how to use cheap but nice looking epoxy resin (plus, you can personalize the print by adding glitter or mixing it with other inks)</p><p><br>[Default dimensions]<br>100mm x<br>100mm y<br>3mm z</p><p>3mm may feel a bit thin for some but it works for me. Try increasing the z height if you find the model it too flimsy.<br> </p>
With this file you will be able to print Hollow Knight Coaster with your 3D printer. Click on the button and save the file on your computer to work, edit or customize your design. You can also find more 3D designs for printers on Hollow Knight Coaster.