Hollow clock - easy to assemble and operate
prusaprinters
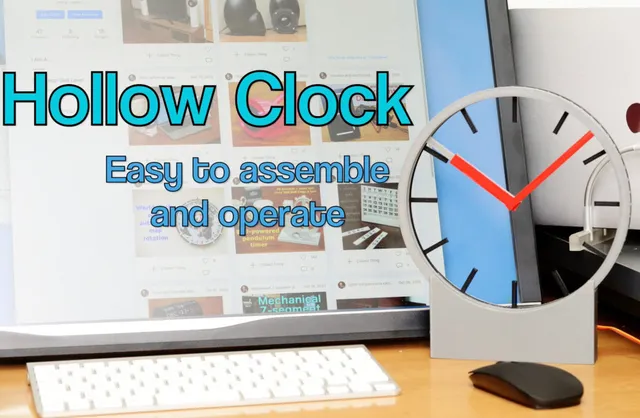
Hollow clock : Highly visible with minimum occlusionEasy to operate : super easy time adjustment, minute and hour can be set separatelyInstant design change : clock face (index plate) is interchangeable instantlyEasy to print : printable without supports. All parts are within 200mm radiusEasy to assemble : essentially only 4 parts are necessary (excluding index plate, servo and circuitry)Stepper motor version is added. "Hollow clock 2" https://www.thingiverse.com/thing:4761858Update Nov. 21, 2021 : "Hollow Clock 3" is released. https://www.thingiverse.com/thing:5142739Assembly and adjustmentYou need the following parts.servo motorSG90 type small servo. I used Miuzei micro servo MS18, around 2 USD per unitmicrocontrollermicro:bit (around 20 USD) and break-out board (I used Keyestudio Ks0360).orArduino nano or its compatible product (around 5 USD per unit)Of course you can use other types of controller. Rotate the servo 90 degrees every minute, and 180 degrees every 12minutes.micro:bit and its break-out boardarduino nano (connect to GND, 5V and D9)Insert a lever (red part in the picture above, "lever.stl") to the body, and fix the servo with screws (come with the servo). Then connect the cable to the micro controller. Now it almost set!Two index plates (clock faces) are just for aesthetics. If you never use the plates, you can use "body-without-index.stl" which has no slot for the index plates.To attach a horn to the servo, please make sure that the rotors are in between two hands of the lever part (red) when the servo motor is at central position.Since the levers and hooks of ratchet gears are not flexible, the rotors are raised and swing a bit. However, this is a key idea to simplify this thing. Easy time adjustment is also achieved by this idea because rotors are not retained.Simply connect micro:bit to your computer via USB then drag&drop the "microbit-hollow-clock.hex" file. "microbit-hollow-clock-test.hex" is for the quick test of servo motion.To modify the code, access to microbit.org and upload the .hex file.Since the clock oscillator in micro:bit is not so precise, please adjust the timing value by measuring the ratio of gain / lose of the clock. The angle of the servo motor can be also adjusted by the value above (but it is not severe at all).This clock makes some noise from the servo. If you want to make it silent, slow down the servo.Similar values can be found in the Arduino code ("hollow-clock.ino") and you can adjust them.Designing your own clock faceYou can design your own clock face (rotor and index plate) easily. Dimensions are as follows.outer diameter : 200mminner diameter : 184mmthickness : 4mmnotch at the bottom of index plate : triangle-shaped, 7mm width, 3mm heightYou can download STL files of blank rotor and index plate from https://www.thingiverse.com/thing:4751139With this body, you can use "Flying hands kit" which no longer connects the hour hand to the surroundings. https://www.thingiverse.com/thing:4768343Related thingsYou may also interested in the following things. I am inspired fromMystery clocks, invented by Jean Eugène Robert Houdin, in mid-19th,https://www.liveauctioneers.com/news/be-smart/robert-houdin-magician-and-inventor-of-the-mystery-clock/Clocks made by Jefferson. Especially, "Jefferson Golden Hour" and its successors,http://www.roger-russell.com/jeffers/prins.htmHolo clockhttps://www.thingiverse.com/thing:570797Please take a look at my similar projects,Hollow clock 2https://www.thingiverse.com/thing:4761858Square mystery clockhttps://www.thingiverse.com/thing:4770291Category: Gadgets
With this file you will be able to print Hollow clock - easy to assemble and operate with your 3D printer. Click on the button and save the file on your computer to work, edit or customize your design. You can also find more 3D designs for printers on Hollow clock - easy to assemble and operate.