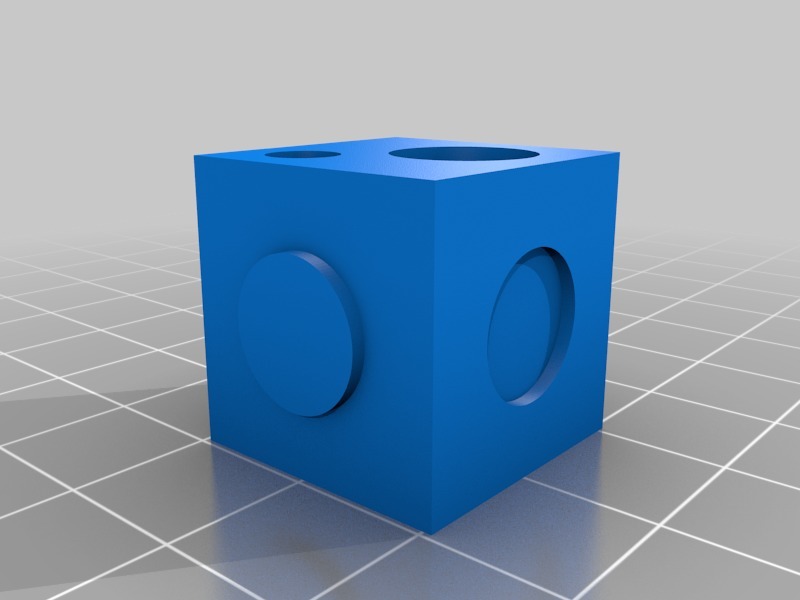
Hole tolerance test/calibration cube
thingiverse
This is a calibration/test cube for beginners in 3D printing: download an STL file and slice it in a slicer of your choice to convert it into G-code commands for your printer. Unlike the simple cube, this one helps you discover more about your machine. Take out your calipers and have some fun! 1) Dimensions. The cube's dimensions are 20x20mm, but with sticking-out cylinders, they become 21x21mm. 2) Tolerance/Accuracy Examine the holes at the top of the cube - they should be exactly 5mm and 10mm in diameter. Keep in mind that due to various factors, these dimensions might not be exact, but comparing them will give you an idea of your printer's tolerances. 3) Ringing/ghosting/wobbling These issues are common with FDM printers, but there are ways to eliminate them. If the cube's walls are not perfectly flat and you see waves, try these steps: tighten up belts along vertical lines and round trails; check if your Z-rod is as vertical as possible and doesn't sway from side to side when rotating; try smaller speeds. 4) Overhangs Look closely at the side holes, especially those at the top of "embossed" and the bottom of "debossed". If you notice any problems, increase your cooling fan speed or print slower. Note that "debossed" holes may have a persistent issue due to their size. After printing the cube, make adjustments and print another one. It's great if you can share your comments and photos - this would be really helpful!
With this file you will be able to print Hole tolerance test/calibration cube with your 3D printer. Click on the button and save the file on your computer to work, edit or customize your design. You can also find more 3D designs for printers on Hole tolerance test/calibration cube.
