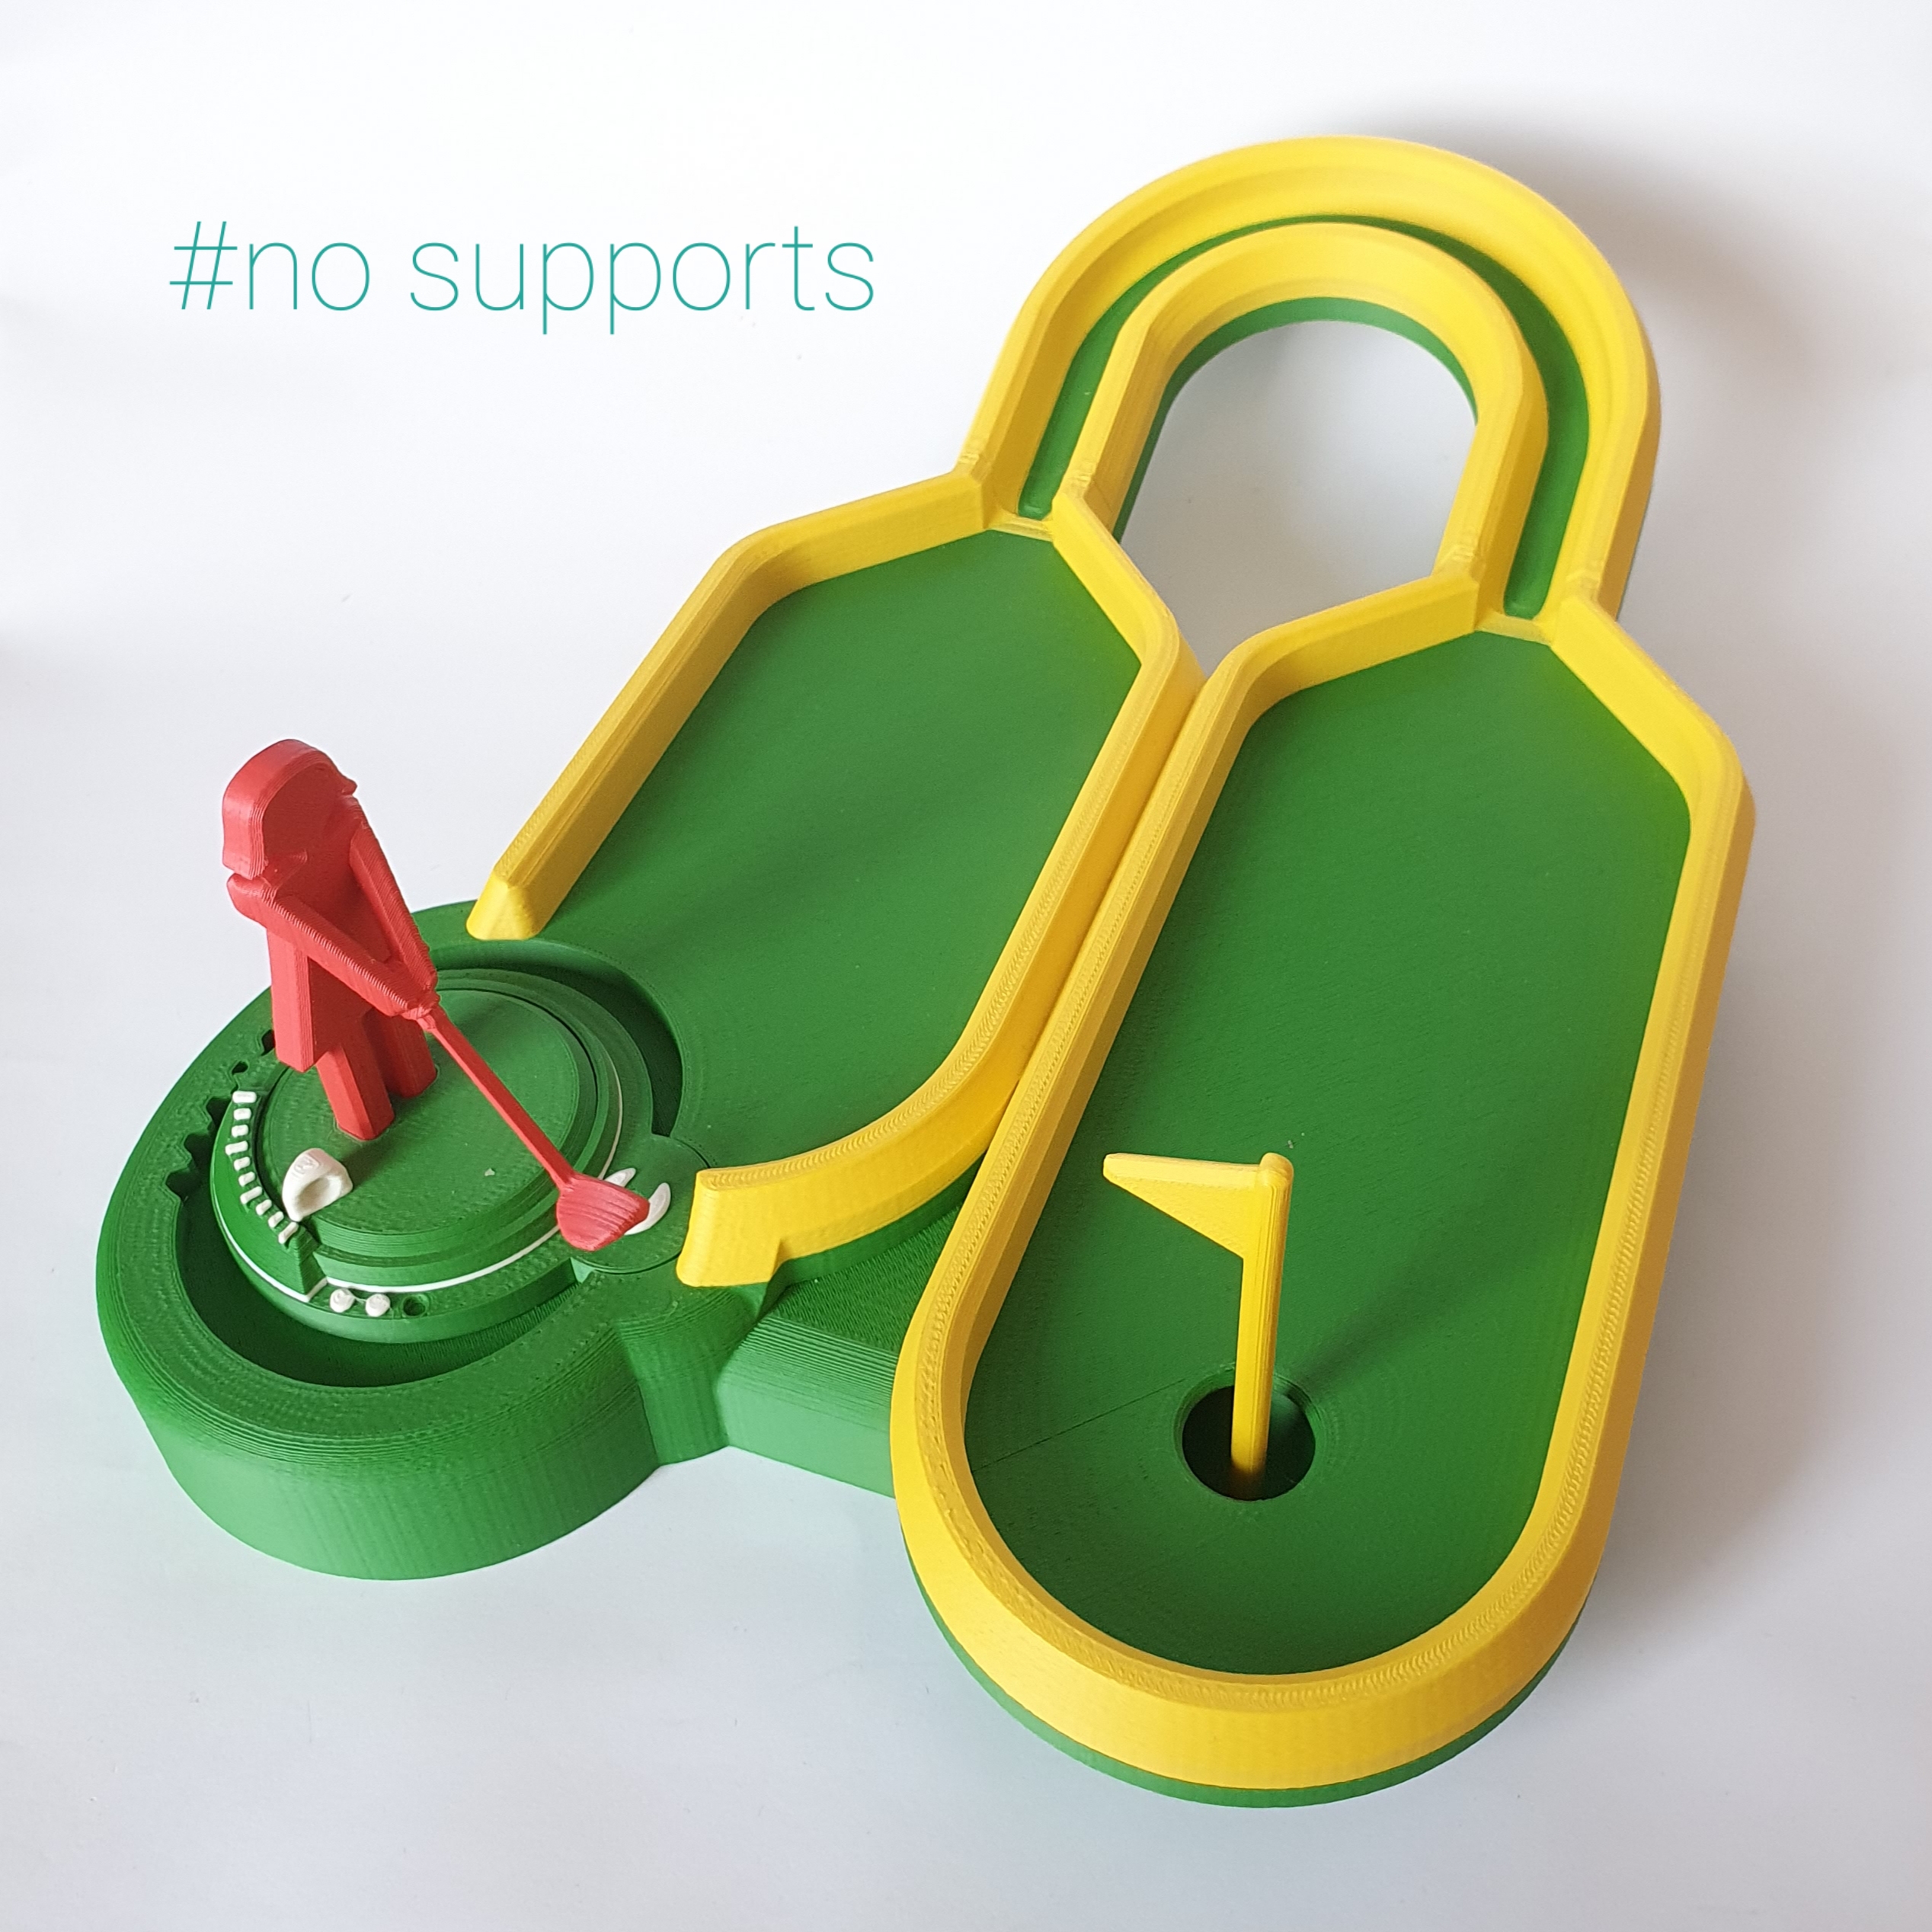
Hole 2 - Mini Golf Course
prusaprinters
<p>This is the 2nd of 9 Holes of my Mini Golf Course.</p> <p>Every hole is designed:</p> <ul> <li>to be printed in one part.</li> <li>to be played with a single stroke.</li> <li>to be printed without supports.<br/> I made three different intensities for the teebox, start with the medium and see if you need harder or softer. You can also find two "ball" designs one for fff printers and another one for sla printers<br/> To find the rest of this collection visit my profile;)</li> </ul> <h3>Print instructions</h3><p>1) The most important advice I can give you is to <strong>let the "teebox" cool down correctly when you print it</strong>. The part contains a spiral spring and if you don't let it cool the spring won't work.<br/> 2) <strong>NO SUPPORTS</strong>, with 0,2 layer height and 10-20% infill (you can also use other settings, those are the ones I used and they worked fine). It should take between 8-10h to print.<br/> 3) <strong>PLA not PET</strong>, there are a lot of overhangs in the designs so I don't recommend using PET.<br/> If you like the design please leave a like and if you have any problem with printing settings feel free to leave a comment or send me a DM. Thanks for your help.<br/> Happy printing;)<br/> PS: I wouldn't recommend to print the teebox in several colors, I did it just for display purposes but the one you see in the pictures isn't functional.</p>
With this file you will be able to print Hole 2 - Mini Golf Course with your 3D printer. Click on the button and save the file on your computer to work, edit or customize your design. You can also find more 3D designs for printers on Hole 2 - Mini Golf Course.
