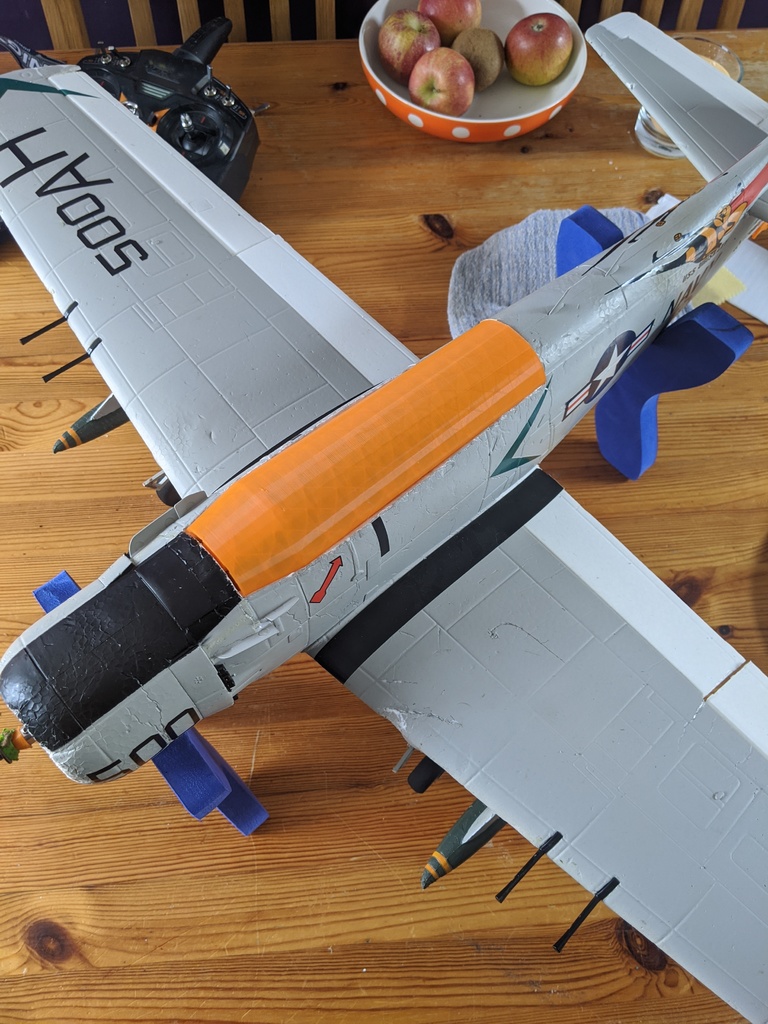
HobbyKing Skyraider Prop / Canopy /Tail wheel
thingiverse
Hobbyking Skyraider enthusiasts seeking a reliable alternative prop and tail-wheel assembly can breathe easy knowing I've successfully tested these components multiple times. The nubbin securely fastens to the prop shaft first, followed by the prop itself, which is then locked into place with the original washer and nut. To ensure a stable tail wheel, I utilize a bit of PLA as the axle, and for optimal results, I recommend investing in high-quality PLA that meets your budget. PolyMaker PolyMax has delivered exceptional performance in my experiments, but even more affordable brands have yielded satisfactory outcomes. If additional parts fail, I'll be sure to update this information with any fixes I implement. Hopefully, fellow hobbyists will find these recommendations helpful in their own Skyraider projects. When configuring the tail wheel strut, set the width to 90% in your slicer software. To ensure a solid bond, apply CA glue between the strut and its base. For those using the canopy, attaching a neodymium magnet to the tab is a simple yet effective solution.
With this file you will be able to print HobbyKing Skyraider Prop / Canopy /Tail wheel with your 3D printer. Click on the button and save the file on your computer to work, edit or customize your design. You can also find more 3D designs for printers on HobbyKing Skyraider Prop / Canopy /Tail wheel .
