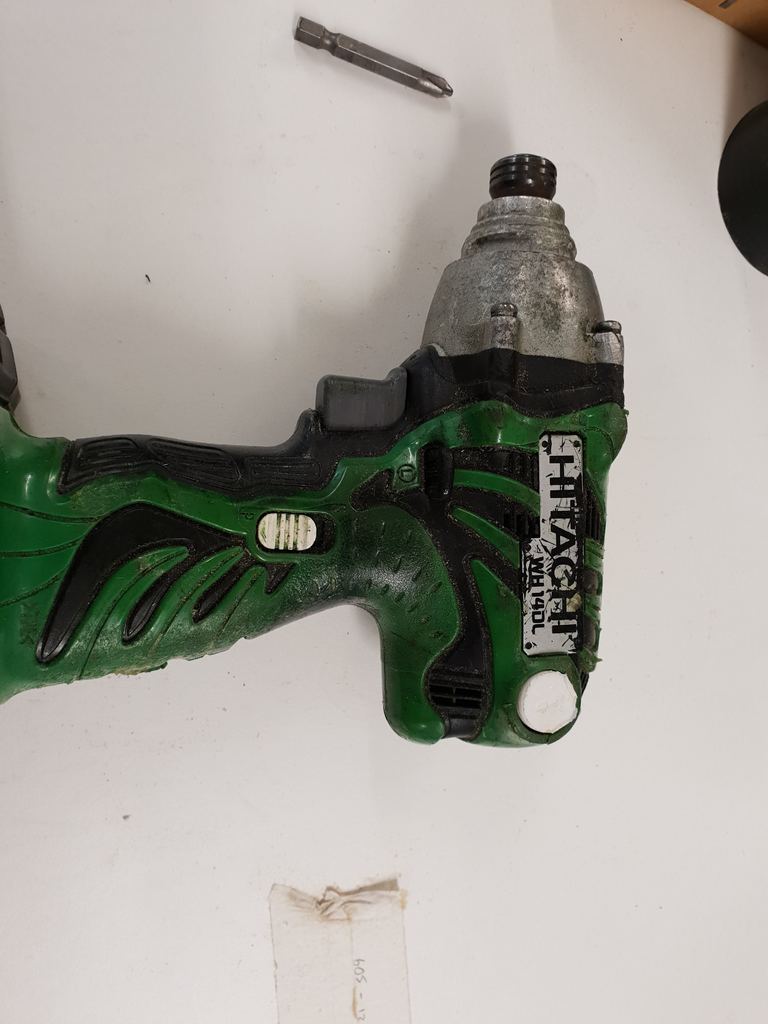
Hitachi Impact Driver brushing holder
thingiverse
Replacing a Hitachi Impact Driver Bushing Holder is a relatively straightforward process that requires minimal tools and expertise. First, gather the necessary materials which include a new bushing holder, Torx screwdriver, and possibly a plastic spudger or similar tool for prying open the device casing. Begin by removing any screws holding the device in place using the Torx screwdriver. Be cautious not to strip the screws as this can make the process more complicated. Next, carefully pry open the casing using the plastic spudger or similar tool, taking care not to damage any internal components. Once inside, locate the old bushing holder and gently pull it out of its housing. This may require some force but should come out relatively easily. With the old bushing holder removed, inspect the area for any debris or dust that may have accumulated during disassembly. Next, take the new bushing holder and align it with the housing, ensuring proper fitment. Gently push the new bushing holder into place until it clicks securely. Replace any screws you removed earlier to secure the device casing. Test the impact driver by applying gentle force to ensure the bushing holder is seated properly and functioning as intended. This process should take approximately 15-20 minutes, depending on individual skill level and familiarity with the device.
With this file you will be able to print Hitachi Impact Driver brushing holder with your 3D printer. Click on the button and save the file on your computer to work, edit or customize your design. You can also find more 3D designs for printers on Hitachi Impact Driver brushing holder.
