Hipro Server Power Supply Hack
thingiverse
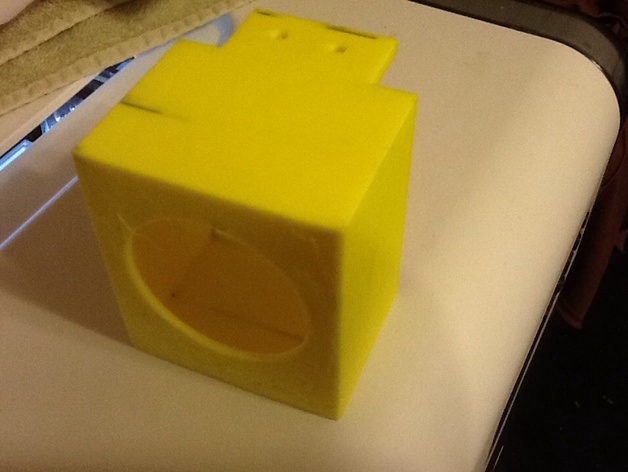
WARNING: Modifying electrics is perilous! Do so at your own risk, I'm an absolute fool! This renders doing such things completely unwise. PLEASE BE SAFE! Here's how I rewired a Hipro HP-W500FF3 Server Power Supply for my printer usage. This process could also apply to the Hipro HP-R650FF3 PS. Hipro HP-W500FF3 500W Server Power Supply - 12v @ 41 Amps - 5v @ 2 Amps This connector is a slot style setup. With the Hipro label facing up and positioned towards the fan, on top of the connector left to right beneath the fan: ^ ^ ^ ^ ^ ^ |----------| |----------| 1 - 6 Gnd. 12V 3 Ps_On 4 Ps_Kill 6 5vsb Below the connector, two larger pads are both Ground (GND) and 12v again. Remove the screws shown below: This enables you to pry open the casing and solder wires more easily: To turn on the power supply, make sure both PS_On and GND are connected. If needed, you can also place an on/off switch between Ps_On and Ground (GND), or insert a panic kill button in place of Kill Button, right against Gnd. In order to enclose the power supply completely for my printer's needs, I designed a protective covering and created openscad file templates that allow customization: A convenient cover attachment exists within a 20x40 frame: Here is my original text
With this file you will be able to print Hipro Server Power Supply Hack with your 3D printer. Click on the button and save the file on your computer to work, edit or customize your design. You can also find more 3D designs for printers on Hipro Server Power Supply Hack.
