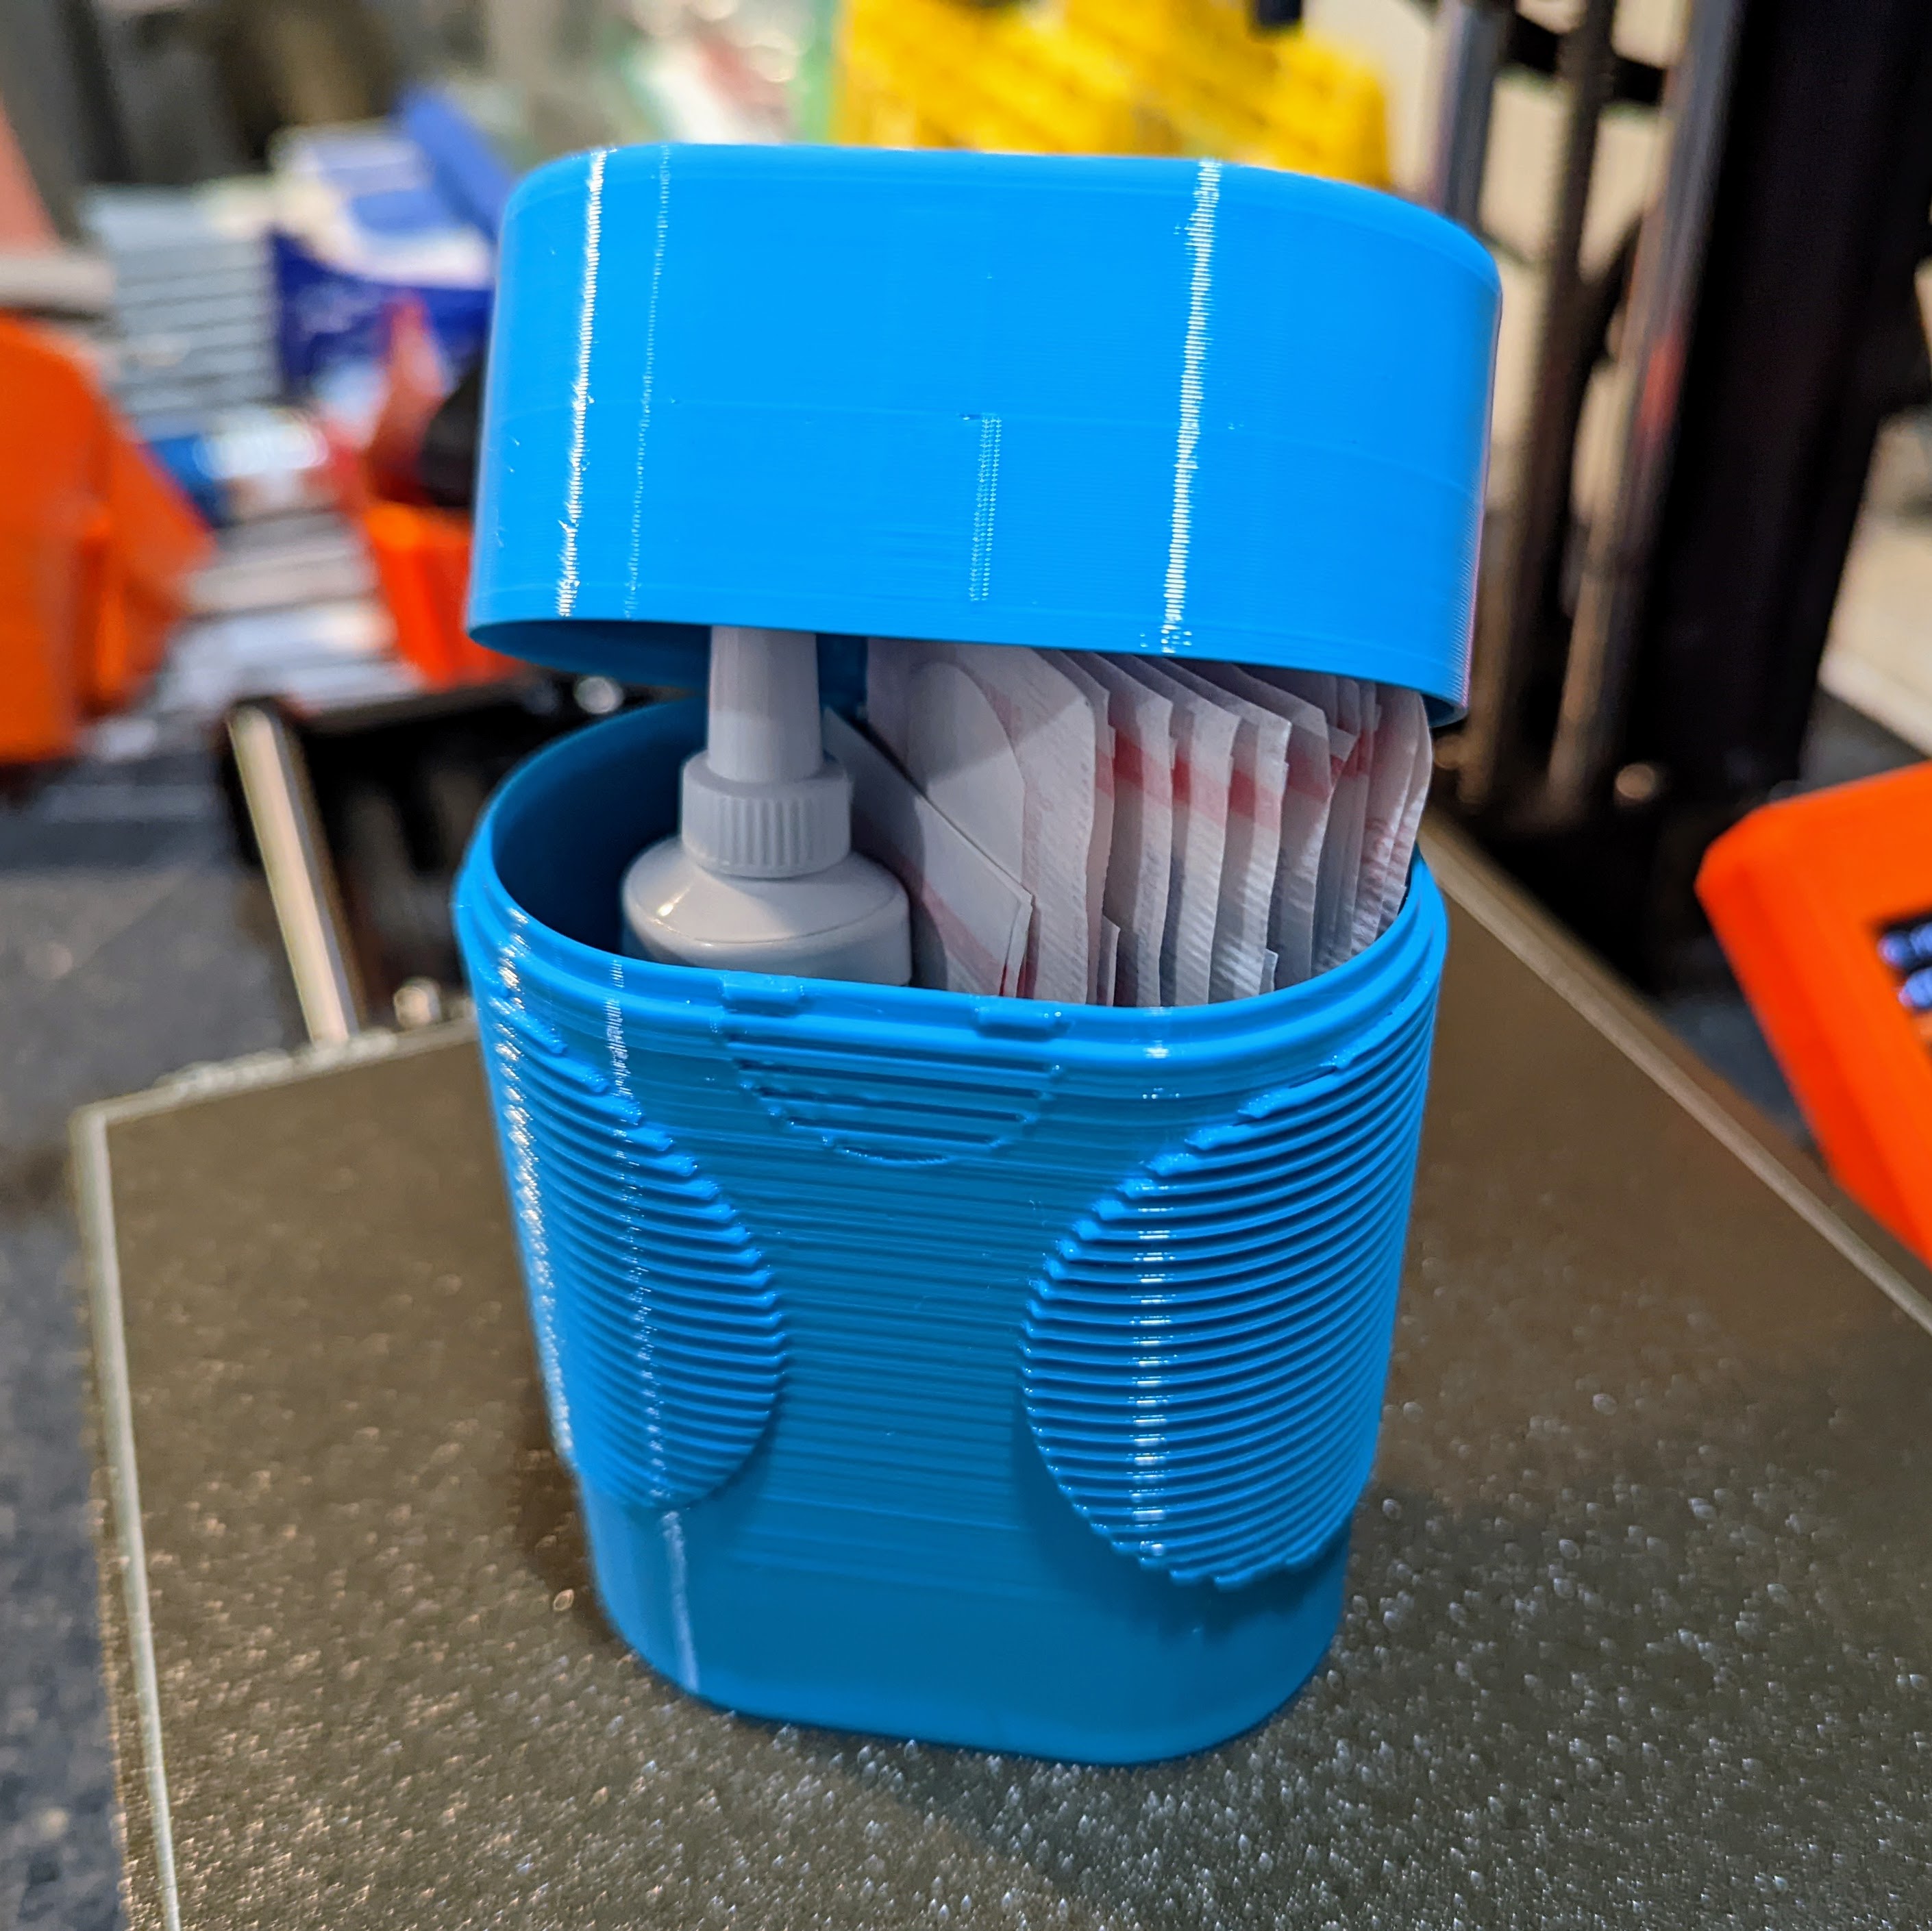
*Hinged* Bandage Box
prusaprinters
<p>If you're anything like me, you nick your hands all of the time pursuing this hobby, so a small first-aid kit with <a href="https://en.wikipedia.org/wiki/Band-Aid">bandages </a>and <a href="Neosporin">Neosporin </a>is something that we should all keep handy. Although, I will admit that my hands are doing much better since the introduction of the spring steel build sheet, I hurt myself a lot less.</p><p>Please see the <a href="https://www.printables.com/model/12170-bandage-box">Bandage Box Mk. I</a> for the nostalgic story of my childhood that caused me to design this model. In a nutshell, it's a recreation of a useful but discontinued product.</p><h3>Construction Instructions</h3><ol><li>Print 1 of each object</li><li>Insert the connector into the slot on each side, lining up the tiny notches horizontally with the gap between the top and bottom</li></ol><h4>Construction Notes</h4><ul><li>I have only printed this in PET-G. I don't believe PLA will work based on my failed attempt during design of the <a href="https://www.printables.com/model/12170-bandage-box">Bandage Box Mk. I</a>, but have not retested<br> </li><li>Currently the connector slips a little when you open the lid. I believe this could be alleviated by using a drop of super-glue to fix it in place (on both top and bottom), but have not yet experimented<br><ul><li>The slip is not that bad – pushing a little on the box of the top after you close it in front fixes the problem. For me, the prime reason to add the hinge is to keep from losing the lid, and that part is working great<br> </li><li>I'm not happy with the way the connect "bows up: in the middle when you open the lid. I have added an experimental ribbed connector<br> </li></ul></li><li>The connector should be a press fit, i.e., it should be hard (but not impossible) to insert into the slots in the top and bottom. That depends on a tolerance that cannot be exactly recreated on everyone's slightly different printer. Luckily, the connector only takes 8 minutes to print, so it shouldn't take long to get an exact fit by scaling it in your slicer and printing another one</li></ul><h3>Backstory</h3><p>The <a href="https://www.printables.com/model/12170-bandage-box">Bandage Box Mk. I</a> is the first design I made using Fusion 360 back in 2017 after Autodesk discontinued <a href="https://www.autodesk.com/solutions/123d-apps">123D</a> (about one year after I got involved in making). In the end, it represented a compromise as I could not get the hinge to work back then. What changed between then and now is</p><ol><li>I have a lot more design experience</li><li>I bought my own 3D printer which allowed me to switch from PLA to PET-G. The additional flexibility of PET-G (compared to PLA) allows the hinge to flex instead of breaking</li></ol><p>I would like to take this opportunity to thank Prusa for running it's <a href="https://www.printables.com/contest/84-sealable-boxes">Sealable Boxes Contest</a>. Win or lose, it provided the <a href="https://en.wikipedia.org/wiki/Activation_energy">activation energy</a> I needed to come back to this old design and get it to where I originally envisioned.</p>
With this file you will be able to print *Hinged* Bandage Box with your 3D printer. Click on the button and save the file on your computer to work, edit or customize your design. You can also find more 3D designs for printers on *Hinged* Bandage Box.
