Hinge for 3Dlabs Spitfire MkXVI control surfaces
thingiverse
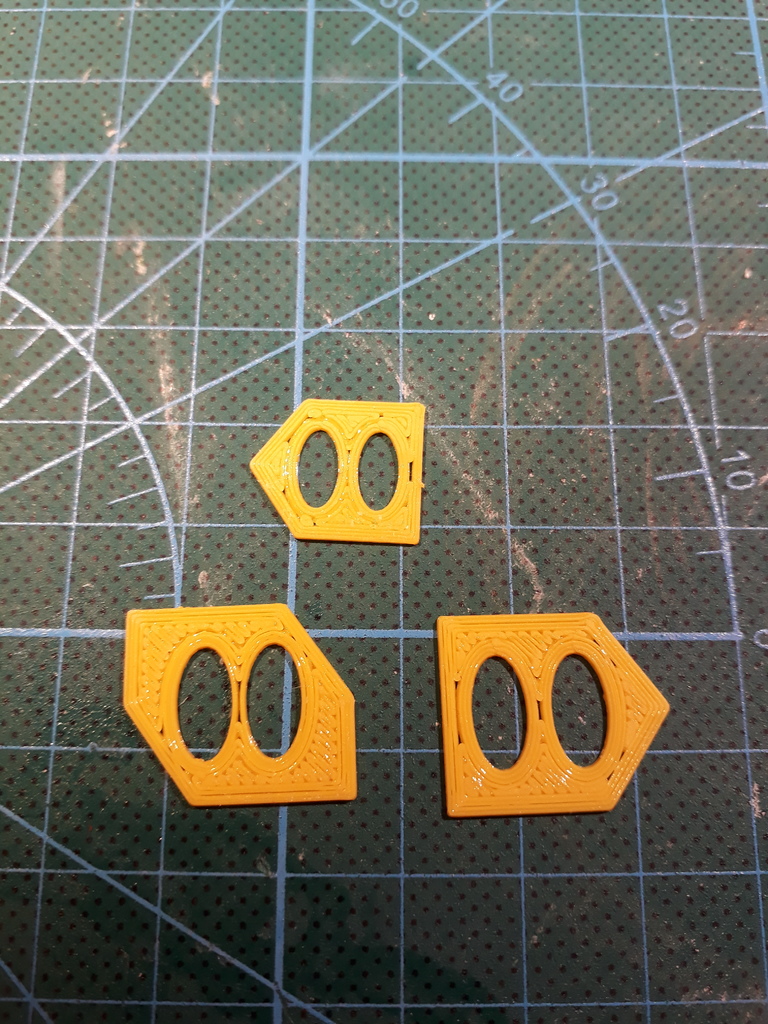
I've designed a living hinge printed in TPU, specifically Flexfill 98A. This material has proven itself strong enough and durable enough as a hinge solution in my previous designs (https://www.thingiverse.com/thing:2867440), giving me full confidence in its performance. To accommodate different hinge thicknesses, I've included two variations - 0.5mm and 0.4mm thick hinges, ensuring compatibility with various slots. Here's a step-by-step guide to installing the hinge: 1. Insert the hinge into the slot, making sure it sits properly. 2. Bend the hinge away from the slot and apply glue into the slot where the oval hole is located. Refer to the photo for clarification. 3. Once the first side has dried, attach the control surface to the wing and bend it as previously described (note: the tailplane may require some extra effort). 4. Repeat the process. To avoid accidentally gluing the control surface to the rest of the wing, gently move it up and down until the glue cures. I printed this model at a 0.1mm layer height and used a gel version of superglue for assembly, but epoxy should also work effectively. This design came with the Prusa i3 Mk2, which is the only model I have from 3DLabs; if you have another model, please let me know if these hinges fit as well.
With this file you will be able to print Hinge for 3Dlabs Spitfire MkXVI control surfaces with your 3D printer. Click on the button and save the file on your computer to work, edit or customize your design. You can also find more 3D designs for printers on Hinge for 3Dlabs Spitfire MkXVI control surfaces.