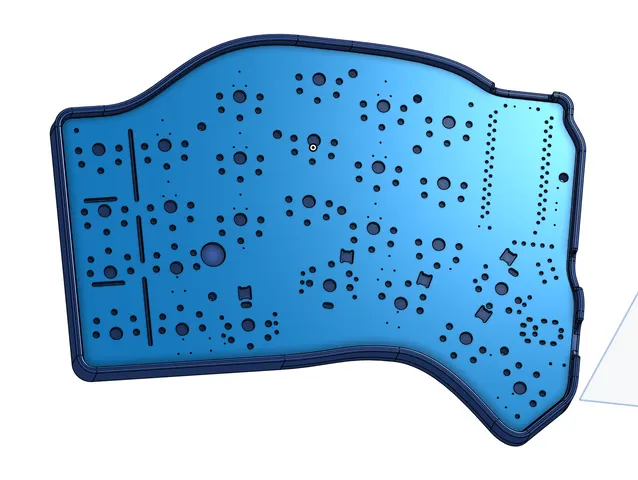
Hillside 52 Keyboard Case with Cover
prusaprinters
The model includes cavities for M2 threaded heat-set inserts instead of through holes and includes M2 through holes for tenting puck compatibility. The insert cavities are designed so that the inserts can be installed from the back of the case. I recommend, for inserts at this size, putting a long M2 screw through the hole from the front/inside of the case and screwing it a couple turns into your M2 H3 insert, then heating the insert with your soldering iron at ~320°F and pushing/pulling it into place. Use the long M2 screw to ensure that the insert is flat and square. The long screw also ensures that you don't get a buildup of melted plastic in front of your insert blocking your installation screw later!It also includes a “built-in tenting puck”, in that it has a ¼"-20 threaded cavity modeled right in to the bottom of the case, so you can just screw it onto your favorite tripod or tripod-compatible tenting solution and go!I do not own a Hillside 52, so this is not tested in the sense of a test print assembled with a board. I like printing these kinds of cases in PLA at 8% grid infill aligned to the major axis, 2 lines of infill per line. Plenty of strength, little extra weight and time.
With this file you will be able to print Hillside 52 Keyboard Case with Cover with your 3D printer. Click on the button and save the file on your computer to work, edit or customize your design. You can also find more 3D designs for printers on Hillside 52 Keyboard Case with Cover.
