High Power Rocket - 3 inch shipping tube
thingiverse
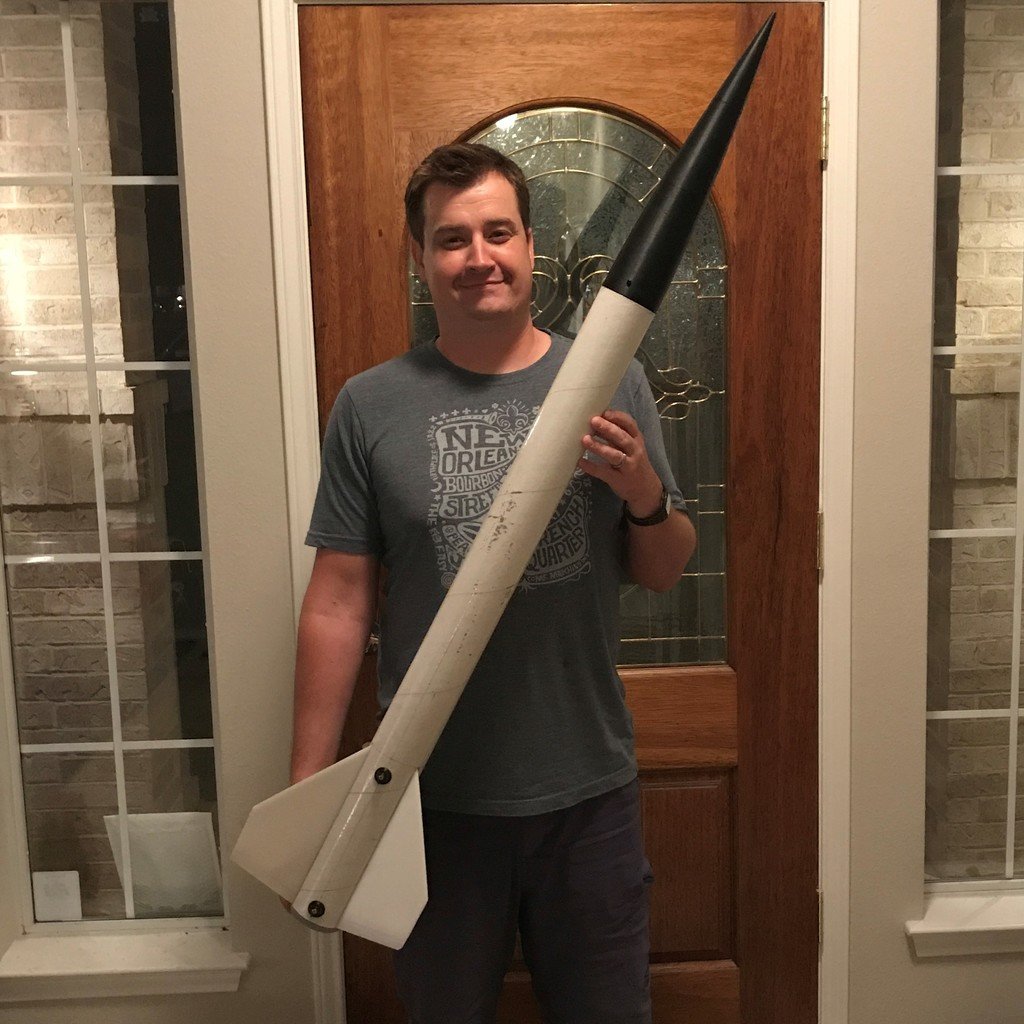
*** CAUTION *** You will need to add ballast weight to the nose cone tip in order to make this design stable. I fly a pretty heavy Arduino-based flight computer at the front of mine, and I still require some additional ballast weight. I have attached an open rocket design that I used for simulation so you can adjust and measure and simulate as needed. All of these parts should print fine without supports (except my custom scaffolding on the fins), although you may need to rotate some of them. I print all my parts at 10% fill with ABS, even the motor mount, and I have not had any flight failures up to an H123 motor. Here are the parts for the rocket I built to get my level 1 high power certification. It's designed around an Aerotech 38mm RMS motor. I recommend dual deployment, but I did my certification flights without it; I just had to do a little more hiking. Other parts you will need: - A 3” paper shipping tube for the body tube, preferably 36 inches long. - Six 32-countersunk screws x2 – for the rail buttons. I could only find half-inch length at my hardware store so I had to trim mine down. - Six 32-T-nut. The kind that's meant for furniture and brad nails (no teeth). These need to be made of really thin metal in order to fit into the rail buttons. Make sure to test-fit the buttons before you glue them into place; I made that mistake before. I have found the T-nuts at my local hardware store. - An eight eye-bolt anchor screws into the front of the motor mount. Assembly notes and hints: Body tube – It's just a simple 3-inch paper shipping tube. I pick them up at Office Depot, but any should do. I did my certification flights with nothing more than primer on my body tube. Recently I have been laminating the tube with a good laminating epoxy (meant for fiberglass). The epoxy significantly reduced "zippering" of the body tube. Fins – If they don't fit into the grooves right off your printer, don't fear; they usually don't. The root tabs are designed to be just a little larger than the grooves so they can be sanded down a little for a nice snug fit. I usually just have to sand the bottom of the tab a little and then clean up the long edges. I think the rest is pretty straight forward, but feel free to ask any questions in the comments and I'll do my best to answer. I've flown this design about 7-8 times now (including my two level 1 high power certification flights). I think it's pretty well dialed in so that's why I'm putting it out for other people to use. Video of a launch of this design: https://youtu.be/FuZghXuwPnQ - Jared
With this file you will be able to print High Power Rocket - 3 inch shipping tube with your 3D printer. Click on the button and save the file on your computer to work, edit or customize your design. You can also find more 3D designs for printers on High Power Rocket - 3 inch shipping tube.