HifiBerry Case
thingiverse
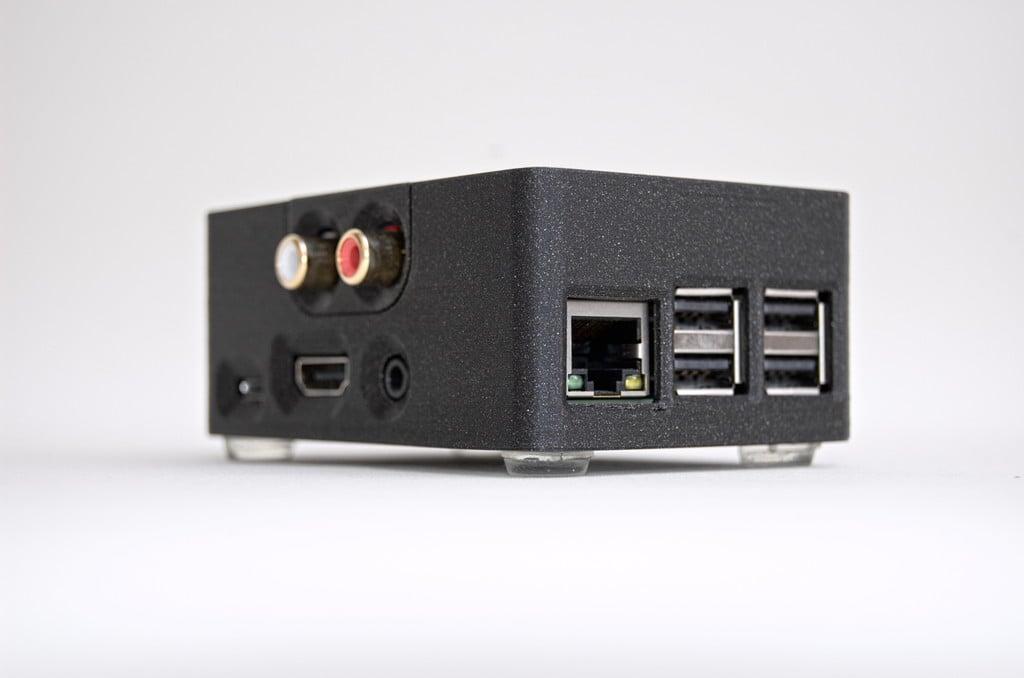
If you're a music lover, this tiny music player is sure to delight! The player features: - A RaspberryPi 3B+/4 at its core - The HiFiBerry DAC+ PRO for crystal-clear sound To get started, you'll also need the following accessories: - An RPi Power Supply to keep everything running smoothly - A Micro SD Card for storing your music library - Four Nylon spacers to provide extra support and stability Of course, you won't be able to assemble this beauty without the 3D printed case! This easy-to-print case is designed specifically for the Raspberry Pi 3B+ (also compatible with 3/3B) or Raspberry Pi 4 and the HiFiBerry DAC/DAC+/DAC+ PRO. You can choose from two stylish covers. 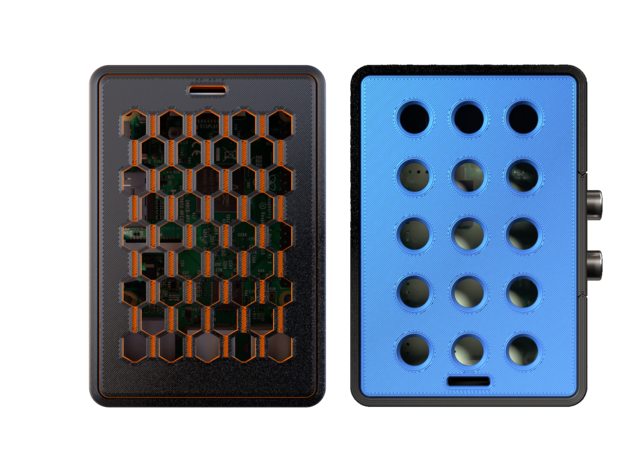 P.S. Please note that the case for the Raspberry Pi 4 is still untested, so any feedback you can provide will be greatly appreciated! Now, let's get started with the assembly instructions: First, place the four nylon screws in the holes under the case. Next, carefully position the RPi board on the case, making sure the screws align perfectly with the corresponding holes. Then, screw in the spacers one at a time - it can be a bit tricky to hold all four simultaneously! Once all the spacers are securely in place, take the 3D printed RCA cover and attach it to the RCAs. Gently push the HiFiBerry DAC into position, making sure the GPIO pins sit snugly. Finally, place the top cover on. If you'd like to see a visual representation of this process, check out our animation here: https://www.hifiberry.com/wp-content/uploads/2019/10/HiFiBerry-Case-Assembly.mp4?_=1 When your assembly is complete, be sure to visit HifiBerry's website for more detailed instructions and guidance.
With this file you will be able to print HifiBerry Case with your 3D printer. Click on the button and save the file on your computer to work, edit or customize your design. You can also find more 3D designs for printers on HifiBerry Case.