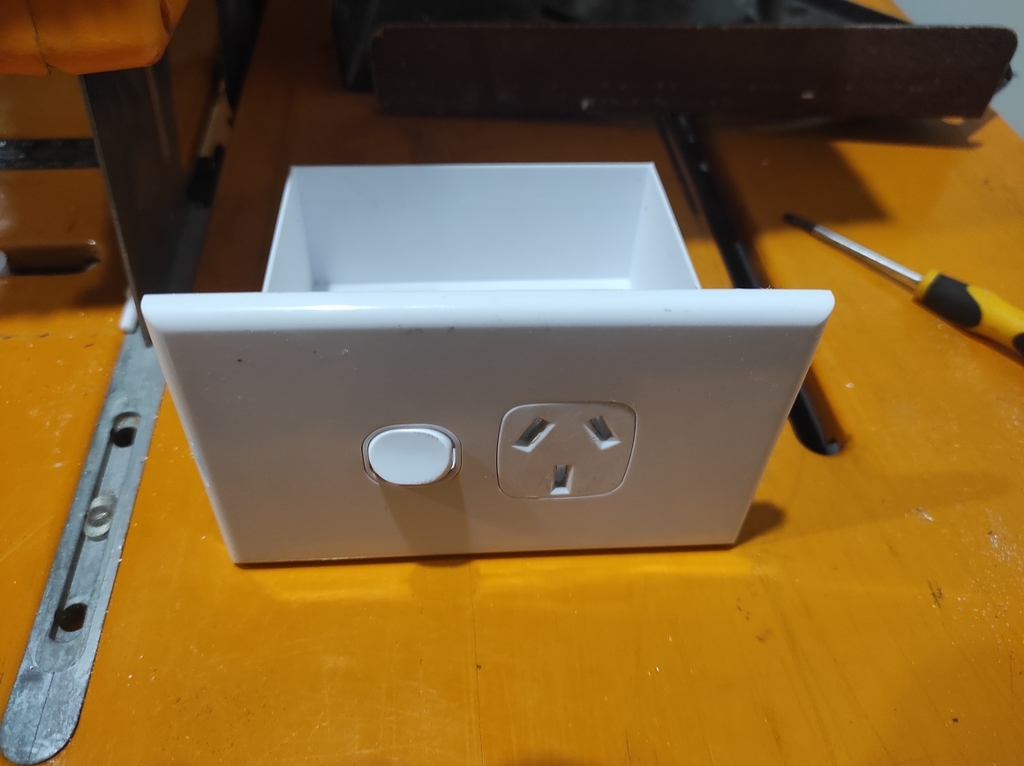
Hidden australian power point stash box
thingiverse
Note: the clamps should be printed at a slower speed. I used 40 and at the best resolution my printer can. I have added photos of how the clamps need to be orintated on the stash box. This is because they are both right hand thread. This is a hidden stash box / compartment for use with any Australian single power point. I believe they all have the same mounting holes. First time making anything so may need some improvement. I used 2 m4 bolts and nuts, I actually printed them from the nut job https://www.thingiverse.com/thing:193647/files thing but ended un using metal instead. The compartment attaches to the holes in the centre of the power outlet, see labled image for details. I removed some components of the power outlet to fit early versions of this design, you may not need to. The two wall clamps are designed for 10mm gyprock / drywall. Cut a hole slightly smaller than the face of the outlet but bigger than the compartment. make sure it is only a couple of mm bigger than the compartment. The two clamps are labled with the side they need to go on. They need to be inserted and screwed on a few threads prior to putting the unit in the wall. One in begin tightening with a screwdriver. DO not use a power tool as it may break the clamp. The clamp will stop against compartment stopping it from spinning, it will then tighted more and more against the back side of the gyprock until it is firmly in position. Once secure in the wall place the face plate on and you cant tell the difference. When it comes time to access the compartment simply rotate the bolt holding the clamp in place once in an anti clockwise direction. It should spin the clamp out of the way.
With this file you will be able to print Hidden australian power point stash box with your 3D printer. Click on the button and save the file on your computer to work, edit or customize your design. You can also find more 3D designs for printers on Hidden australian power point stash box.
