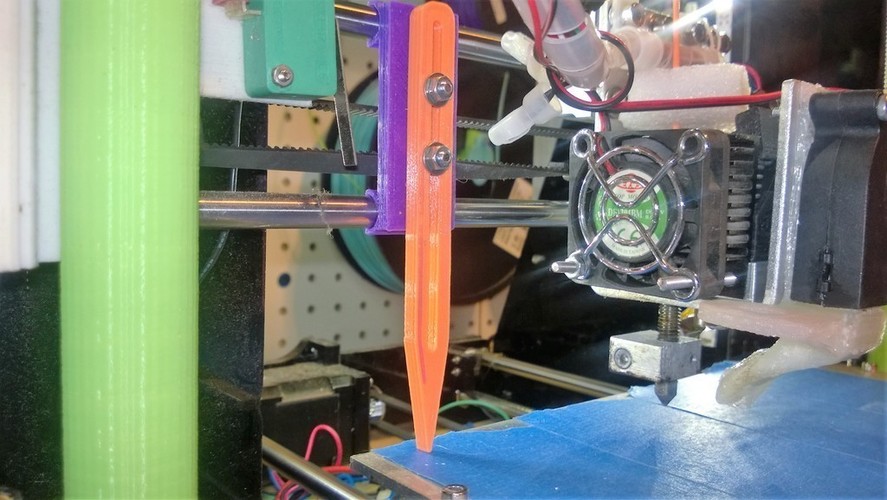
Hictop Prusa I3 Print Table Leveling Calibration Tool
pinshape
Summary I've designed a print table leveling/calibration system to simplify setting up my printer. The Z-axis is secured in place with green height adjustment blocks, crafted to elevate the print nozzle sufficiently for safe extruder assembly movement. To ensure equal height, I printed both green blocks simultaneously. The pointer and attachment bracket are optimized for 3mm diameter machine screws. The bracket attaches to the X-axis's 8mm linear rods, while the pointer is positioned at the "home" corner for the extruder nozzle. The pointer simply rests on the print table surface, and the screws are tightened securely. After initial setup, I move the pointer assembly to the opposite side of the X-axis and adjust the height at the opposing "home" corner. Then, I pull the print bed forward and repeat the leveling process for the two aft corners. Visual instructions can be found in the accompanying photos. Print Settings Printer Brand: RepRap Printer: Prusa I3 Rafts: Doesn't Matter Supports: No Resolution: .15mm
With this file you will be able to print Hictop Prusa I3 Print Table Leveling Calibration Tool with your 3D printer. Click on the button and save the file on your computer to work, edit or customize your design. You can also find more 3D designs for printers on Hictop Prusa I3 Print Table Leveling Calibration Tool.
