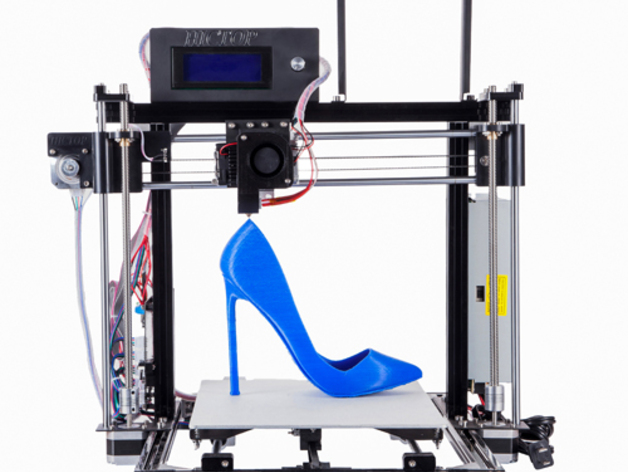
HICTOP Marlin RC7 firmware
thingiverse
Introduction This is the Marlin firmware (https://github.com/MarlinFirmware/Marlin) for the HICTOP Prusa i3, set up on a default machine based on the metal-framed linear rail model with no alterations except for the metal version of the extruder on bowden feed with E3d v6 which should not affect usability on the original as it's the same motor and gear, using standard 2mm pitch Z axis lead screws. While trying to set this up, I noticed some firmware already out there had the Z axis set to 2560 steps per mm, which is wrong for the stock configuration I have, so this has a corrected Z axis steps in configuration.h, which also corrects a problem with the default firmware when using the extra-drilled PCB. The tip is brought back home with the Z axis at 0 so it always hits the foldback clips. Warning Although I've tested this firmware thoroughly on my HICTOP Prusa i3, I cannot provide any warranty as far as installing it on your printer. Continue at your own risk. I cannot be held responsible for you bricking your printer. Installation To upload this to your printer, you can open the marlin.ino with the Arduino IDE. There are already a substantial amount of explanations out there on how to do this, but I will try to explain it as best I can. This particular version of the Marlin firmware is set up for the MKS/Arduino + RAMPS based board (RED). The installation steps are as follows: Download and extract Marlin firmware attached to this post Open Arduino then open marlin.ino by navigating to the folder where you extracted the firmware in File > Open... Set correct com port and board in Tools > Port & Tools > Board. The board wants to be set to Arduino Mega. Click verify to make sure there are no errors, if it compiles successfully go ahead and click upload. Enjoy RC7 Marlin Firmware on your stock HICTOP Prusa i3 Extruder (optional) I changed my own printer to a E3D J-head v6. This also includes all the STL files for the blower and the carriage mount. I borrowed the mount from MMendel and redesigned the blower to give more print cooling and hold an induction sensor. Also, if you change the hotend, you will need to run PID tuning otherwise the hotend won't get to temperature. And the induction sensor is not set up with this firmware, I do plan on upgrading this firmware to RC8 and adding the sensor and possibly redesigning the blower should there be any problems with induction sensor adjustment. With it all fitted, there is only about 1mm clearance with the nozzle tip. This may cause a problem with Z-axis calibration on the induction sensor. After thoughts I set the firmware to have my own text on the LCD if you want to replace this text with your own then open configuration.h in Arduino and then press Ctrl + F and type CUSTOM_MACHINE_NAME into the text field that appears. That should take you to the line to rename the machine.
With this file you will be able to print HICTOP Marlin RC7 firmware with your 3D printer. Click on the button and save the file on your computer to work, edit or customize your design. You can also find more 3D designs for printers on HICTOP Marlin RC7 firmware.
