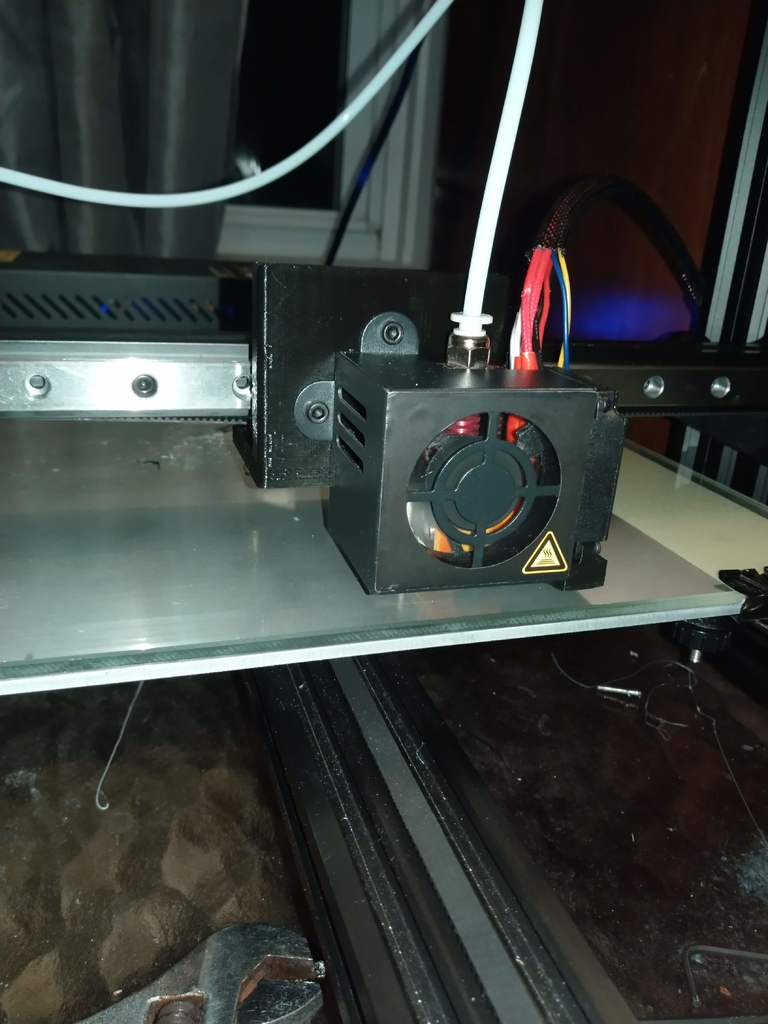
Hictop CR-10 X Linear Rail Upgrade
thingiverse
The Hictop CR-10 printer is notoriously loud, and I've lived with it in my room long enough to know its persistent humming can be a real nuisance at night. It was time for an upgrade - one that would hopefully silence the racket once and for all. I designed and built a custom hotend and fan mount that attaches to a linear rail, carefully matching the original equipment on my printer. This innovative design requires an X endstop spacer, which I've included in the package due to the added thickness of the linear rail. To replicate this project, you'll need to get your hands on a high-quality linear rail - I used one from Amazon, available at this link: https://www.amazon.com/gp/product/B0762MKQFD/ref=oh_aui_detailpage_o01_s00?ie=UTF8&psc=1 Additionally, don't forget to stock up on an assortment of M3 screws. They're essential for securing the linear rail in place. To make life easier, I've added built-in supports for the X spacer - a thoughtful touch that lets you print multiple items at once without having to worry about tedious support structures everywhere. However, be aware that supporting the screw holes isn't always the best idea, as they can be notoriously difficult to remove once printed.
With this file you will be able to print Hictop CR-10 X Linear Rail Upgrade with your 3D printer. Click on the button and save the file on your computer to work, edit or customize your design. You can also find more 3D designs for printers on Hictop CR-10 X Linear Rail Upgrade.
