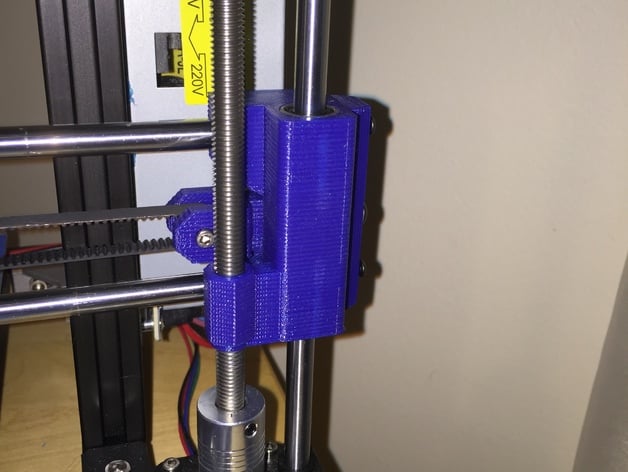
HicTop 3DP-11 Z-axis upgrade
thingiverse
I started from scratch, creating everything anew. The right end of the X axis was made entirely by me. To accommodate the smaller pulley bearings used by HicTop, I designed the idler pulley with precision. Additionally, I wanted to experiment with a plastic lead screw nut to see how it would hold up and if it could eliminate float on the Z axis. I've been using it for a few days now, and so far, it's working wonderfully. I'm getting the best quality prints from this printer. The linear bearings sleeve is closed and press fit into place. I did get ideas for parts of this design from several other designs, but I've never seen a printed lead screw nut before. Print Settings Printer Brand: Prusa Printer: Prusa Clone Rafts: No Supports: No Resolution: 0.1 Infill: 100 Notes: I had to fix a couple of broken idler arms. To solve the problem, I adjusted the wall thickness to half the width and reprinted it. This gave the part significantly more strength. The backplate was also not strong enough, so I used the same technique on it and it's holding up well now. 8/18/2017 Post-Printing For the plastic nut, run the screw through it several times until it works smoothly then put some graphite inside for lubrication. I find that graphite works pretty well with plastic screws and nuts. I used a 4mm screw and nut for the tensioner and 3mm screws and nuts for the X-rod standoffs.
With this file you will be able to print HicTop 3DP-11 Z-axis upgrade with your 3D printer. Click on the button and save the file on your computer to work, edit or customize your design. You can also find more 3D designs for printers on HicTop 3DP-11 Z-axis upgrade.
