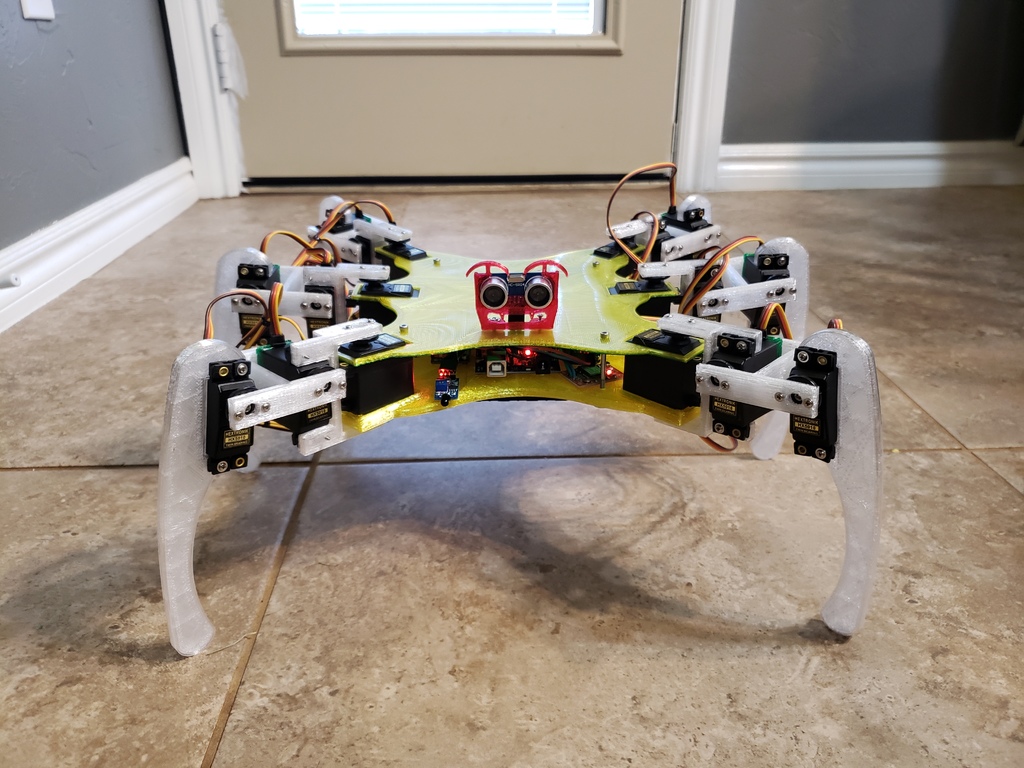
Hexapod
thingiverse
Building a Hexapod Robot for School Project Constructing a six-legged robot is an exciting school assignment, and this guide provides step-by-step instructions to create one. Materials Needed: A wooden base Six metal legs Three DC motors Gearbox components Motor driver board Batteries Microcontroller or Arduino board LED lights Step 1: Build the Wooden Base Cut four wooden pieces for the base, each measuring 6 inches by 2 inches. Use wood glue to attach them together in a square shape, ensuring stability. Step 2: Assemble the Legs Attach metal legs to the base using screws. Each leg consists of three joints connected by gearboxes, allowing for flexibility and movement. Step 3: Connect Motors to Gearboxes Install DC motors into each leg's gearbox, linking them together with cables. This setup enables smooth movement and precise control. Step 4: Add Motor Driver Board Mount the motor driver board on top of the base, connecting it to the microcontroller or Arduino board. This component regulates power distribution to the motors. Step 5: Power Up Your Hexapod Insert batteries into the power source and connect them to the motor driver board. The LED lights will now illuminate, indicating power flow. Step 6: Code Your Hexapod's Movement Using a programming language like Arduino or C++, write code that instructs the robot to move its legs in a specific pattern. This can be achieved through various algorithms and sensor inputs. Step 7: Test Your Creation Place your hexapod on a flat surface, ensuring it is stable. Press play, and watch as your six-legged robot comes to life!
With this file you will be able to print Hexapod with your 3D printer. Click on the button and save the file on your computer to work, edit or customize your design. You can also find more 3D designs for printers on Hexapod.
