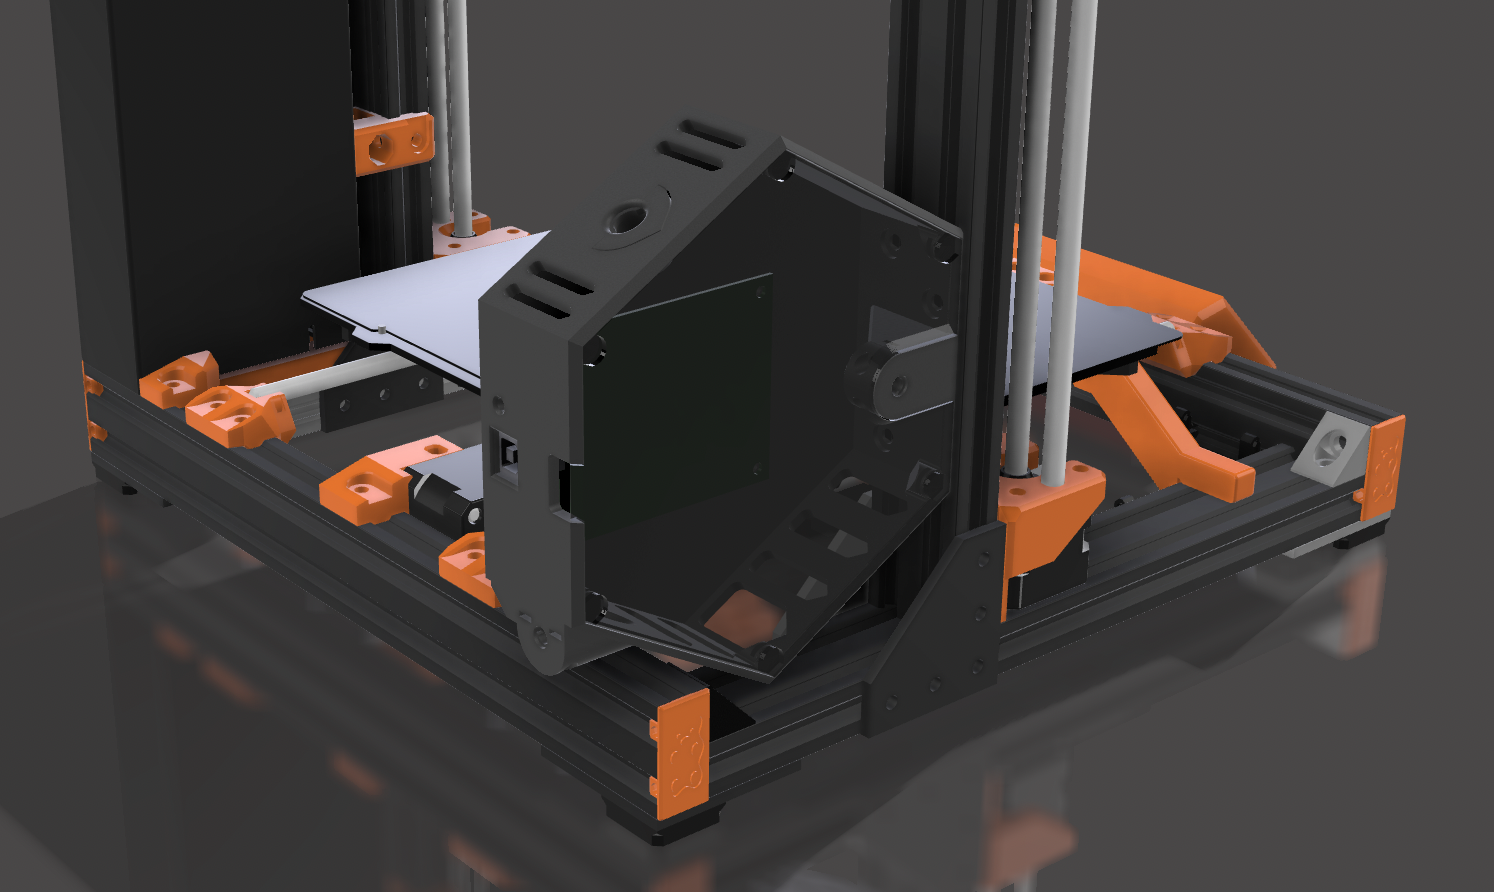
Hexagonal Einsy Case for Bear Upgrade
prusaprinters
<h3>Hexagonal Einsy Case for Bear Upgrade Frame</h3><h4>Note:</h4><p>Because this case has very different geometry from the stock Einsy case, cables <strong>will</strong> need to be lengthened to use this case -- specifically, power from PSU (both), heatbed, and X-axis stepper cables. If you wish to splice in an extension, you'll need solder and heatshrink tubing. If you wish to make new power cables, you'll want black/red 16AWG zip cord, some spade lugs, and a crimper. If you wish to make a short extension for the X-axis stepper, you'll need four 30cm pieces of 26 or 28AWG wire and some Molex SL connectors (although I made a perfectly acceptable extension with 4-position Dupont connectors).</p><p>The heatbed thermistor cable and power panic cables are of adequate length.</p><h4>You Will Need:</h4><h5>Printed Parts</h5><p>You will need one of each printed part. In addition, you'll need this hardware:</p><figure class="table"><table><tbody><tr><td>Amount</td><td>Item</td></tr><tr><td>12</td><td>8x2mm Neodymium Magnets</td></tr><tr><td>6</td><td>M3x10mm Socket Head Cap Screws</td></tr><tr><td>4</td><td>M3x8mm Socket Head Cap Screws</td></tr><tr><td>3</td><td>M5x8mm Socket Head Cap Screws</td></tr><tr><td>6</td><td>M3 Thin Square Nuts</td></tr><tr><td>4</td><td>M3 Hex Nuts</td></tr><tr><td>1</td><td>Printed Box</td></tr><tr><td>1</td><td>Printed Cover</td></tr><tr><td>1</td><td>Printed Extruder Bundle Cleat</td></tr><tr><td>1</td><td>Printed X-Axis Motor Bundle Cleat</td></tr><tr><td>1</td><td>Printed Heatbed Bundle Cleat</td></tr><tr><td>3</td><td>Printed T-nuts</td></tr></tbody></table></figure><h4>Assembly</h4><p>Push the four M3 hex nuts into the recesses in the back of the case. Insert the Einsy board into the case with the USB socket in alignment with its port in the rear of the case. Secure with four M3x8mm screws.</p><p>Insert the six square nuts into their respective slots near the wire bundle ports.</p><p>Insert the magnets into the slots in the edge of the lid, and the corresponding slots in the case. Ensure that the magnets are oriented so that they attract each other. if you have a heat gun, you can gently soften the material and squeeze to lock the magnets in place.</p><p>Insert the three M5 screws from the inside through the holes in the side of the case. Thread a T-nut onto the end of the screw, with the large side of the nut toward the case. They will self-tap into the T-nut. Just thread it a turn or two, as the T-nuts are designed to rotate and engage with the V-slots in the aluminum extrusion. You may wish to leave them slightly loose while wiring the case so the case can slide up so it's easier to insert the wires through the bottom port.</p><p>Place the case into position with the T-nuts rotated to slip into the V-slot. When you tighten the screws, they will first rotate into position locking into the slot, then draw the case against the extrusion. Do not over-tighten, just close the gap and tighten a bit more to keep the case from sliding.</p><p>Lead the non-bundled wires (ribbons, power, power panic, Z motors) upward through the port in the bottom of the case and connect them. Lead the extruder bundle through the large port and the upper rear of the case. Push the cleat into place and secure it with two M3x10mm screws. Do the same for the X-axis and heatbed bundles. Plug in the connectors.</p><p>Set the cover into place.</p><h4>Current Issues</h4><ul><li>The power and heatbed cables are too short to route neatly around the frame. (This is noted in the Bear Frame Upgrade instructions.) One must either run them straight across, extend them by splicing them, or doing what I did, which was to get 16AWG red/black zip cord and a crimper and make my own custom cables. Neat wires are worth the extra effort.</li><li>The X-axis motor cord is too short. It either has to be pulled in a bit tighter, which puts too much strain on it, or do what I did: make a short 10cm extension from 28AWG wire and Dupont plug/socket connectors.</li><li>Extruder bundle cleat prints messily, and is hard to fit. I will redesign it so that the cleat is also part of the side cover. That way, both the box and the cleat will print better.</li></ul><p> </p>
With this file you will be able to print Hexagonal Einsy Case for Bear Upgrade with your 3D printer. Click on the button and save the file on your computer to work, edit or customize your design. You can also find more 3D designs for printers on Hexagonal Einsy Case for Bear Upgrade.
