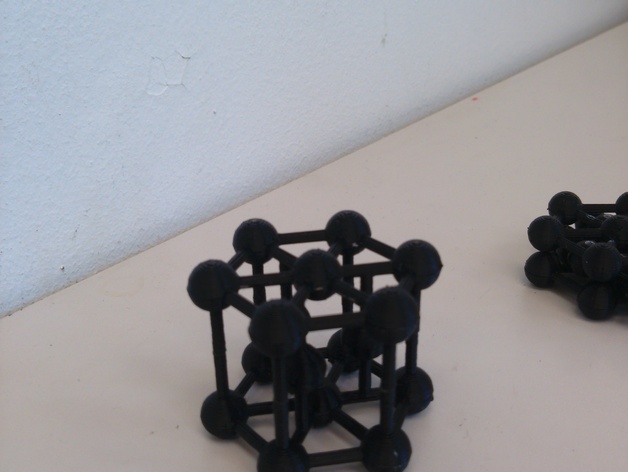
Hexagonal Close Packed Unit Cell
thingiverse
The Atom Lattice Framework ------------------------ To Construct a Hexagonal Close Packed Model You Will Need: Four interlocking pieces: two inner, two outer structures, printed singularly using your 3D printer. Each component must be glued securely to the bed, with added support using super glue. For best results, print with PLA on your Makergear M2 device utilizing Pronterface software under standard conditions. Recommended Printing Options: Printer settings and materials recommended by the author. Inner piece printed at a speed of approximately 20mm/s with 60 layer settings. Outer pieces can be produced using default print parameters of 25mm/s for the specified amount of layers required for full model visibility. Total model completion may vary based on complexity and layer accuracy within specific material selection and equipment operation limitations. To Reconstruct this Structure: Simply attach two printed outer units side by side onto one bed surface, leaving sufficient area for securing glue between adjacent elements. Next attach matching halves along opposing axis for the inner pair on other side, allowing structural bonds form properly. Please take note of final assembly might require minor adjustments as layers could get disaligned if certain printing variations arise. It would not be beneficial for these details but keep a close watch in advance of finishing process completion time. Please Note that All Parts Were Supplied Together in Order of Production and were Printed With Recommended Speed
With this file you will be able to print Hexagonal Close Packed Unit Cell with your 3D printer. Click on the button and save the file on your computer to work, edit or customize your design. You can also find more 3D designs for printers on Hexagonal Close Packed Unit Cell.
