Hexagon Coupler - v1
myminifactory
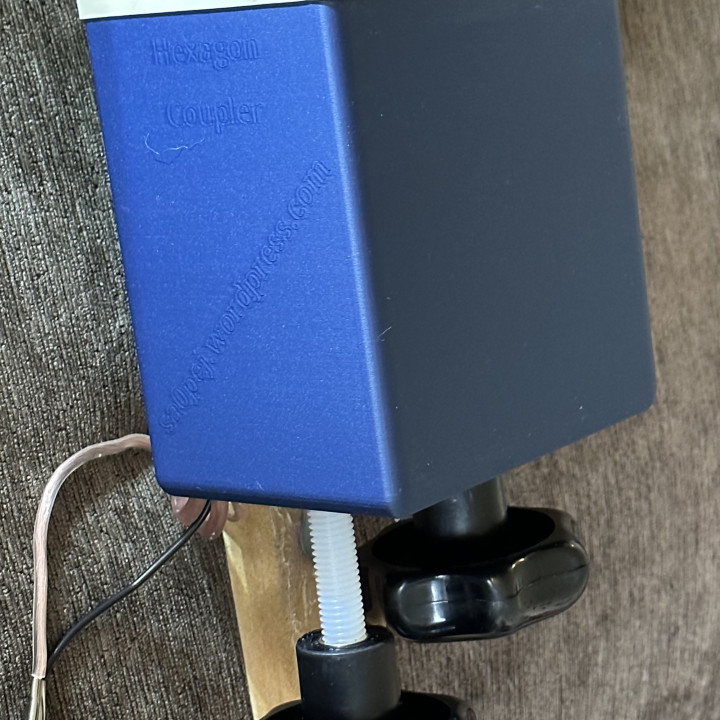
More build description and use here Hexagon Coupler v1 from the blog Electromagnetic Adventures by SA0PEJ: sa0pej.wordpress.com ## Needed material * Printed model (2 disks and 2 plates)* Printed case (optional)* 5 cm wide copper tape* M10 threaded nylon shaft - or use other model and print them* Knobs (optional)* 4 pcs small self threading screws * Tools: * M10 Threading tool - or modify model and print with threads * Small drill * Screwdriver ## INSTRUCTION(please contact me if instruction is unclear so I can improve) Add copper tape to inner, outer and middle hexagon. Thread 2 disks, inner and outer hexagon.Mount disk to threaded shaft end let 6 cm shaft stick out on hexagon side so hexagon can reach top position. Secure each shaft with disk and 2 self-threading screws.Solder wires, add some foil to solder wire away from hexagons, Be careful and work fast to not melt 3D model: * RFin * Ground: to middle hexagon, * Signal: to upper hexagon* Loop antenna * L1: Outer hexagon* L2: Middle Hexagon Tested only with 10W but it should be able to handle more, ensure that distance between foils are > 1mm and cut away excess to avoid short circuit Warning❗Keep away when in operation, use the protective cover, because when in resonance the voltage can be several 1000 volts and burn your fingers.
With this file you will be able to print Hexagon Coupler - v1 with your 3D printer. Click on the button and save the file on your computer to work, edit or customize your design. You can also find more 3D designs for printers on Hexagon Coupler - v1.