Hex Screw Fidget Pen
prusaprinters
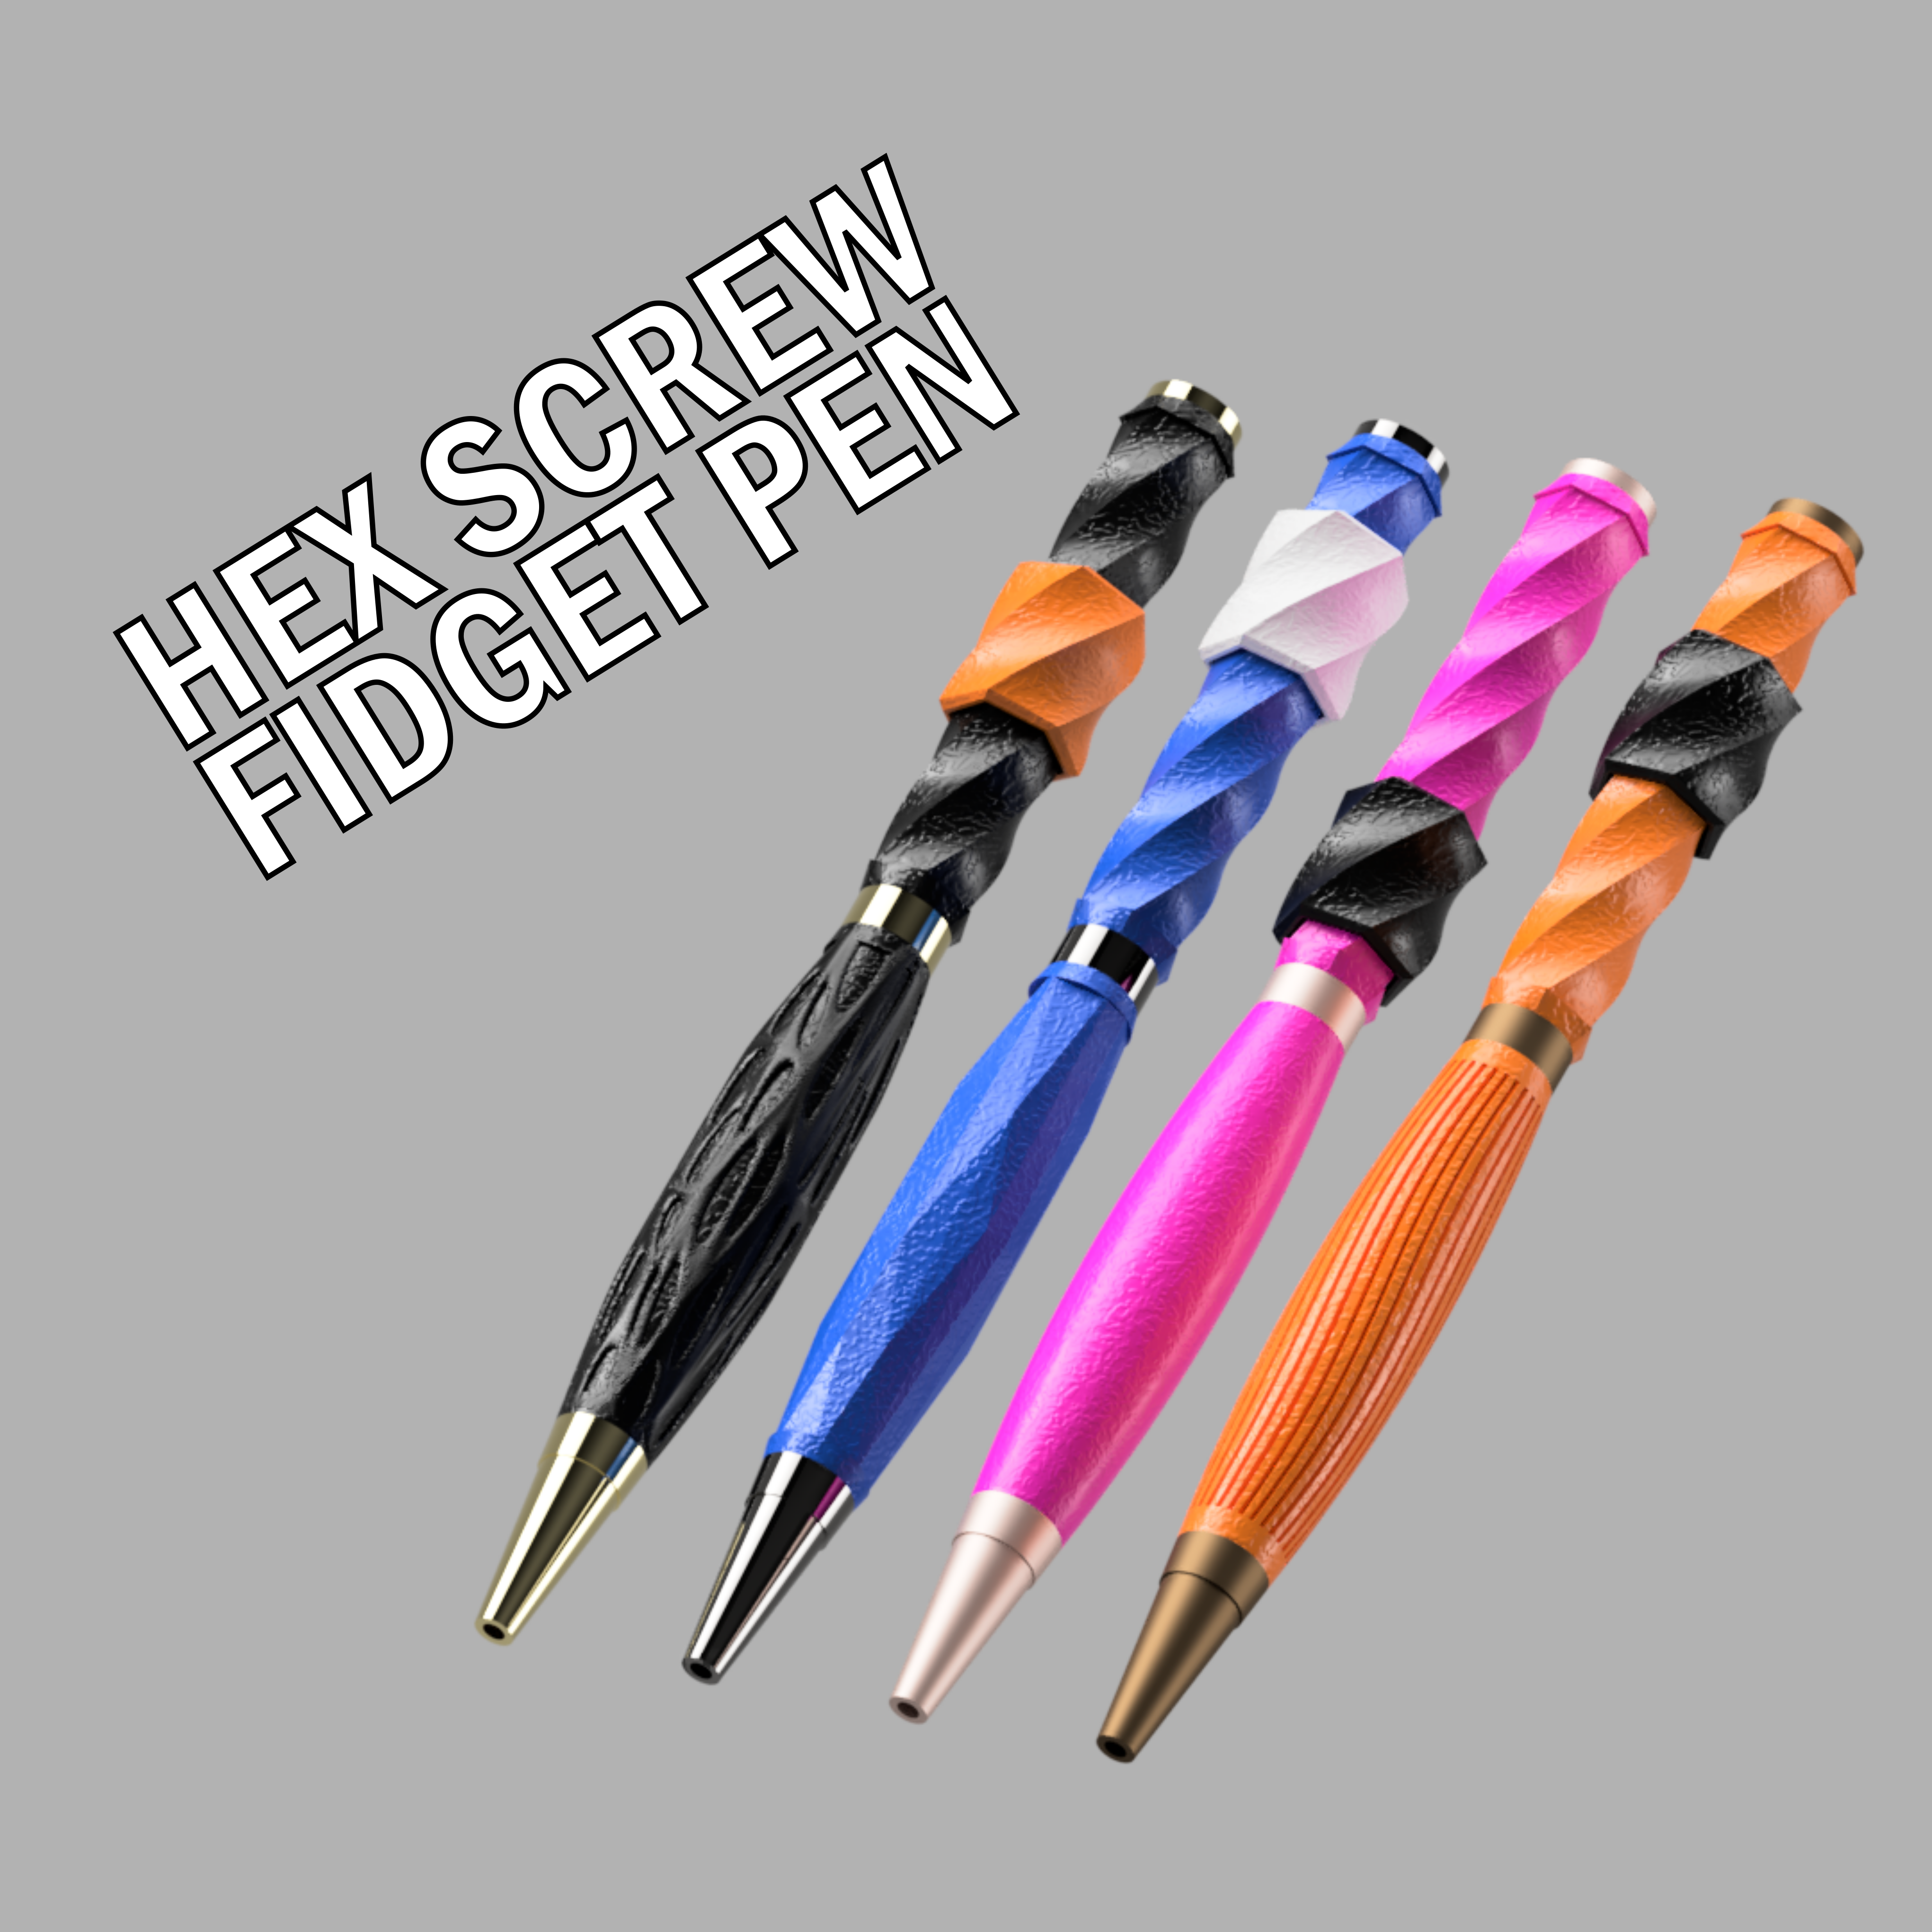
<h3><strong>Description</strong></h3><p>This is a play on my stand alone hex fidget toy design. This design uses a standard 7mm slimline pen kit and is designed to fit the kit with no additional tools with the exception of a vice, which will greatly assist with assembly. I've included a few different models for the bottom of the pen to suit different tastes. This should also theoretically be compatible with the pen bottoms designed by Dsk001 or any other user who design components for this size of kit:</p><p>Dsk001 Link: <a href="https://www.prusaprinters.org/prints/125897-3d-printed-slimline-pens">https://www.prusaprinters.org/prints/125897-3d-printed-slimline-pens</a></p><h3><strong>Print Instructions</strong></h3><p>My recommended print settings using a 0.4mm nozzle are:</p><ul><li>0.16mm layer height for the hex screw and runner will result in a smooth operation of the mechanism.</li><li>0.16mm layer height for the detailed pen bottoms (04 through 06) will result in quick, yet detailed print.</li><li>0.3mm layer height for the ‘03 - Bottom Simple’ component will result in a nice textured grippy feel.</li><li>Full infill for all parts is recommended. This can also be achieved by ignoring infill and adding additional walls to make up the full wall thickness.</li><li>The ‘Runner’ should be printed with a brim. Because of the chamfer, there isn't much surface contact with the print bed. The brim will help with adhesion. Sinking the runner into the bed of the 3D printer in your slicing software by about 0.2mm also helped if you don't like using brims. Just be careful your printer doesn't actually try to print inside the bed.</li><li>Recommended you print the parts standing up.</li></ul><h3><strong>Assembly</strong></h3><p>Basic assembly can be determined from the photos. Put the runner on the top screw by pausing your print at about the halfway mark. Once the print is finished the runner will then be locked onto the screw. Follow the pen kit instructions for the actual pen assembly. The components should be pressure fit, so no glue will be needed for assembly. It's worth printing a test part and see how the fit is prior to printing the full pen. Model can be scaled a small amount if the fit is too tight or to loose off your printer. Be careful when assembling as the 3D parts are much weaker than the wood blanks these kits are designed for.</p><h3><strong>Attribution</strong></h3><p>Please print and re-mix this model as much as you want. I'd love to hear your feedback but please do not use this model for commercial use.</p>
With this file you will be able to print Hex Screw Fidget Pen with your 3D printer. Click on the button and save the file on your computer to work, edit or customize your design. You can also find more 3D designs for printers on Hex Screw Fidget Pen.