Hex Robo V1 Cannon only
grabcad
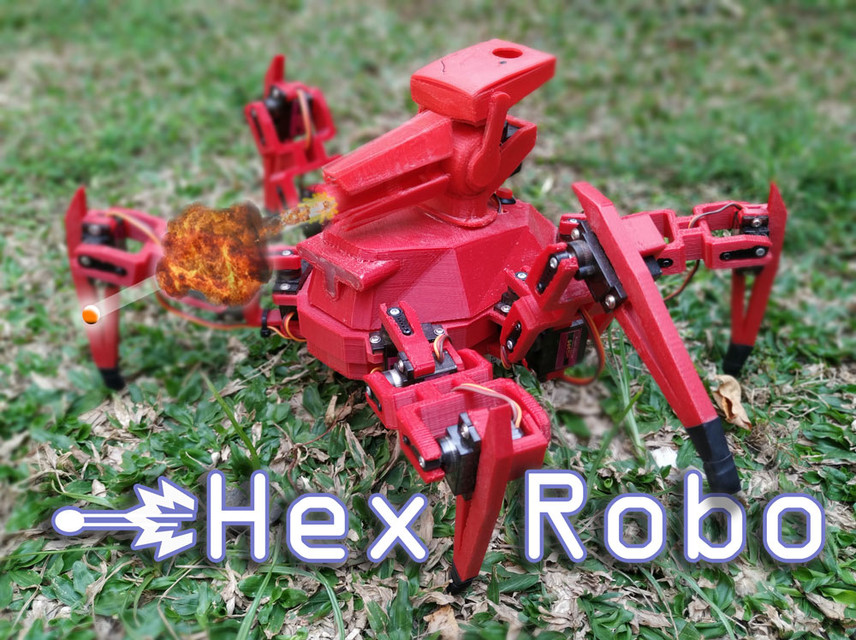
Hex Robo V1 Cannon Part Only Get ready to assemble your very own Hex Robo V1 cannon! This is the second installment of a three-part series. If you haven't already, be sure to check out the first part, where we cover the assembly of the main body. Here's what you'll need for this section: * 12x M3 x 8mm screws * 6x M3 x 10mm screws * 1x Cannon barrel (already printed) * 1x Cannon mount (already printed) * 1x Laser-cut base plate The cannon barrel and mount are the same parts used in the main body assembly. Just attach them to the base plate using the provided screws. The cannon barrel has a few notches on it, which correspond to specific screw holes on the base plate. Make sure to align these correctly before attaching the screws. Once you've attached all the necessary parts, your Hex Robo V1 cannon should look something like this: Now that we have our cannon assembled, let's move on to the final part of this series: the assembly of the robotic arm. This will be a more complex section, but with patience and practice, you'll be able to create an amazing robot in no time!
With this file you will be able to print Hex Robo V1 Cannon only with your 3D printer. Click on the button and save the file on your computer to work, edit or customize your design. You can also find more 3D designs for printers on Hex Robo V1 Cannon only.