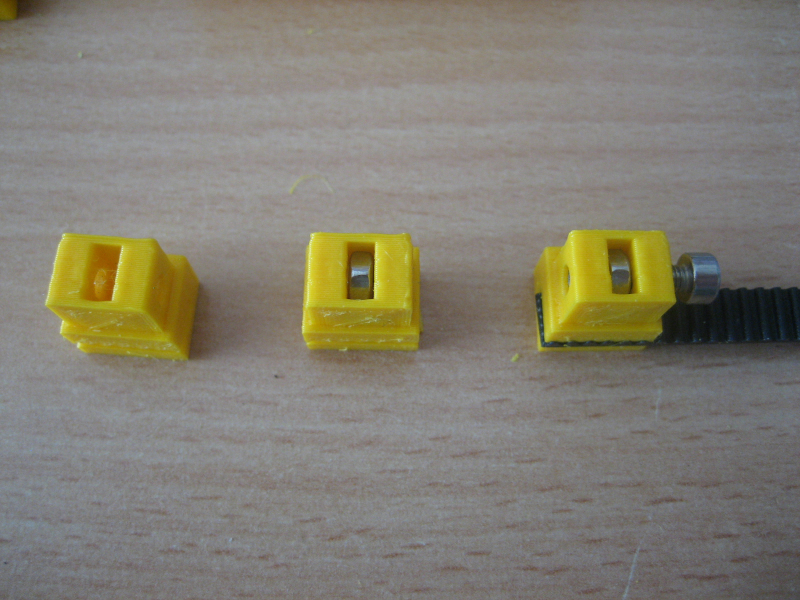
HEVO x- carriage with alternative belt clamp & tensioning
thingiverse
As an alternative idea, I redesigned the clamping and tensioning mechanism of the x-carriage for the HyperCube Evolution. It's now easy to print. You'll need one X-Carriage_Front, one X-Carriage_Back, and four Belt_Clamp's. The belt clamps have a recess for M3 nuts and screws and below a slot for the belt. They can be used on both sides of the Front part of the x-carriage. The pictures show exactly what to do and are very explanatory. The tolerances are extremely tight. The holes in the front part are due to the minimum nozzle size (I used .4 mm, so it won't fit perfectly during printing). However, this isn't a problem because everything slides smoothly next to each other. Things to consider when printing: - Print everything with the heat bed facing upwards as logically possible. Make sure you use supports for the Belt clamps only from the heat bed (if you don't, you'll struggle to clean the M3 holes). - Use 4 vertical shells (Perimeter) for added rigidity. - I personally use mouse ears to ensure the faces remain flat on the heat bed during printing. I'm open to suggestions. My next project is designing a new x-carriage based on this design with very short nozzle to x-axis length, which minimizes faults caused by heavy carriage weight and vibrations. Any suggestions are welcome. I'm also considering building a tool to measure belt tension for easier adjustment without relying on 'good feeling'. Suggestions are welcome as well.
With this file you will be able to print HEVO x- carriage with alternative belt clamp & tensioning with your 3D printer. Click on the button and save the file on your computer to work, edit or customize your design. You can also find more 3D designs for printers on HEVO x- carriage with alternative belt clamp & tensioning.
