Hemera mount for Prusa MK3S
prusaprinters
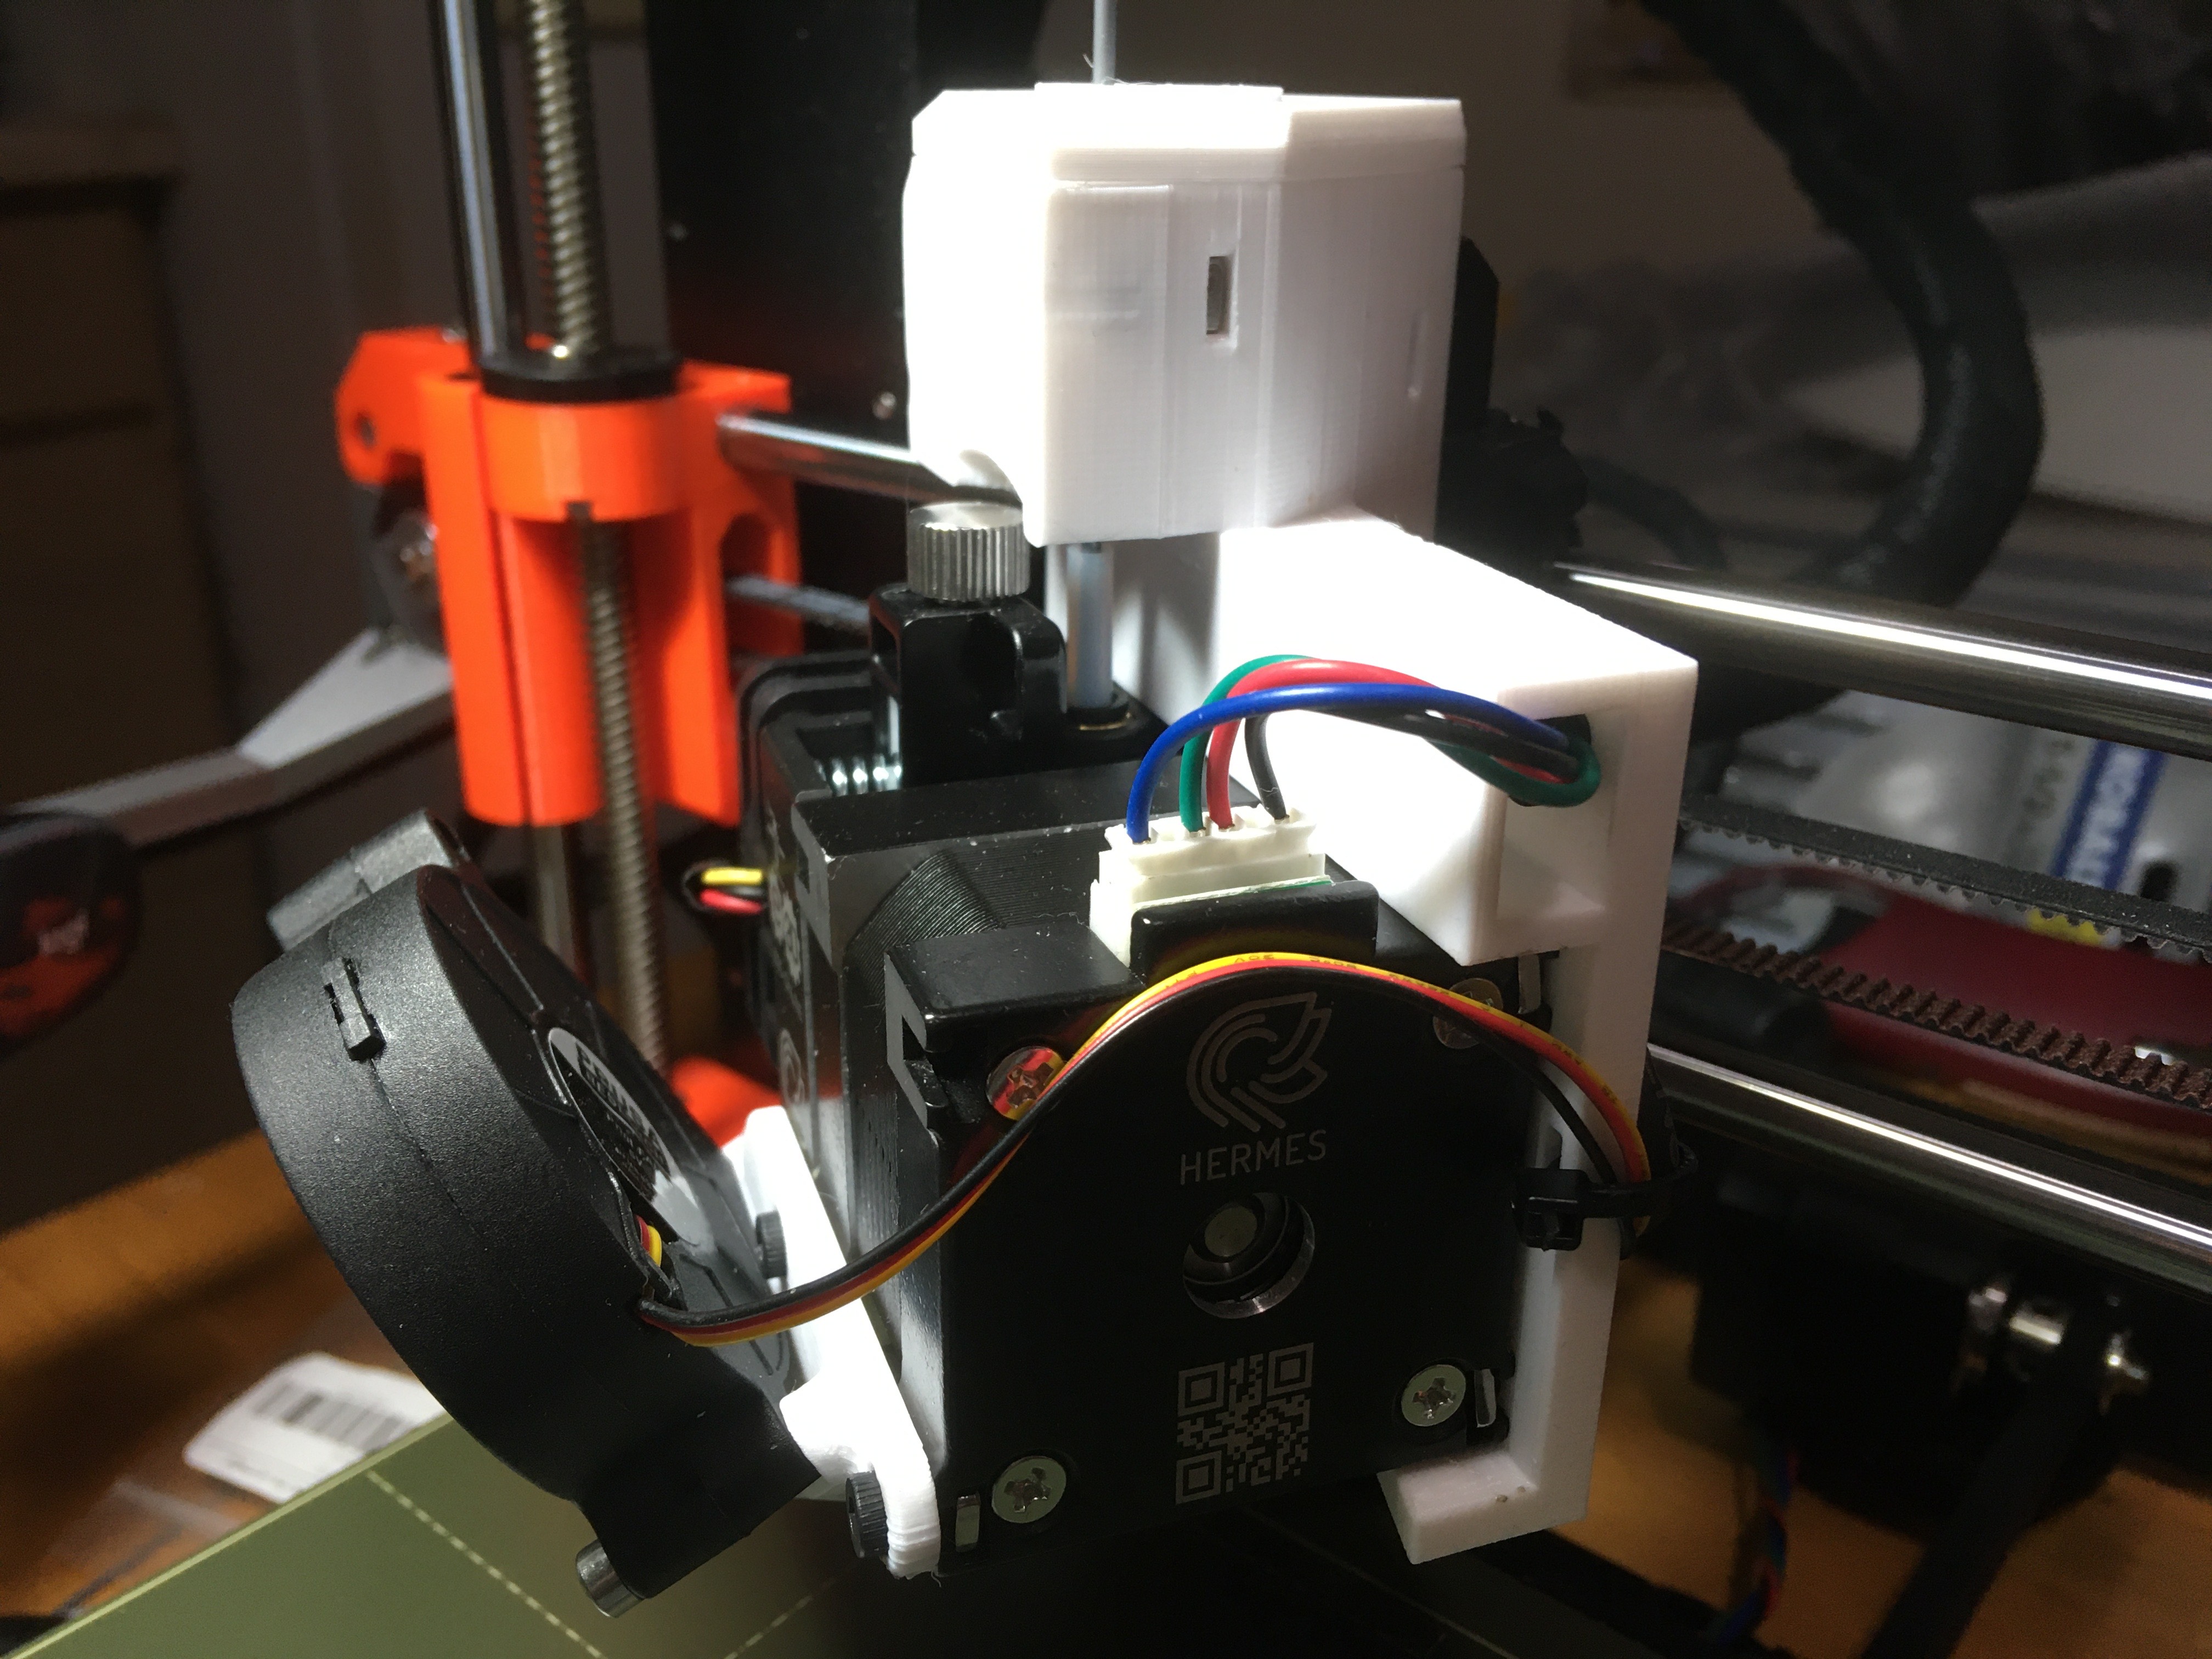
<p>This is new a mount to attach an E3D Hemera extruder to a Prusa MK3S printer. The original interior geometry from the Prusa filament sensor has been incorporated into this design, sourced from Prusa's models.</p> <p>The mount is rotated 30 degrees to allow the full x-axis carriage travel without the need to move the lead screw, motor, etc.</p> <p>The pinda is in the same location as the original extruder.</p> <h3>Print instructions</h3><p>This is new a mount to attach an E3D Hemera extruder to a Prusa MK3S printer. The original interior geometry from the Prusa filament sensor has been incorporated into this design, sourced from Prusa's models.</p> <p>The pinda is in the same location as on the original.</p> <p>The nozzle in this new design sits 10mm further forward along the y-axis (toward the front of the machine), than the original. The x-axis location of the nozzle is the same as the original extruder. The y-axis offset of the nozzle from the pinda needs to be changed from 5 to 15.</p> <p>You can follow this guide to update the firmware:<br/> <a href="https://e3d-online.dozuki.com/Guide/Prusa+i3+MK3+Firmware+Modifications/141">https://e3d-online.dozuki.com/Guide/Prusa+i3+MK3+Firmware+Modifications/141</a></p> <p>I ran through the full printer calibration before I updated the firmware and then again afterwards, that may be necessary to get the printer to accept commands from Pronterface, but I'm not sure.</p> <p>You can use existing screws and nuts for some, you'll need to supply others (see attached image for required hardware). My kit came with several extra parts that made up some of what was needed, including an extra steel ball and magnets for the filament sensor. Or, you can salvage those parts from the original Prusa extruder.</p> <p>You can use the original sensor swing arm and ball holder, or you can print new ones, available on Prusa's site. The magnets in the filament sensor on the new design fit a bit loose and that makes installing them difficult as they pop out and stick together, I'm sure you'll manage. ;)</p> <p>You'll need a blower/nozzle fan duct as well, there are several designs already available.</p> <p>The parts print okay without supports, but I suggest supporting the "ramp" section as the underside is a bit messy without supports, in my experience. I printed everything in PETG for the slightly higher temperature resistance. I only have PLA and PETG right now.</p> <p>I included a picture of the Benchy I printed with the original extruder (left) and the Hemera (right), and a whistle printed with the Hemera. The Benchys are virtually identical, and were printed from the files included with the printer in PLA using default settings for both extruders. I have not printed anything else as of this writing.</p> <p>I don't know if I'm getting the full print area in the y-axis (I don't know how to check), but the x and z axis are the same, as both the nozzle z and x locations are the same as on the original extruder. I may be missing 10mm from the y-axis print area.</p> <p>IMPORTANT NOTES: the box shape acts as a nice wire guide BUT it also stiffens the plane where the Hemera mounts and is not optional, do not remove the box. Same goes for the triangular shapes at the bottom. Additionally note that the structure extends above the mounting plate to allow the filament sensor wires some space.</p> <p>The Hemera comes with a 24V extruder fan that won't work with the Einsy board because the fan header on the board puts out 5V. The Prusa original fan does not match the specs of the Hemera fan for CFM or static pressure. I chose the Sanyo-Denki 109P0405H901 fan as a replacement, but I don't know if that's required. You'll either need to buy a new Molex plug or salvage the one from the original fan if you choose to use this fan because it comes with bare wires.</p> <p>The motor wires provided with the Hemera are in a black plastic sleeve. I left the sleeve on, but had to remove several inches from the plug end because it was too much bulk to clamp into the box--if you built the kit I'm sure you remember that part of the process. I suspect you could just remove that sleeve completely and that would also make routing the wires easier at the extruder end.</p> <p>Sorry, this was designed entirely in Blender and no CAD files exist.</p>
With this file you will be able to print Hemera mount for Prusa MK3S with your 3D printer. Click on the button and save the file on your computer to work, edit or customize your design. You can also find more 3D designs for printers on Hemera mount for Prusa MK3S.