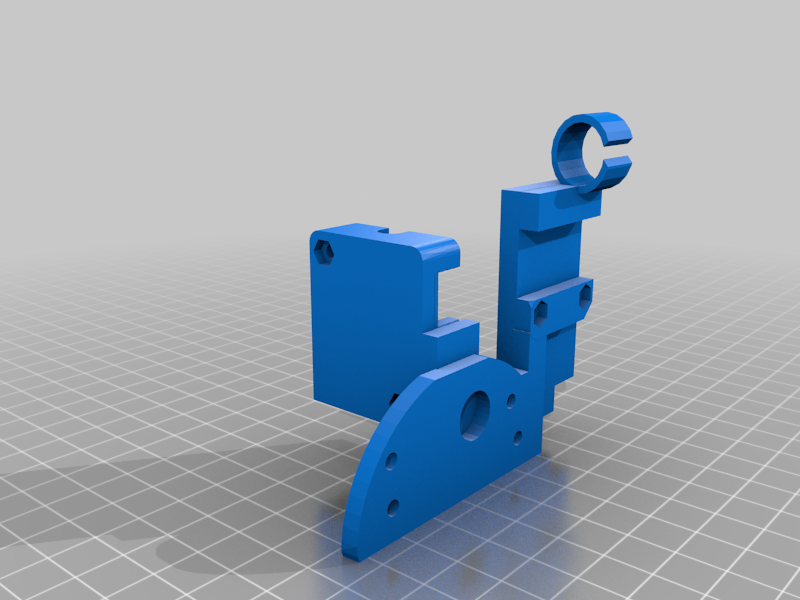
Hemera mount CR6
thingiverse
This is a working Beta Release, these can be printed at .12 at least for the fan duct. I have included the firmware as well as the configuration files. Feel free to contribute to helping further modify the CR6 and other printing ventures visit my Patreon or PayPal me with a note. The included firmware will be for both CR6 and CR6 Max, with BTT motherboard and display, as well as BTT board with Stock display, Stock boards with stock display. Hardware: -Hemera DD or Bowden -M3 bolts and nuts(kit on amazon are cheap and always great to have laying around for tinkering) -Lengths of PTFE tubing( I used Capricorn) ---Optional--- - BTT Runout sensor -Stock filament runoout for CR6(remove from stock housing, place in the one on the mount) -Neopixels Mounting instructions: Remove the stock hot end assembly leaving the plate attached to the gantry. 1) Place the mount with the transfer board on the plat first, it will need 2-M3x6mm and 2-M3x16mm.( Wait until you have all the mounts and fan on the Hemera before running the 16mm screws through the strain gauge and into the gantry plate.) 1A) The stock CR6 runout sensor you take apart and place the pieces in the place the came from in the one on the mount. Place two M3 nuts inside the mount and use 2-M3x16mm screws to secure the cap to the runout sensor. You will need a piece of PTFE between the Hemera and sensor 1B) The BTT Smart Filament Runout Sensor you remove the rear panel and secure it to the mount using the screws you removed. You will need a piece of PTFE between the Hemera and sensor. 2) You will need to secure the strain gauge to the mount labeled HemeraMountV2 using 2-M3 nuts and 2-M3x8mm screws. 2A) Using the screws that came with your Hemera, secure file HemeraMountV2 to the Hemera. 3) The 5150 Winsinn fan works great for me and is fairly silent compared to stock CR6 fan. the mount can be attached to the Hemera with one the square nuts provided with the Hemera and 2-M3x4mm which can be found on the stock CR6 hot end. The fan slides in and is held in place by two M3x10mm screws like studs. (use a small screwdriver and poke a hole through then thread the screw through) 3A) For a white LED strip slide it in the rails under the fan duct and plug into the existing LED plug -----Optional---- If you are using a BTT motherboard i will include a firmware for you as well to add a 5v flat neopixel strip under the fan duct for 4 LED which will change color as your machine warms up for a print and turns white as it prints. you will need to run a wire from the hot end, through the shrink around the ribbon cable, and into the RBG plug of the motherboard. 4) Using the above mentioned M3x16mm screws secure the Hemera to the gantry mount. I cut a piece of PTFE to leave out of the top of my Hemera(Runout sensor if using one) to ease strain. ****** I am still working on a cover to go around the Hemera and transfer board**** I will be releasing different versions stay tuned!
With this file you will be able to print Hemera mount CR6 with your 3D printer. Click on the button and save the file on your computer to work, edit or customize your design. You can also find more 3D designs for printers on Hemera mount CR6.
