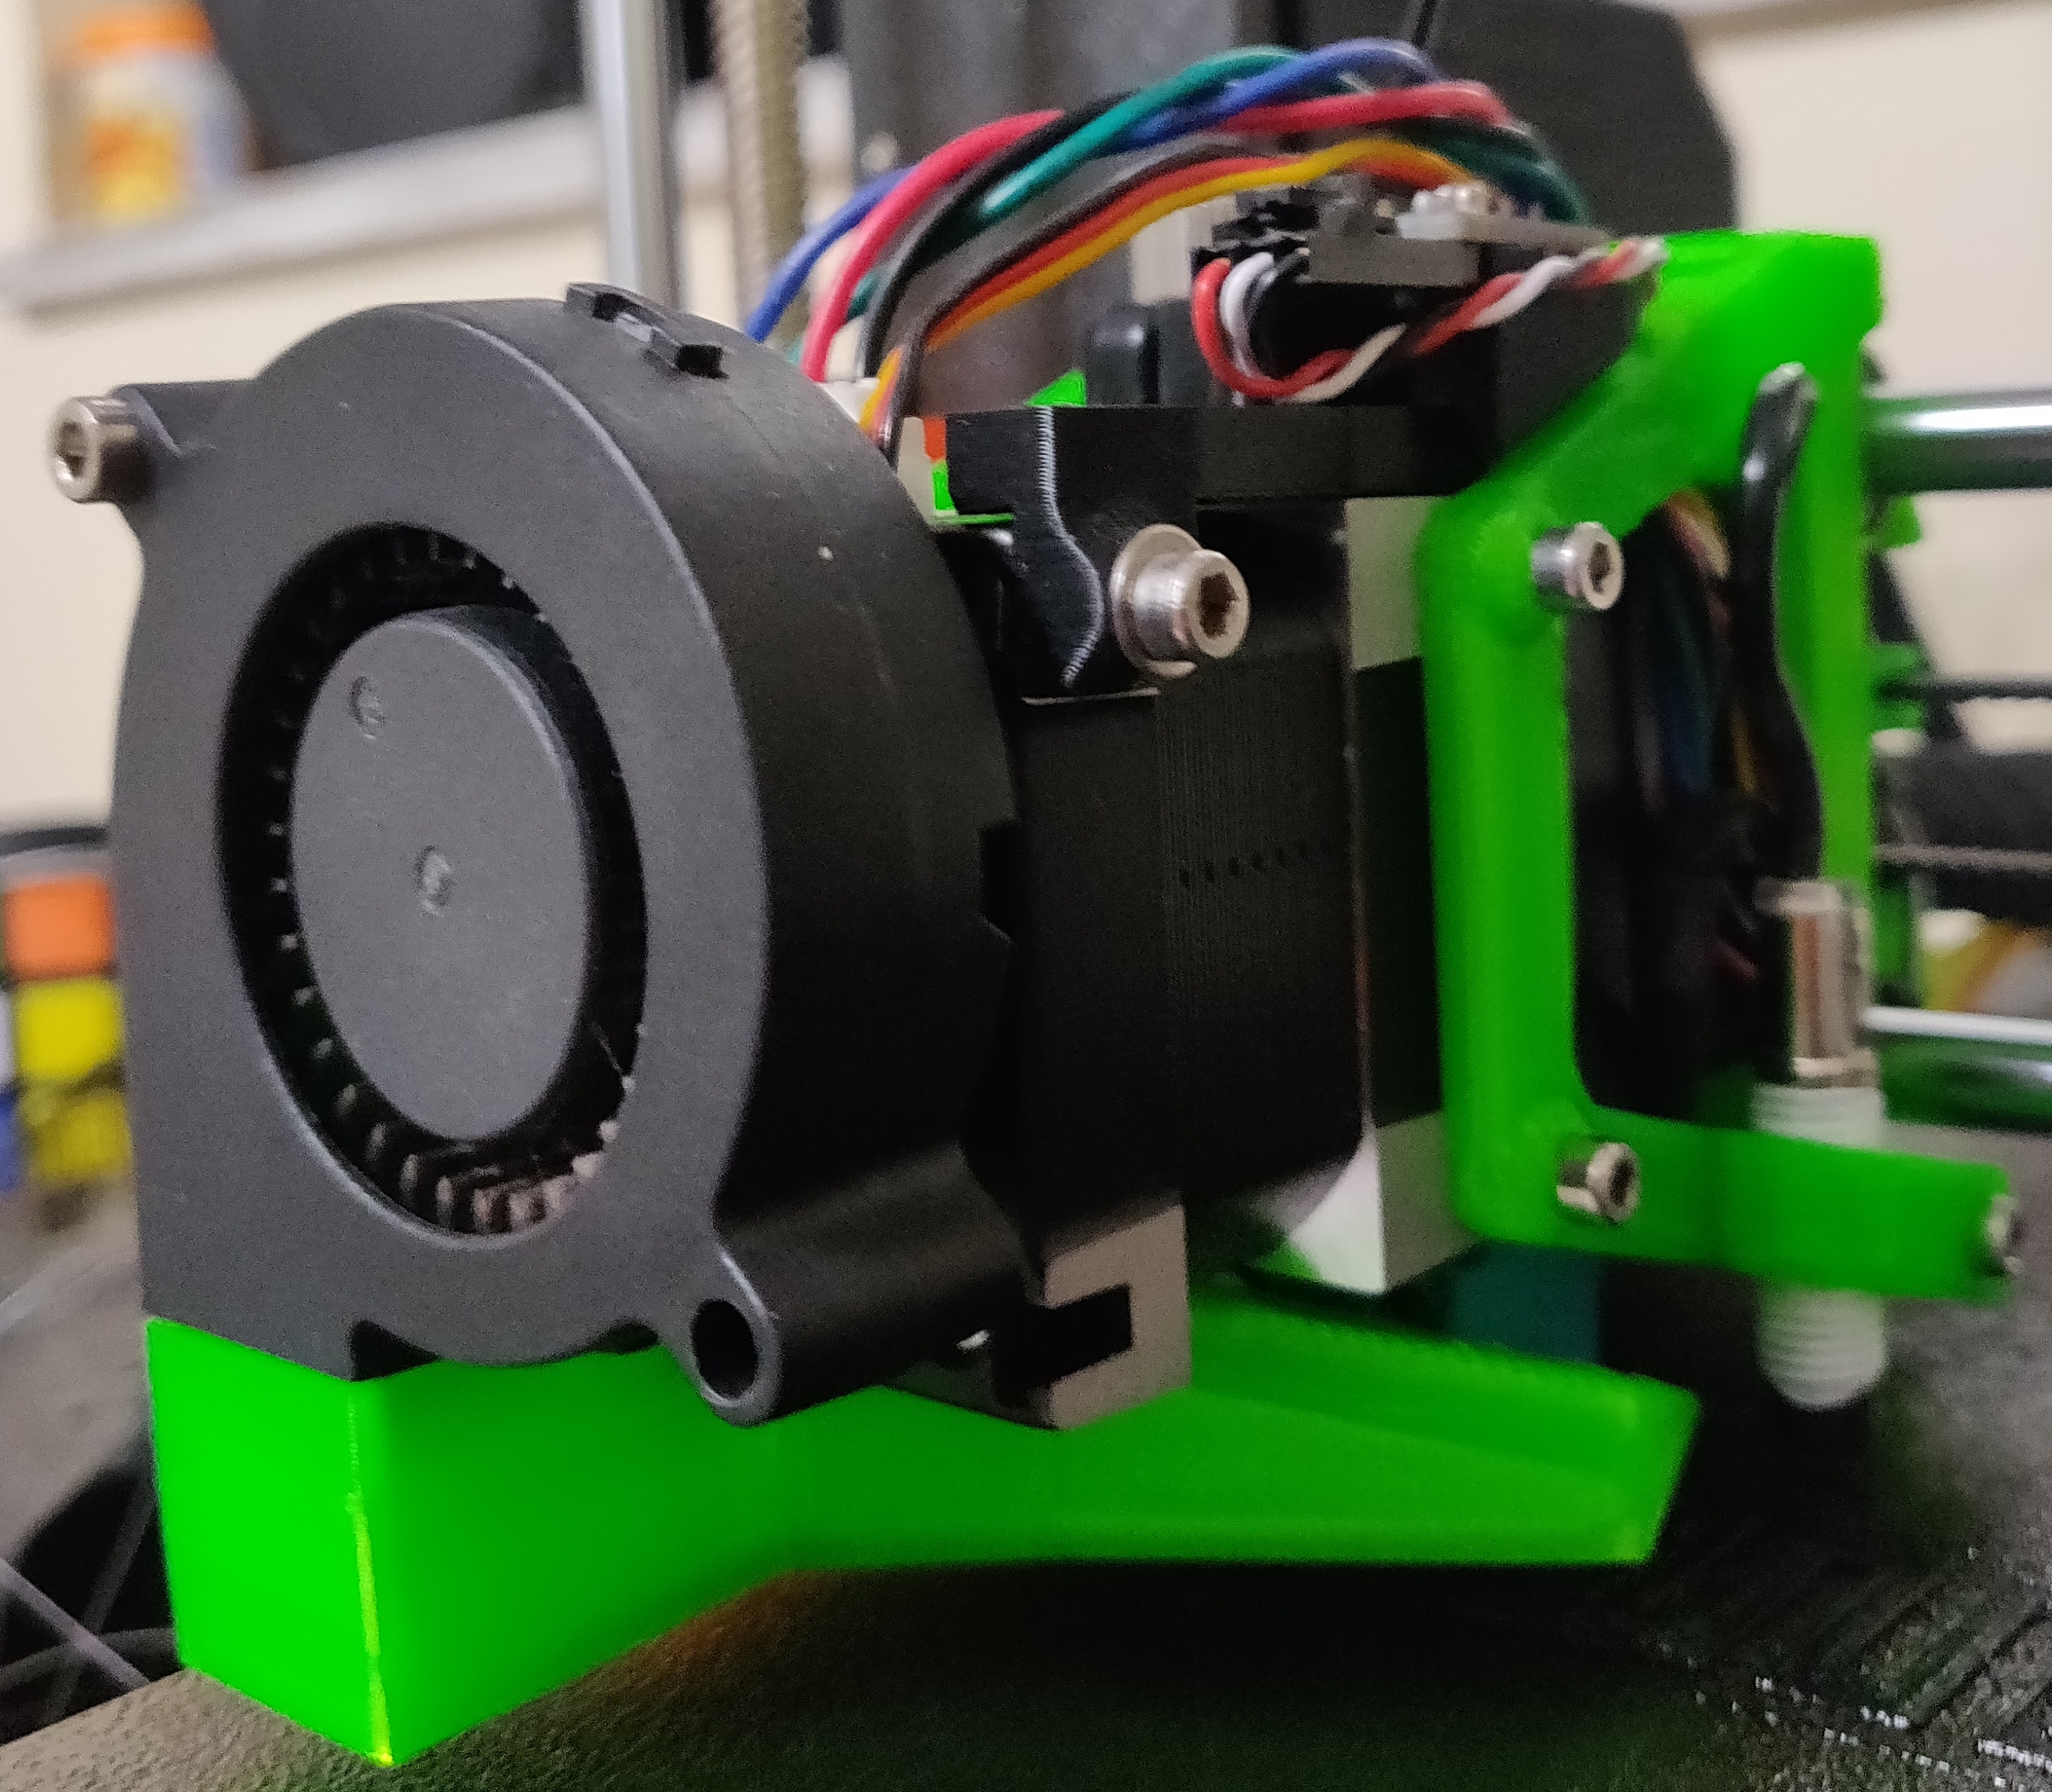
Hemera/Hermes perpendicular mount for Original Prusa i3 MK3S
prusaprinters
<p>Español:</p> <p>Actualización 5/30/2020:</p> <p>Añadí varias fotos de como colocar los cables en el ensamblado. También actualice el ducto del ventilador para mejor flujo de aire a la impresión.</p> <p>Actualización 4/30/2020:</p> <p>•Actualice la pieza x-carriage-back_R4, ya que se me paso dejarle la ranura de los precintos.</p> <p>•He creado un bracket para el sensor del filamento. Utiliza la bola metálica del sensor de filamento original de prusa. Incluí el documento 3dmf con los parámetros para su impresión.</p> <p>• Para que el hemera trabaje correctamente tienes que seguir la guía de modificación del firmware para una prusa i3mk3 un unos pequenos cambios. La guila la puedes conseguir en este enlace:<br/> o <a href="https://e3d-online.dozuki.com/Guide/Prusa+i3+MK3+Firmware+Modifications/141?lang=en">https://e3d-online.dozuki.com/Guide/Prusa+i3+MK3+Firmware+Modifications/141?lang=en</a><br/> o En el paso numero 13 tienes que escribir:</p> <p> X_PROBE_OFFSET_FROM_EXTRUDER 23<br/> Y_PROBE_OFFSET_FROM_EXTRUDER 12.4</p> <p>Quería una manera de montar la extrusora Hermes / hemera en el mk3s perpendicular al eje x. El problema es tratar de no restringir el flujo de aire al ventilador de enfriamiento. Creo que lo logré bastante bien. Hasta ahora, he impreso unas 50 horas a una temperatura de 250c y no he tenido ningún problema.</p> <p>Lo único que aún no he logrado diseñar es montar el sensor de filamento. Siempre lo tengo apagado, así que para mí no es ningún problema. He incluido los archivos .step, así que si alguien quiere intentar crearlo, puede hacerlo.</p> <p>Además, diseñé dos conductos de ventilador de impresión. Solo probé uno, pero si alguien quiere probar el otro, también está incluido.</p> <p>English:</p> <p>Update 5/30/2020:</p> <p>Updated print fan duct for better airflow. Updated how the PINDA is attached. Added pictures to show how the cables should be routed.</p> <p>Order of assembly:</p> <p>Insert al the square nuts on the printed parts then you have to rout the print cooling fan, motor, filament sensor, PINDA and extruder fan cable thru x-carriage_r4 and the hole in the x-carriage-back_r4 part. Meaning you will have to disconnect these cables from the PCB to pass the thru the holes. The heater cartridge and the thermistor cable do NOT go thru the hole on the back part.</p> <p>Once you route the cables thru leave the x-carriage-back_r4 part hanging and don’t mount it to the bearing yet. I created a routing diagram so you can see how to route the cables. Once you routed the cables like in the diagram fix the x-carriage_r4 with two tie wraps in the top bearings then mount the motor wit hardware. This is the tricky part where you must make sure the cables are not being pinched. Once it is mounted be sure to use another tie wrap to hold the cables to the bottom bearing. This is so the cables do not rub against the belt. See the red in the pictures added. Then you are good with the assembly. Mount the cable holder to the back and use the same tie wrap configuration as the original prusa extruder. The thermistor and heater cartridge cable on the bottom.</p> <p>Update 4/30/2020:</p> <p>•Updated x-carriage-back_R4. Forgot to leave the opening for the ziptie.</p> <p>•Created a filament sensor mount. It uses the components from the original prusa mount.</p> <p>•Follow the hemera firmware guide for the mk3 with a couple of changes. You can find the guide here:<br/> o <a href="https://e3d-online.dozuki.com/Guide/Prusa+i3+MK3+Firmware+Modifications/141">https://e3d-online.dozuki.com/Guide/Prusa+i3+MK3+Firmware+Modifications/141</a><br/> o In step 13 use the following parameters:</p> <p> X_PROBE_OFFSET_FROM_EXTRUDER 23<br/> Y_PROBE_OFFSET_FROM_EXTRUDER 12.4</p> <p>I wanted a way to mount the Hermes/hemera extruder to the mk3s perpendicular to the x axis. The problem with this is not to restrict the air flow to the hemera. I think I accomplished it well. So far, I’ve printed about 50 hours @ a temp of 250c and I haven’t had any issues.</p> <p>The only thing I have not tackled yet is mounting the filament sensor. I always have it off so for me, it doesn’t matter. I’ve included the step files, so if anyone wants to take a crack at it, be my guest.</p> <p>Also I designed two print fan ducts I’ve only tested the one but if anyone wants to test the other one it has been included.</p> <h3>Print instructions</h3><p>Español:</p> <p>El archivo 3mf incluido ya tiene todos los modificadores de soporte necesarios para tener una impresión exitosa con Prusa Slicer.</p> <p>English:</p> <p>The Included 3mf file already has all the support enforcers, blockers and modifiers needed to have a successful print with prusa slicer.</p>
With this file you will be able to print Hemera/Hermes perpendicular mount for Original Prusa i3 MK3S with your 3D printer. Click on the button and save the file on your computer to work, edit or customize your design. You can also find more 3D designs for printers on Hemera/Hermes perpendicular mount for Original Prusa i3 MK3S.
