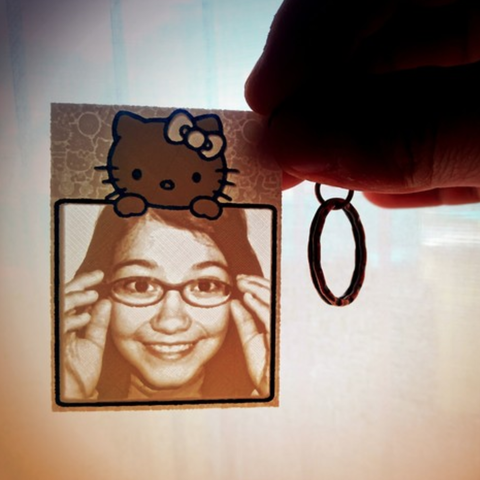
HELLO KITTY customizable frame lithophane
cults3d
Hello Kitty Personalized Keychain Tutorial Are you ready to make your own Hello Kitty keychain? This tutorial will guide you through the process, and before long, you'll have a customized keychain that's uniquely yours. Gather these supplies: * A blank keychain * White glue * Scissors * A pencil or pen * Your favorite Hello Kitty stickers Now let's get started! Step 1: Apply Glue to the Keychain Take your blank keychain and apply a thin layer of white glue to one side. This will help the stickers stick. Step 2: Cut Out Stickers Cut out your Hello Kitty stickers from their backing sheet. You can use scissors or a craft knife, depending on how precise you want to be. Step 3: Arrange Stickers Arrange your Hello Kitty stickers on the keychain in a way that looks good to you. You can group them together or space them out - it's up to you! Step 4: Add Final Touches Once you've arranged your stickers, add any final touches. You might want to add some additional details with a pencil or pen. Step 5: Let It Dry Let the glue dry completely before handling your keychain. This will ensure that the stickers stay in place. And that's it! You now have a one-of-a-kind Hello Kitty personalized keychain that's sure to turn heads.
With this file you will be able to print HELLO KITTY customizable frame lithophane with your 3D printer. Click on the button and save the file on your computer to work, edit or customize your design. You can also find more 3D designs for printers on HELLO KITTY customizable frame lithophane.
